
Upgrade to enjoy this feature!
Vital MX fantasy is free to play, but Premium users receive great benefits. Premium benefits include:
- View and download rider stats
- Pick trends
- Create a private league
- And more!
Only $10 for all 2026 SX, MX, and SMX series.


The Shop
Luxon 4-Post Bar Mounts
$189.95 - $239.95
DeCal Works Huge Plastic Inventory of UFO and Polisport kits.
Looks like last update I had mounted the ABS. After that I built a washer reservoir and used it to mount the supercharger cooler pump.
I fabricated a fuel fill pipe to connect the filler to the tank thats behind the drivers seat.
Then I moved onto the frame work for the rear package tray delete panel/waterfall, sanded everything down and shot it in black epoxy.
Which led to the waterfall being fabricated out of .040 aluminum, The plan is for this to be carped on the lower section and leather on the upper section with a 12" sub in the middle. Also a start of the rear side panels.
A quick little fuse bank holder next to the battery to hold the Mega fuses that power my Infinity Box system.
Some body and paint work on the firewall to get that moving in the right direction as well as the supercharger lid and cover. I'm a big fan of this red and black color combo that will be against a matte black engine bay and the metallic blue the car will be.
The engine has been mostly assembled and I welded AN fittings to the valve covers and bigger fittings on the breather tank.
Around this time I started to work on the side skirts and get them ready to make molds from.
I also took the car to a local car show. Turns out I wasn't the only trailed car there.
I've been messing with the wider body up front to clear the wheels. I used foam as a base then fiberglass to get a little more solid and shaped it with body filler. After all this is final I'll prime and paint it, wet sand, then buff to a high shine so I can make a mold off it then make a carbon fiber panel to replace everything with.
I've also finished up my C6 door latch swap and trimmed the under side of the hood so I could get to the secondary latch when I pop the hood. That will all be repaired with carbon and body worked so it looks like it came that way.
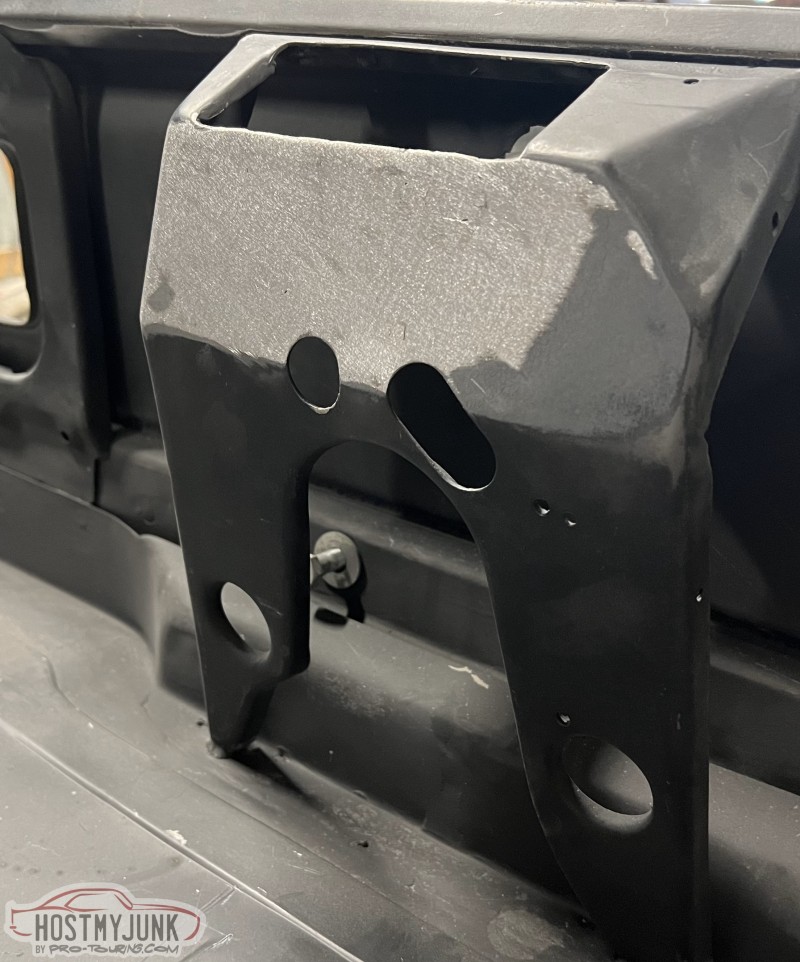
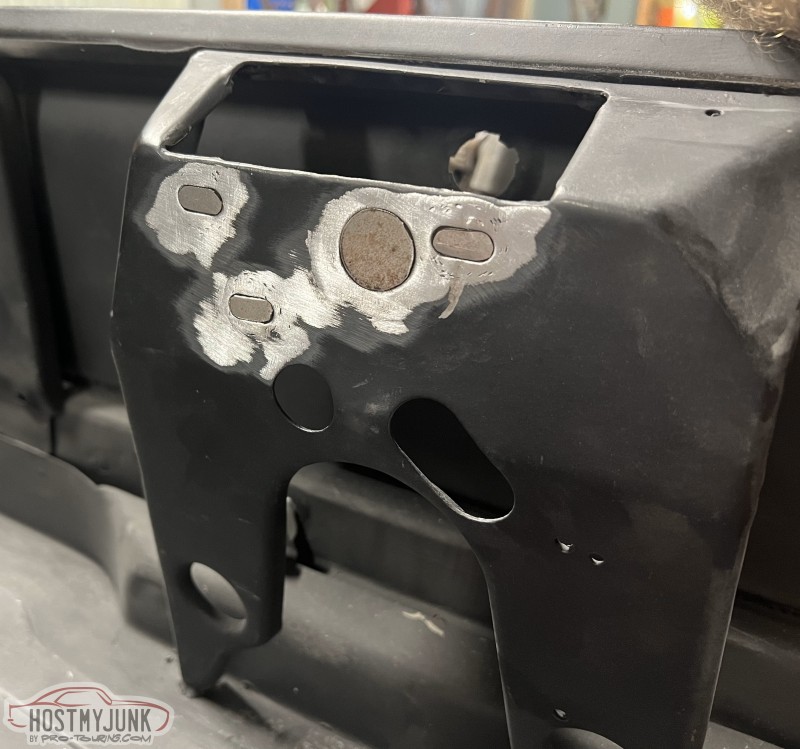
I mounted up the heat exchanger, oil cooler, and power steering cooler. Unless I had a stock one side by side you'd never be able to tell all the work I did on the header panel support to keep it looking factory while clearing the tilted forward radiator, mounting the power steering cooler to it, and raising up the mount to fit the Porsche hood latch. Oh, and dimple die holes for some weight savings.
Some modern magic with this rev match module so I don't have to heel/toe all the time when down shifting. Perfect spot in the center console for it and out of site.
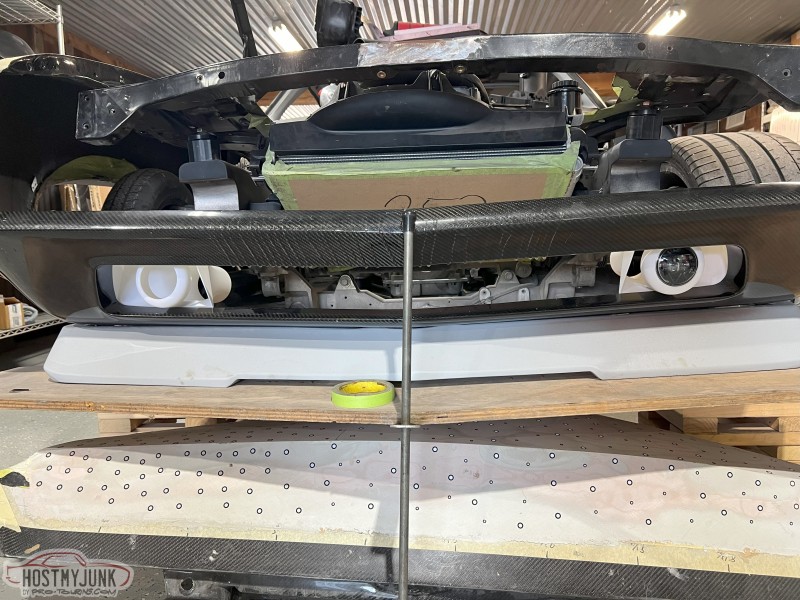
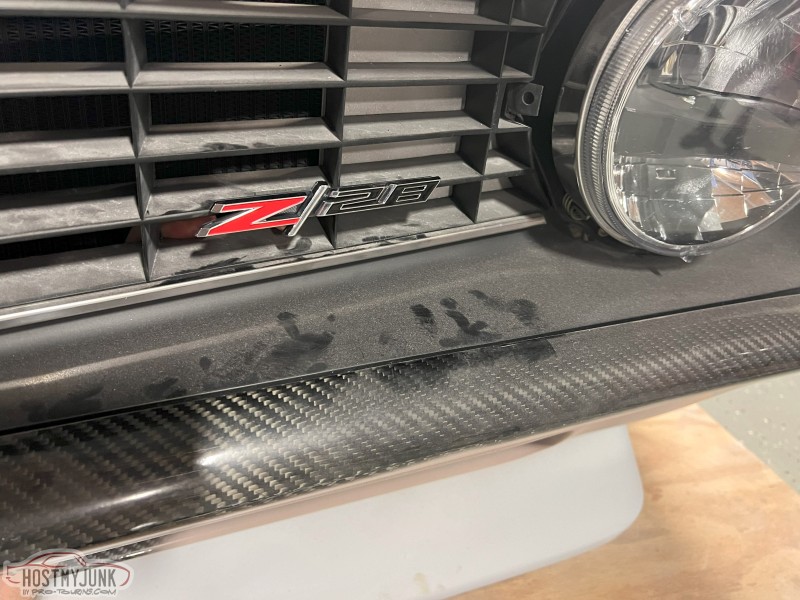
The last of the update brings us to some grille block off panels. Since the goal is to keep as much needless air as I can from going into the engine bay I made up these block off panels for the grille. I made them out of .040 aluminum to the size of the heat exchanger and oil cooler and duct them to the coolers. The center I left wide enough to blow onto the power steering cooler.
Impressive !!
Bump.
@AJ565 Have you completed the build?
The short answer is no. I’ve lost motivation to work on it so I don’t get much done anymore. It’s been a long time since I updated this thread so I’ll do it tomorrow after work on what’s been going on with it and why it’s kinda stalled.
Looking forward to the update.
What youv'e done thus far is super immpressive!
What he said.
Mega projects like this invariably wax and wane but it's a bad A$$ build.
Soooo Impressive!!!!!!!!!! Mad Skills Brother!
Ok I've done more then I thought I have. There is some small stuff here and there thats not really important, so I'll skip some stuff and hit the major things. It looks like I left off with the fenders and front end close outs. Well, the fenders still aren't done. Long story short, I'm waiting on a guy to model them in CAD and then another guy to 3D print them for me as I don't have a big enough printer. More on that to come.
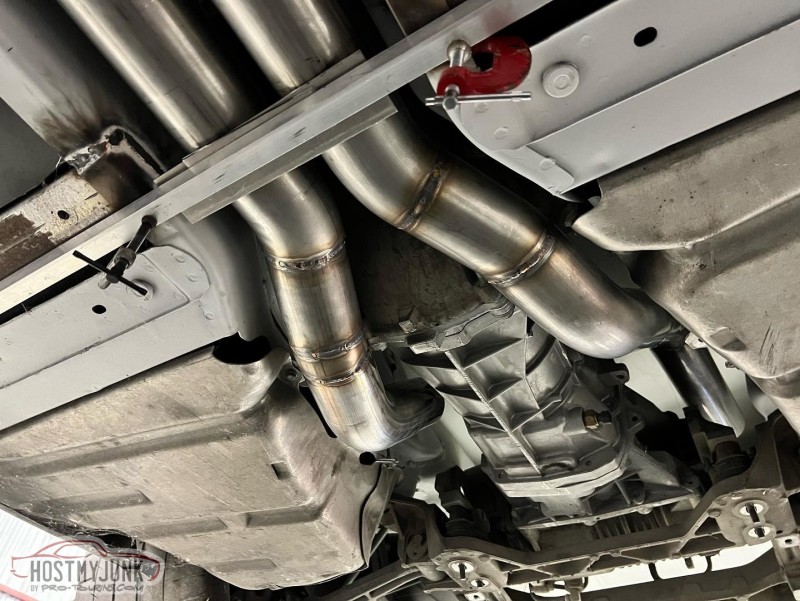
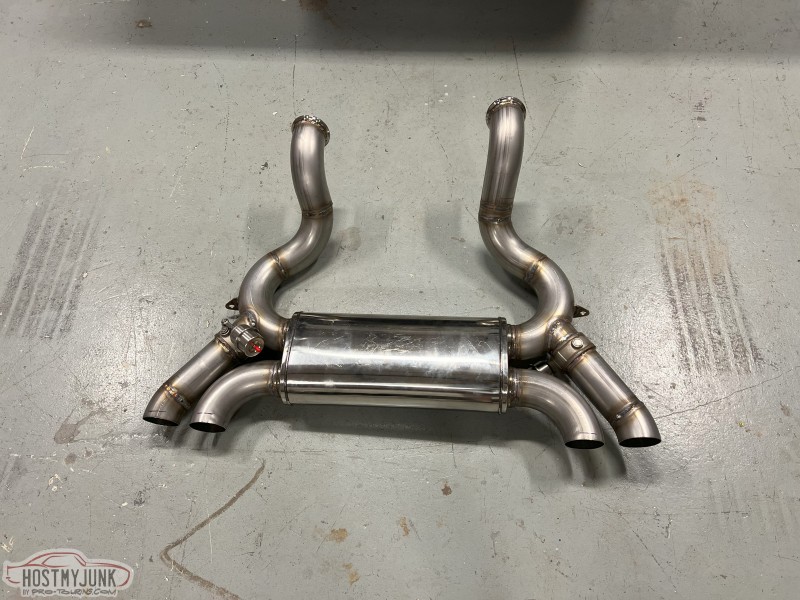
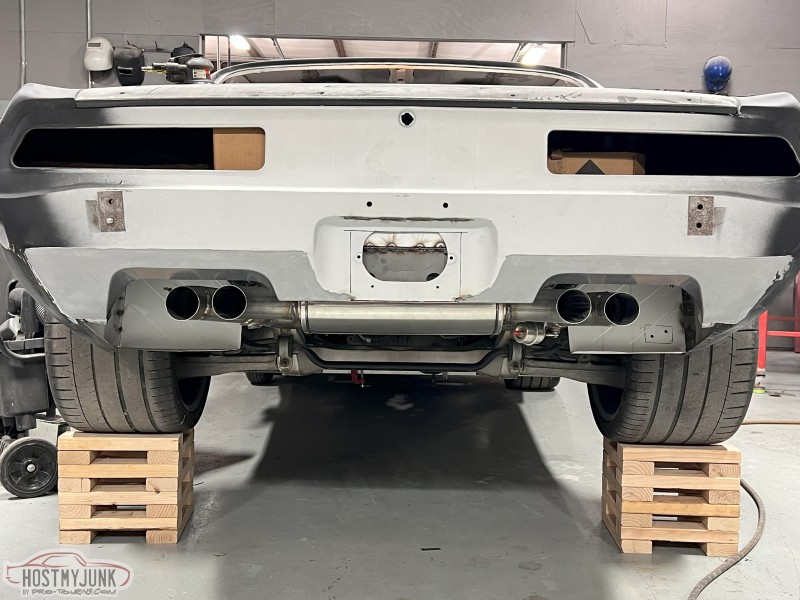
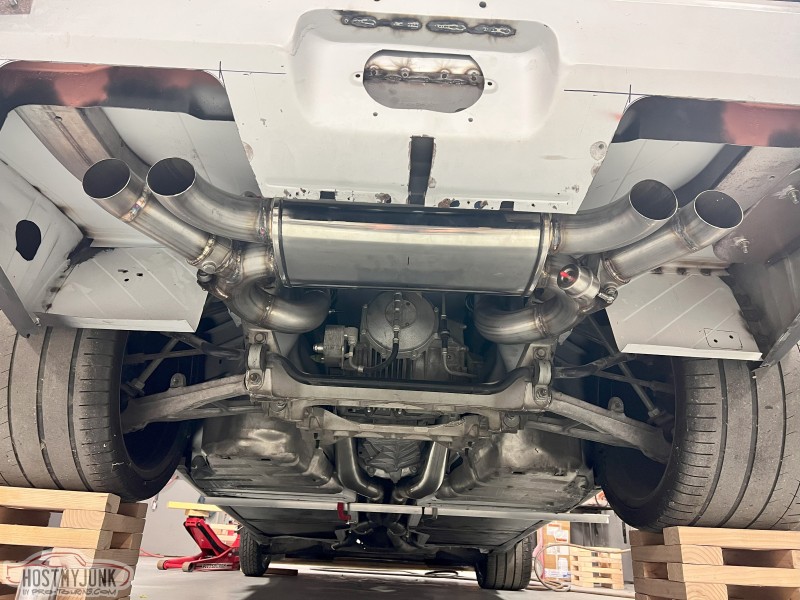
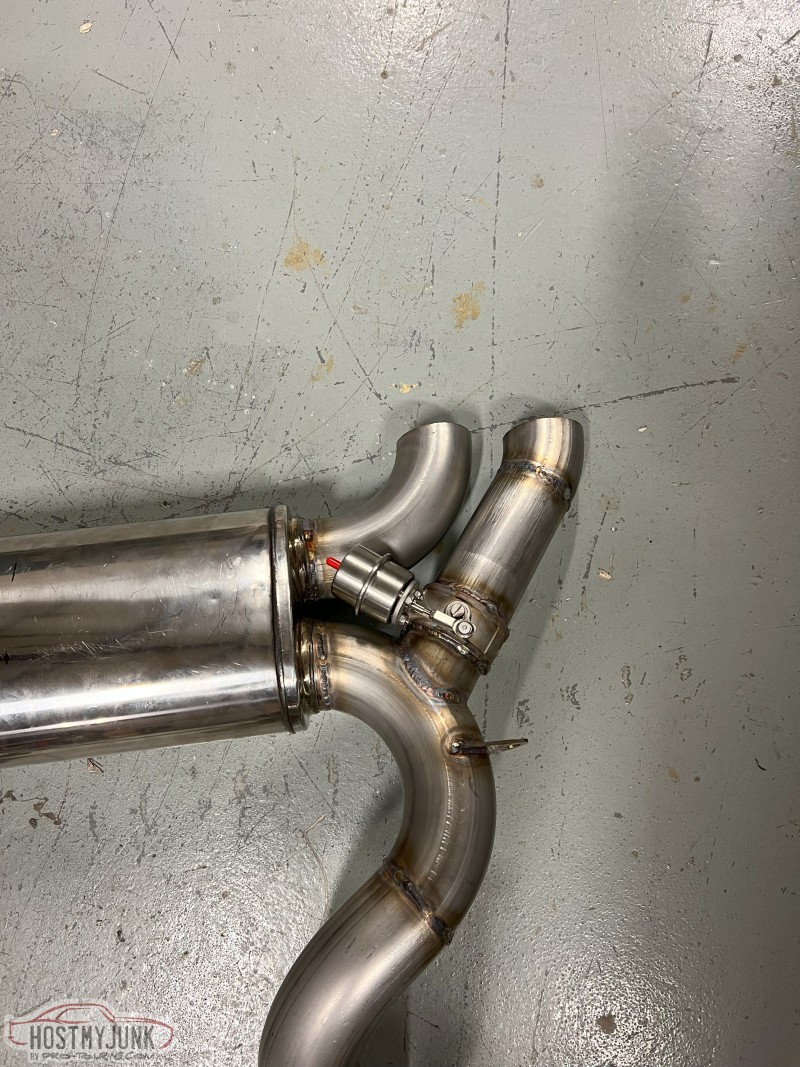
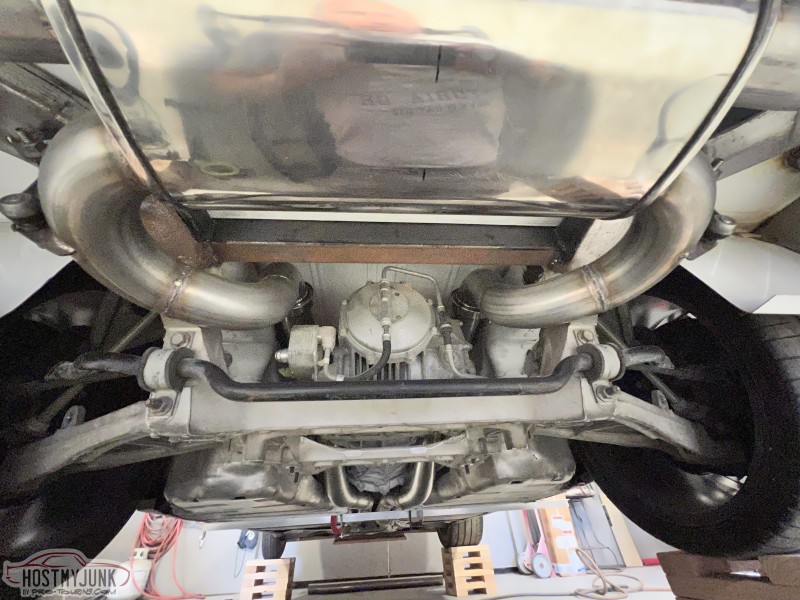
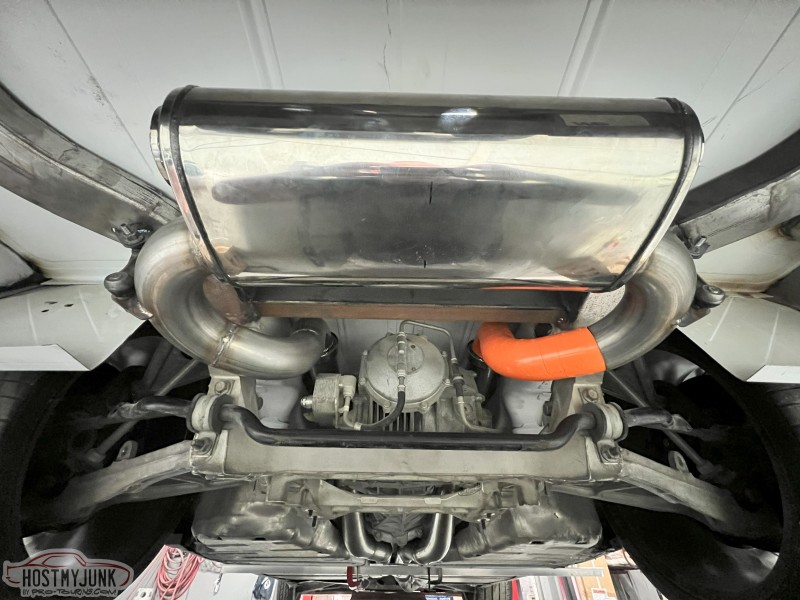
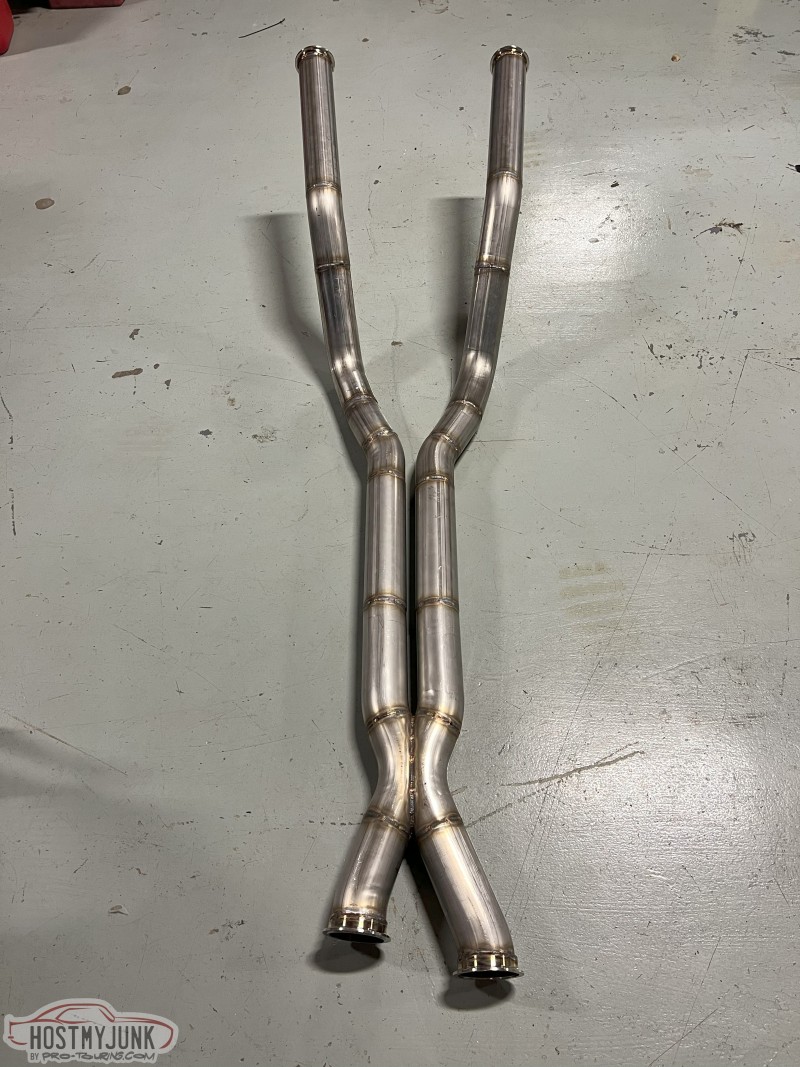

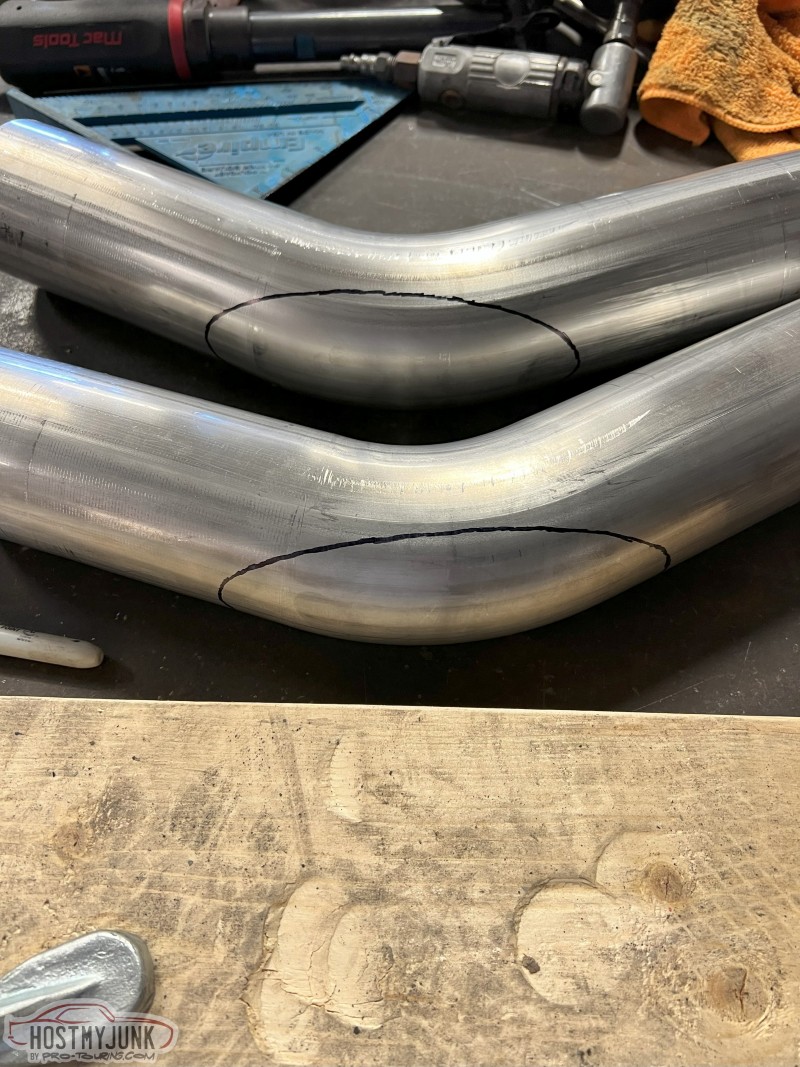
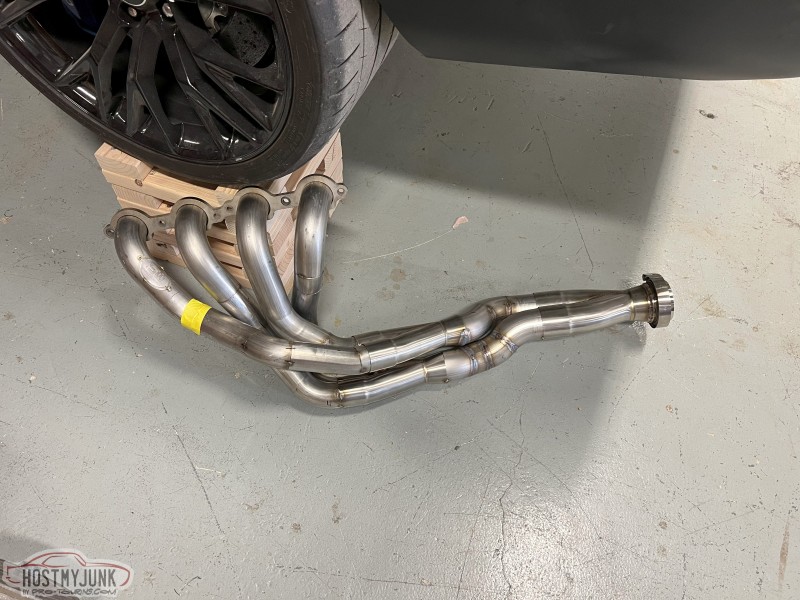
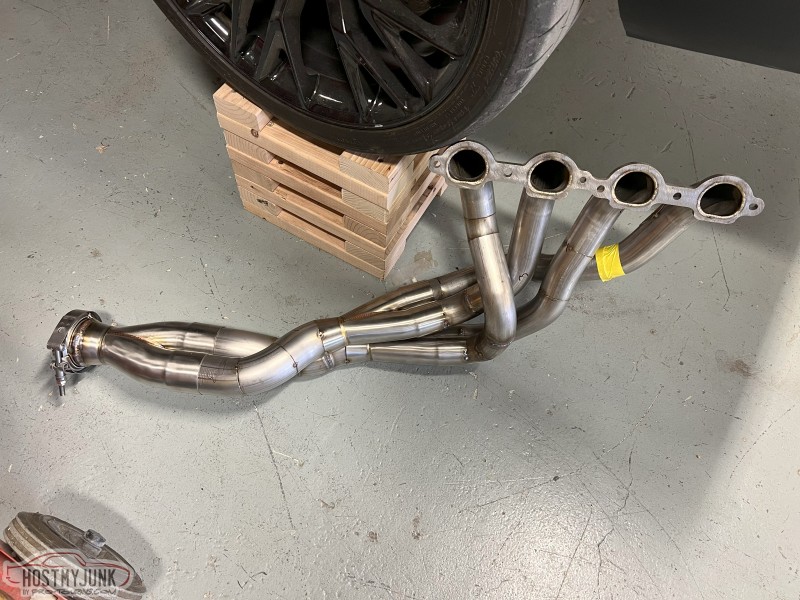
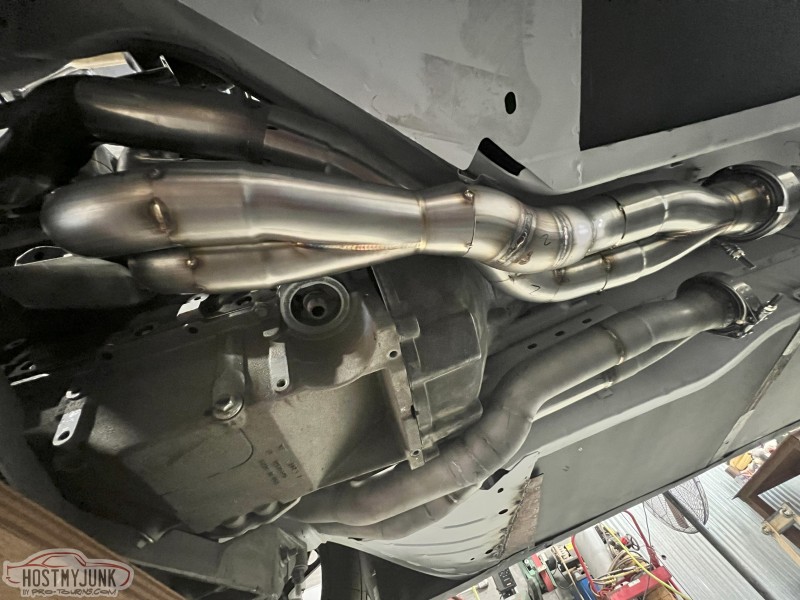
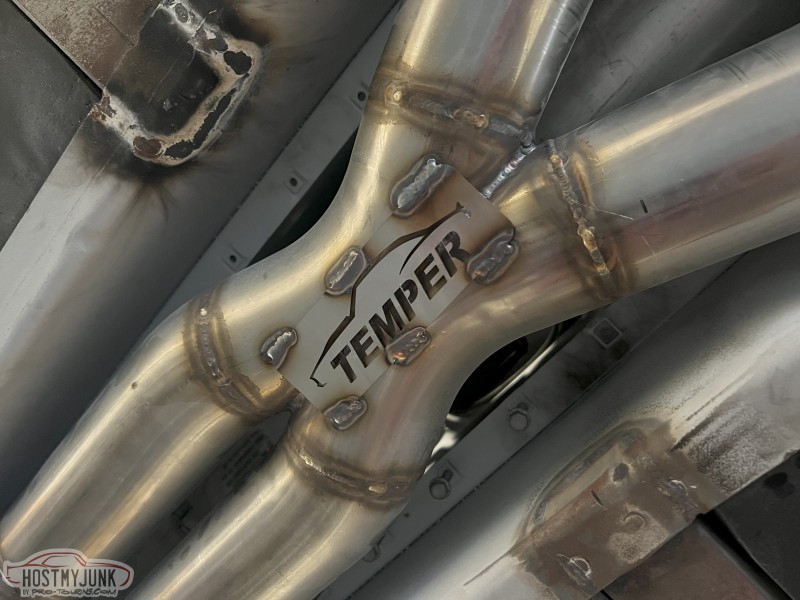
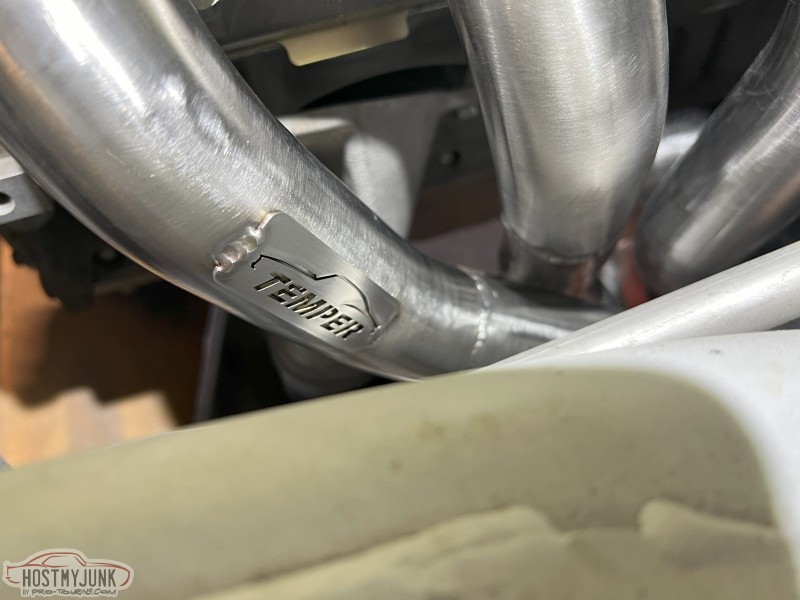
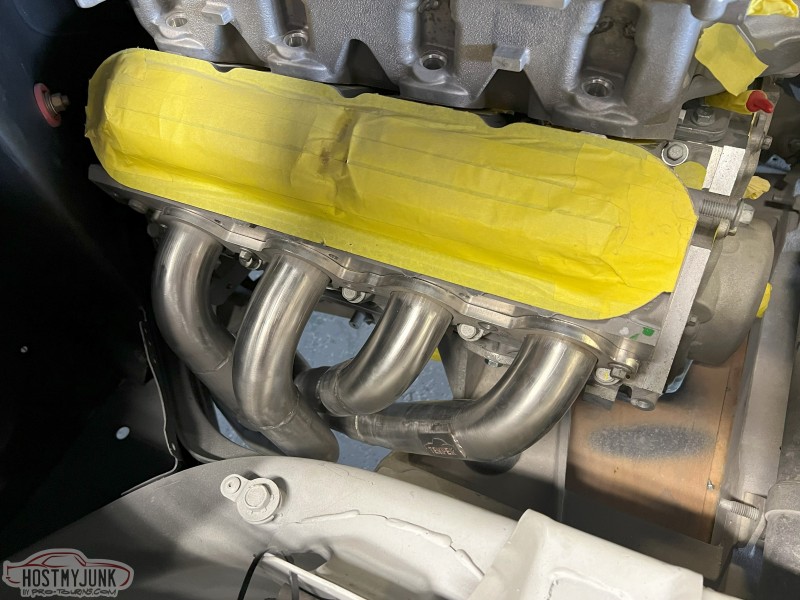
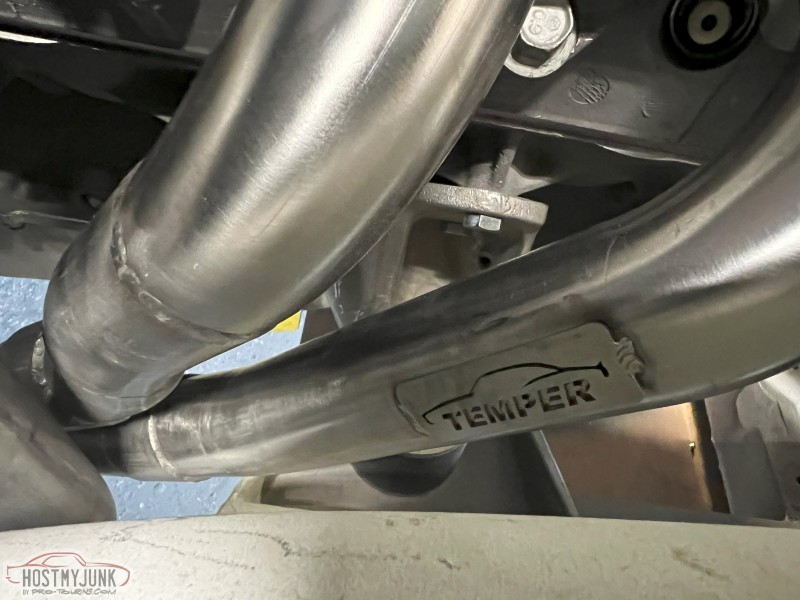
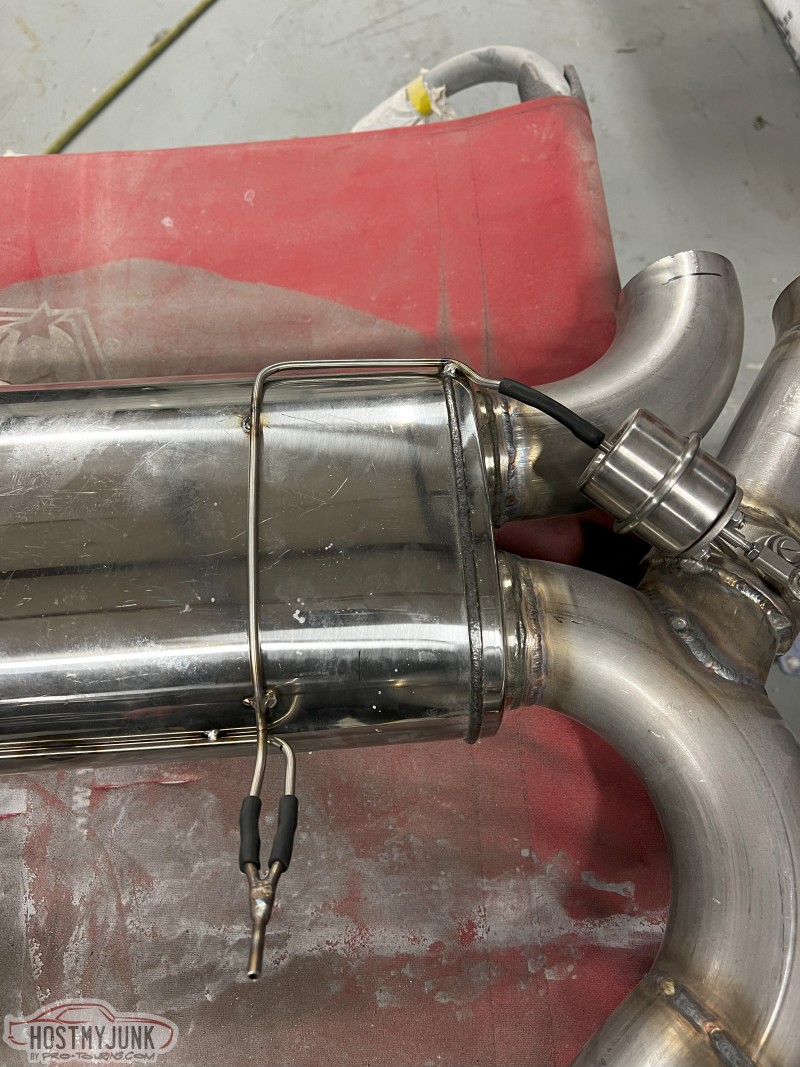
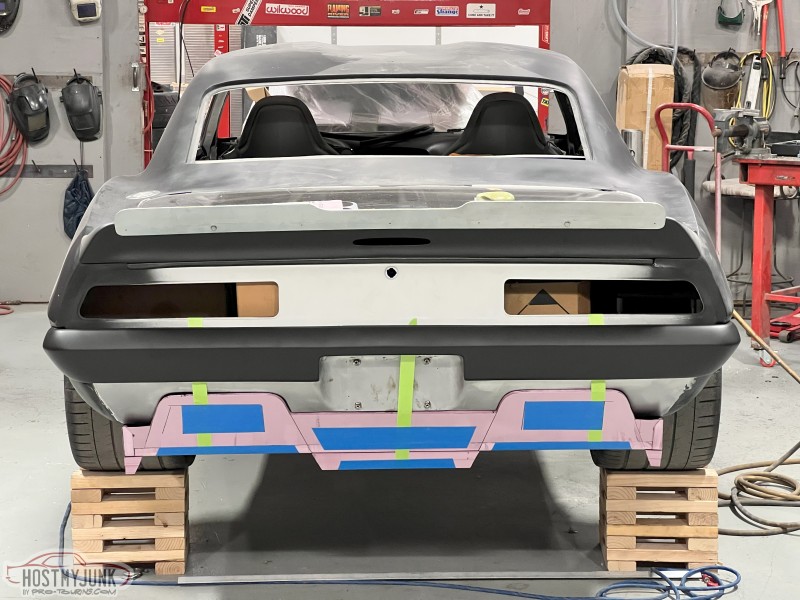
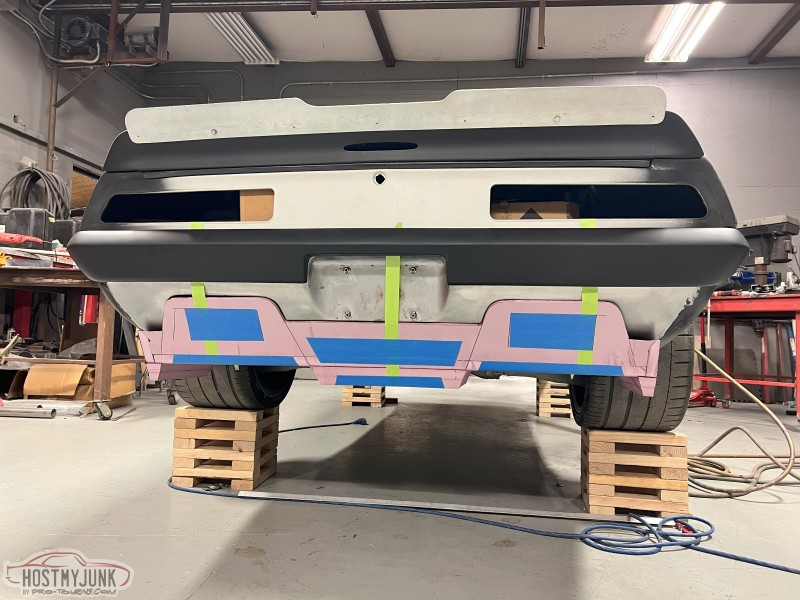
Lets start with the exhaust. I had a set of 2" headers from a well known company. Turns out they wern't even close to fitting even though they were for a Corvette chassis. I cut them up and turned them into a set of Tri-Y headers. I ran full 3" to the back with 2 X-pipes and a set of cut outs. The muffler is a Holley part that a buddy that worked for their technical team was able to get me. Its an internal crossover muffler used on the 6th gen Camaro systems they sell. The cutouts skip the muffler at the back similar to C6, and C7 Corvettes as well as 6th gen Camaros and CTS-V's work. Its all vacuum operated and I'll have a controller that opens and closes them based on throttle % and RPM as well as a manual override for full open and closed. I used Sendcutsend to laser cut out exhaust tags with my cars name and logo that also reinforce the X-pipe. Also as you can see, the tail panel has been cut out for the future home of the exhaust tips.
**Its too big of pain in the ass to put them in order, sorry**
Exhaust 98% done I started roughing in the defuser in foam. This will eventually be made out of carbon fiber.
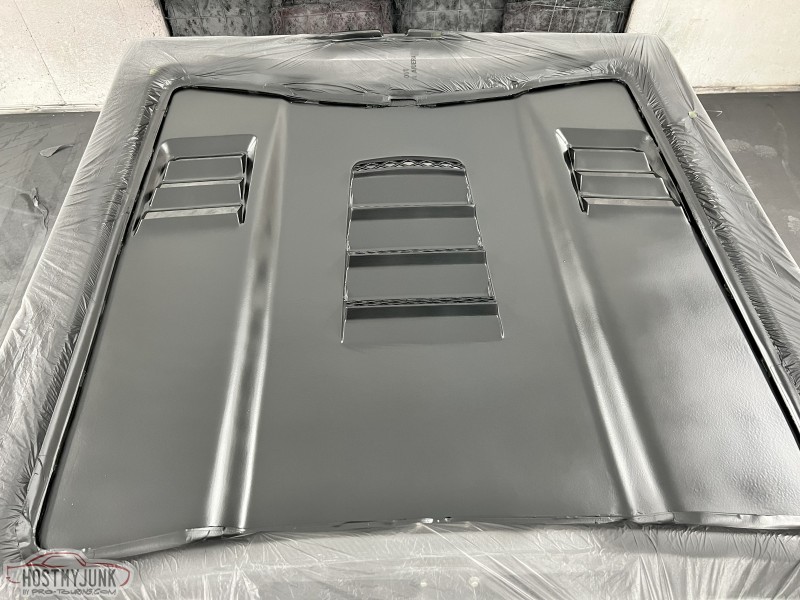
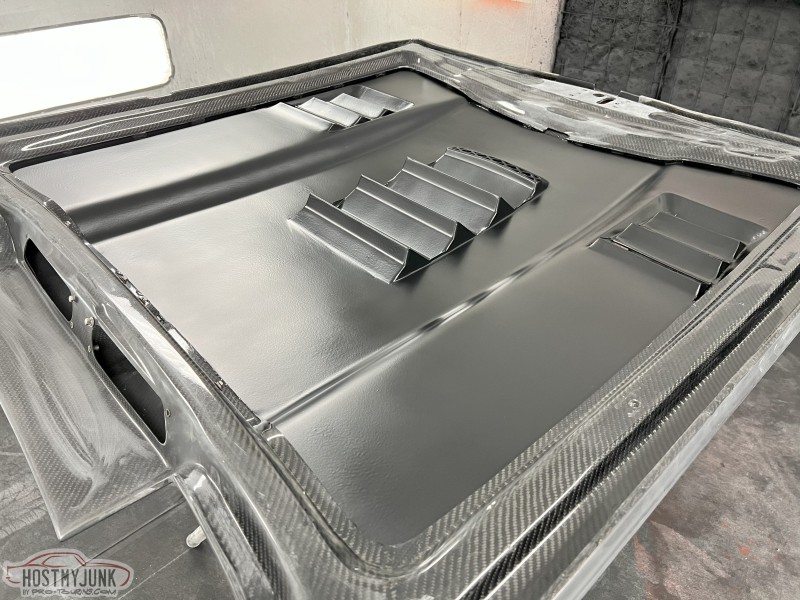
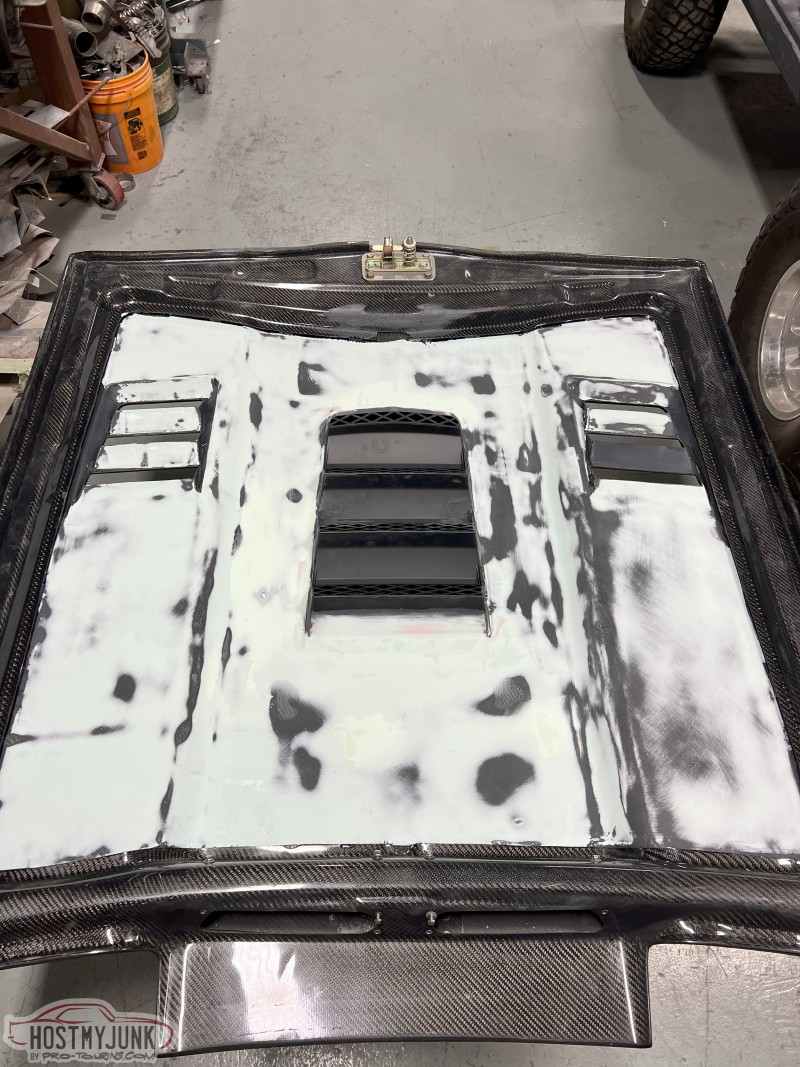
The bottom of the hood is also 95% done
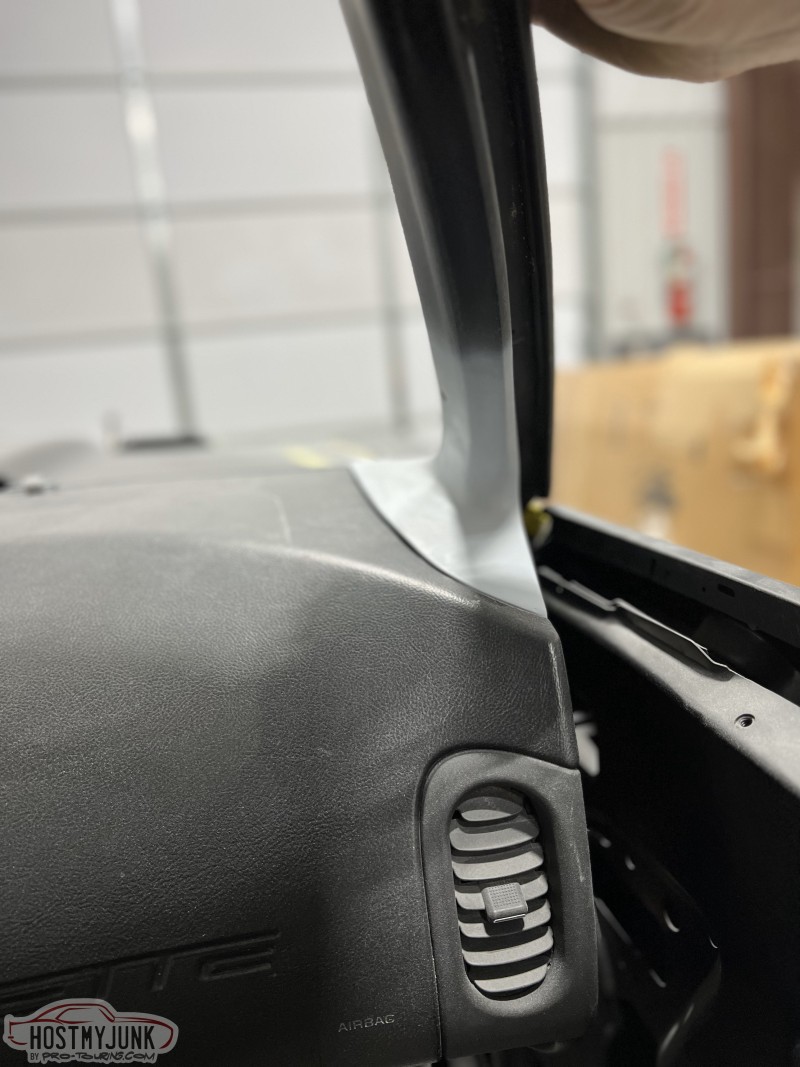
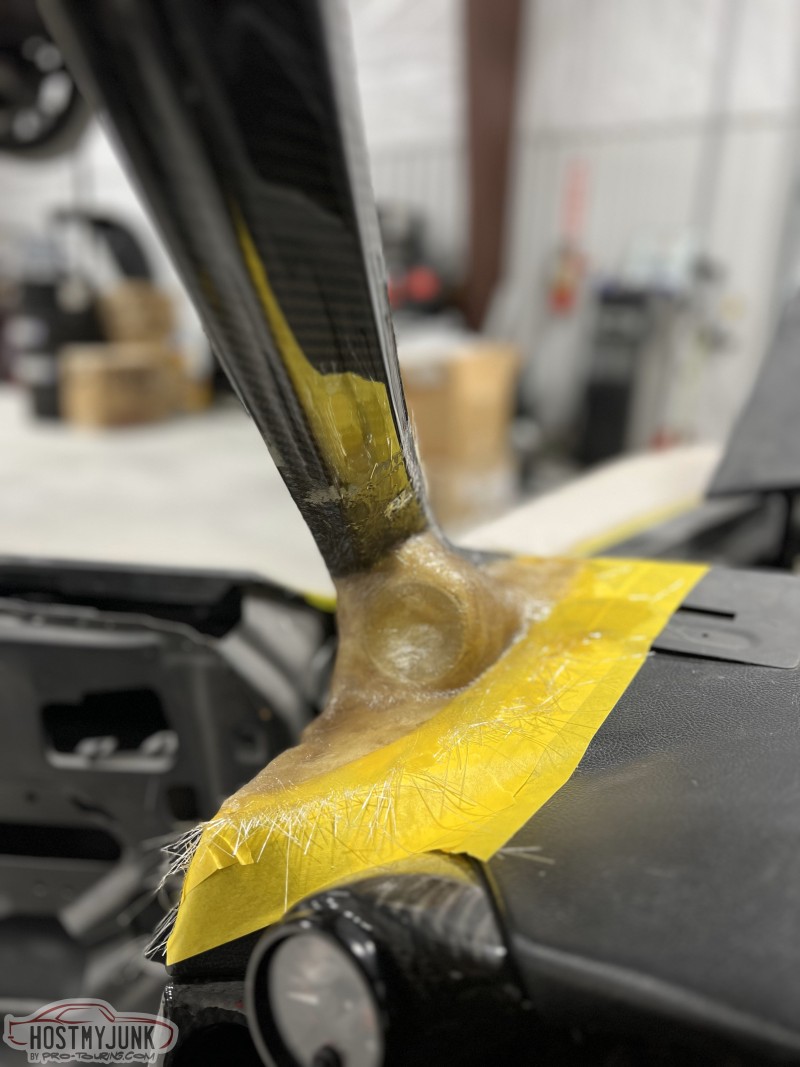
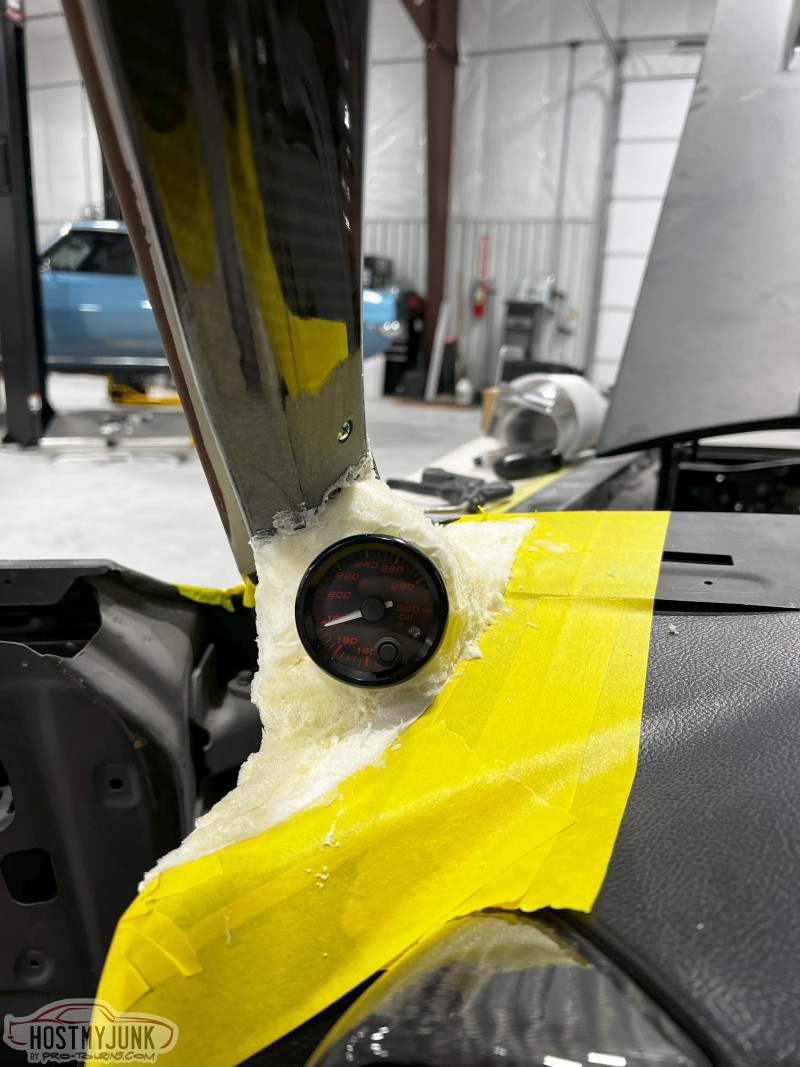
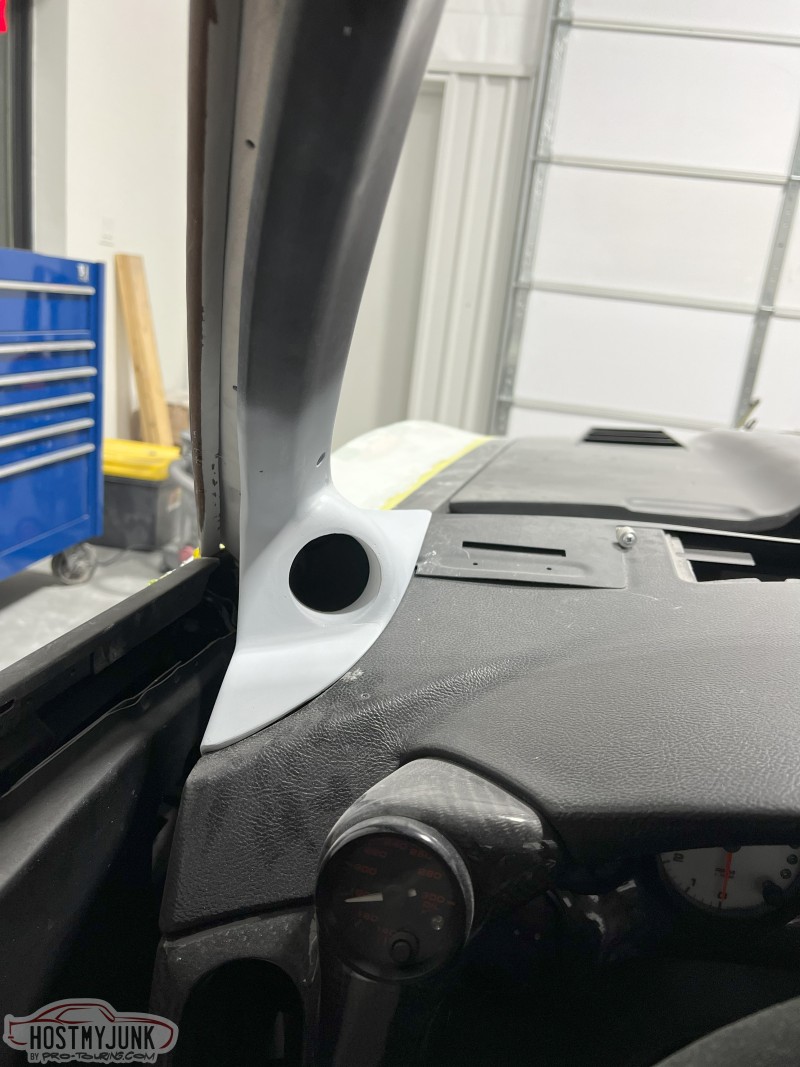
I cut up some very nice and expensive carbon fiber A-pillar moldings. After foaming and shaping to fit my dash everything was fiberglassed. The foam was cut out from the back side and then everything was body worked and primed. I don't know if I'll warp them in leather or paint them yet.
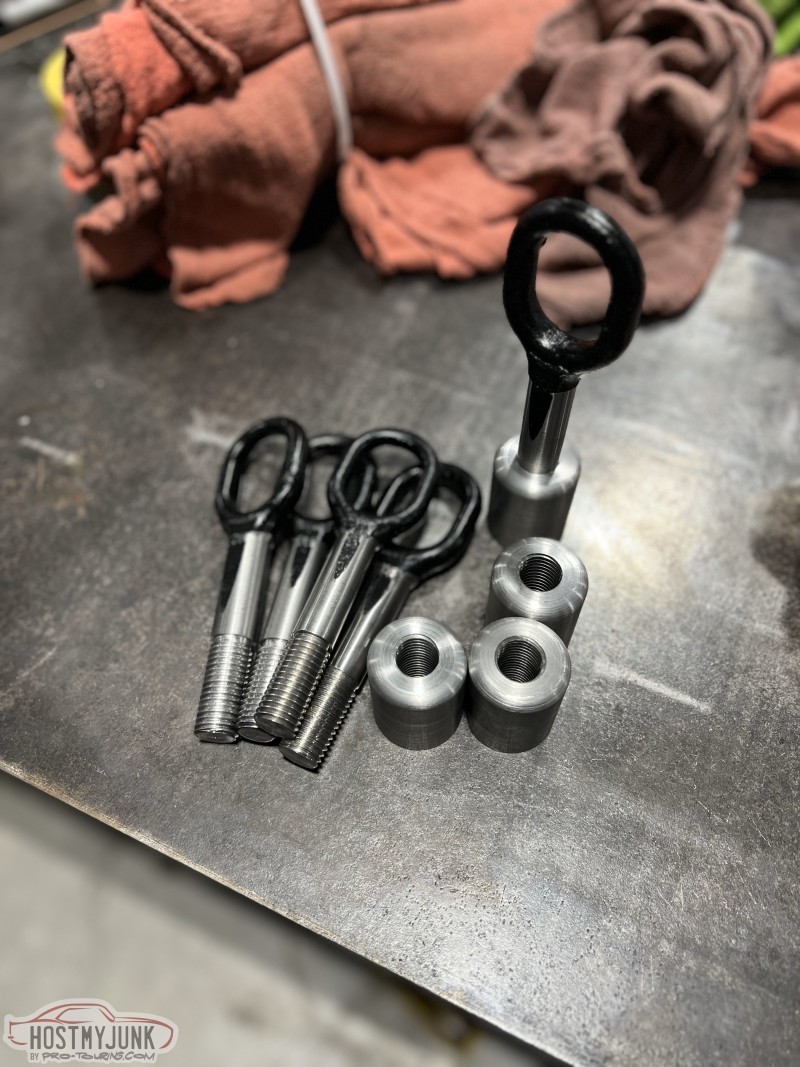
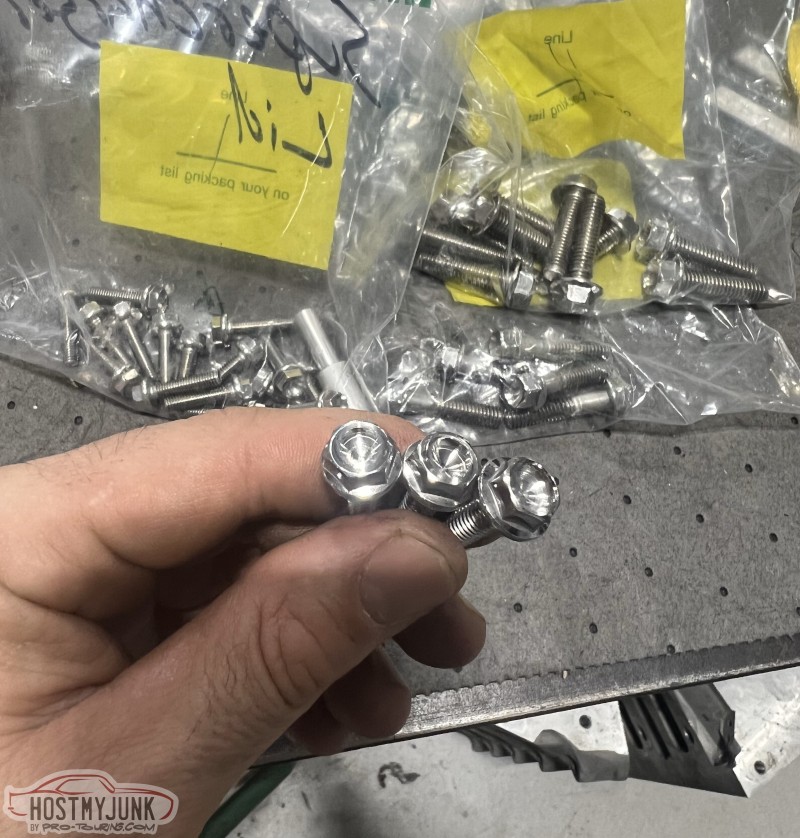
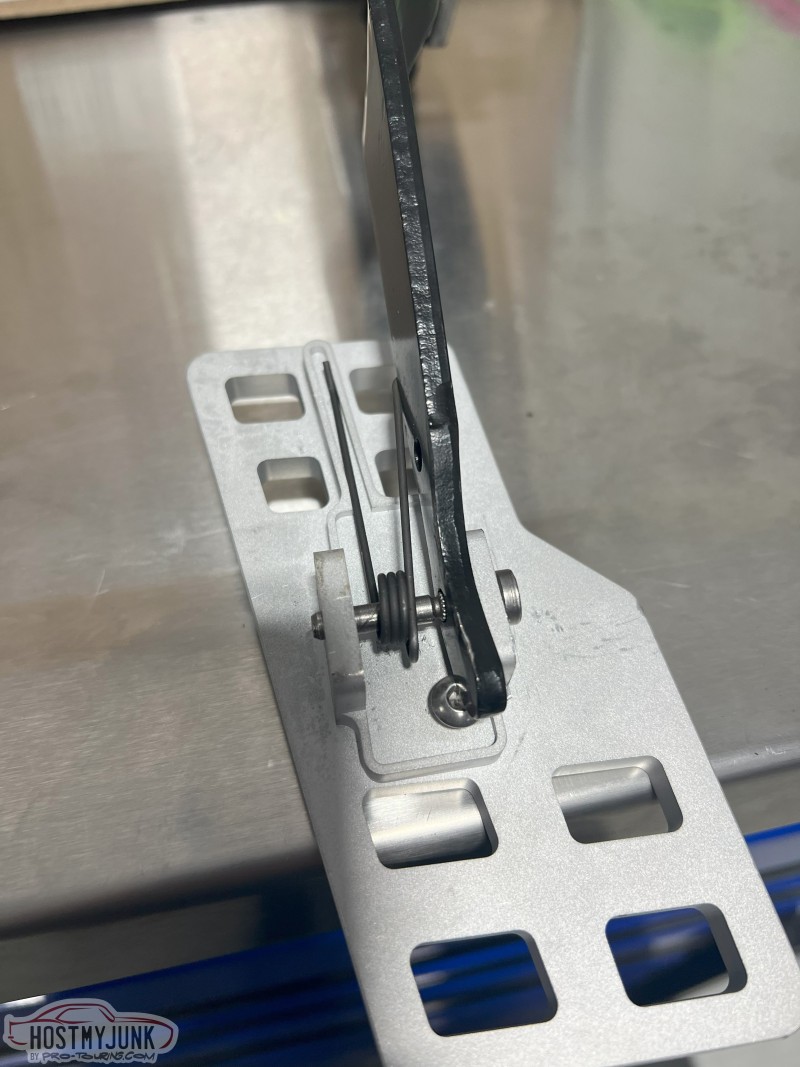
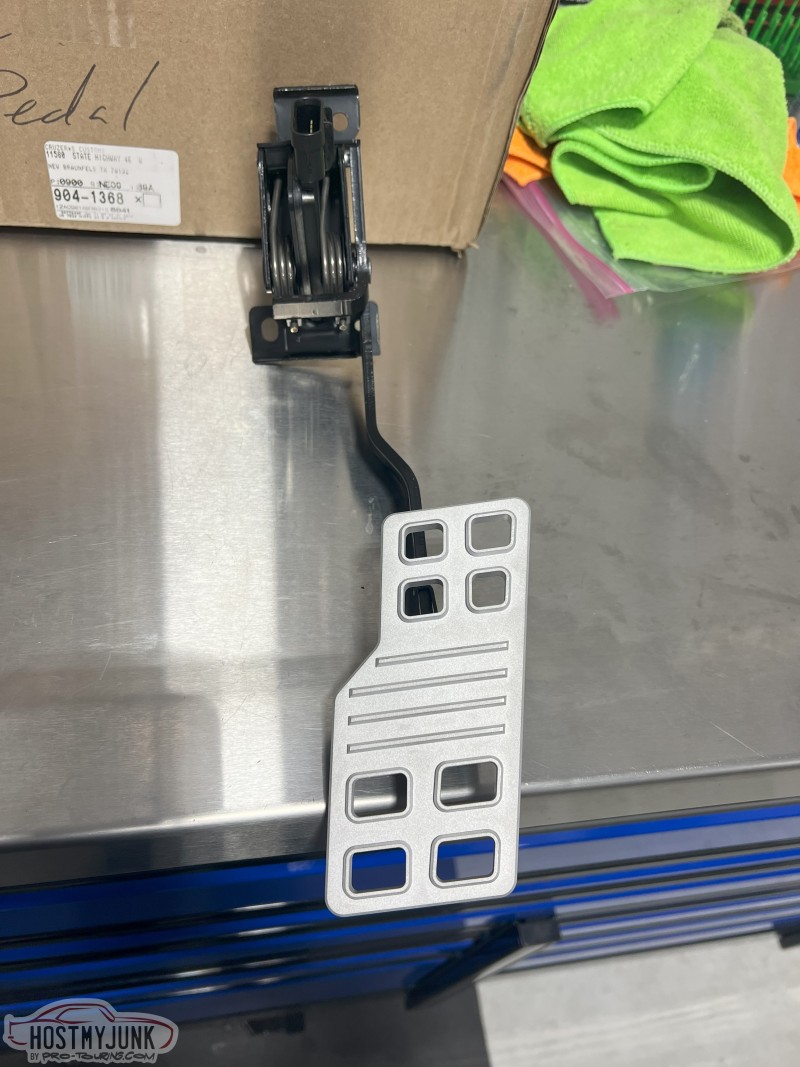
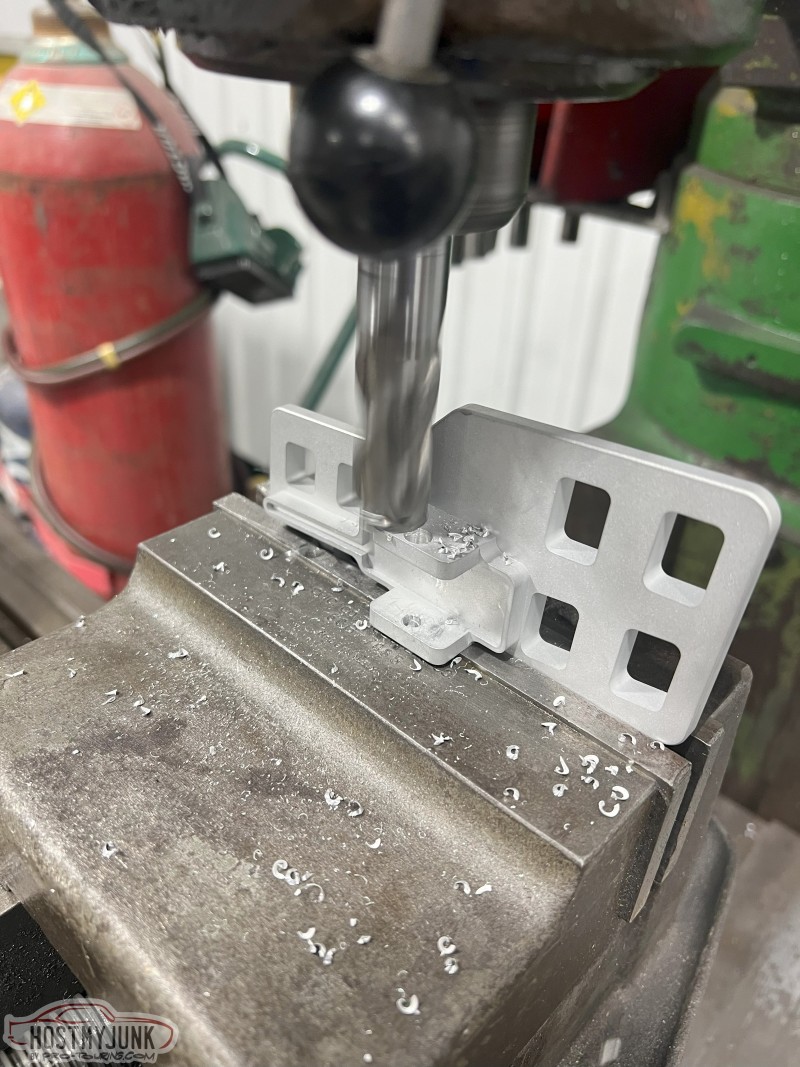
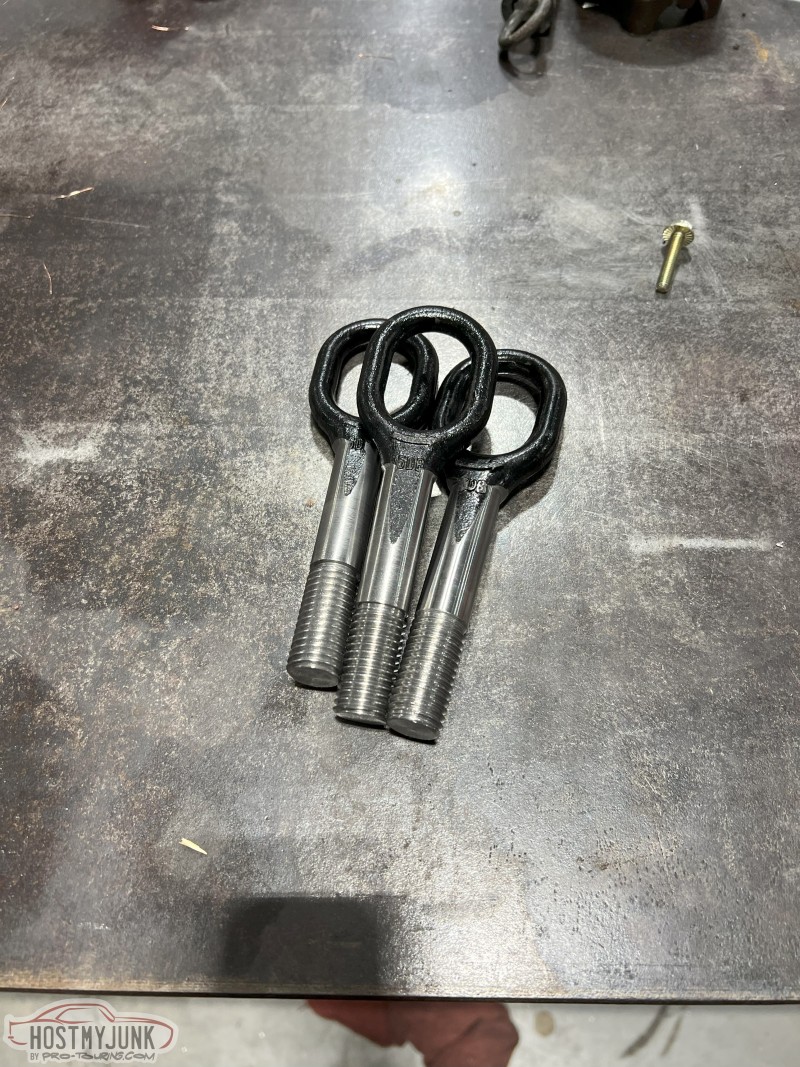
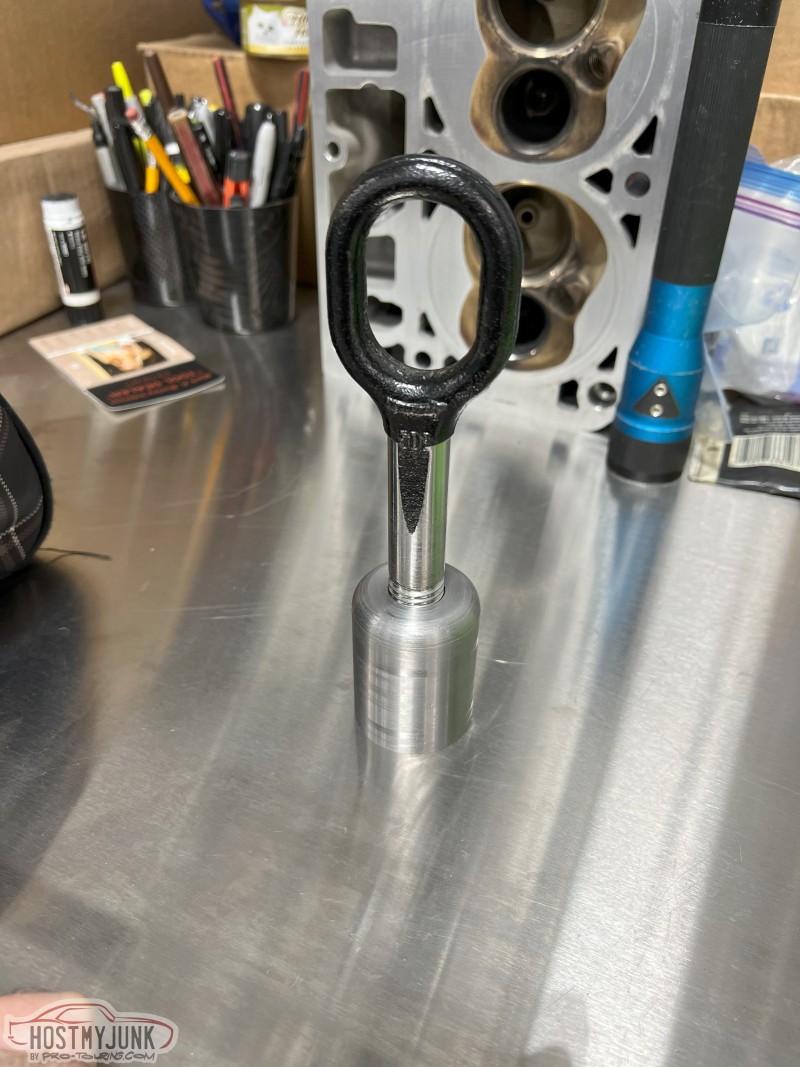
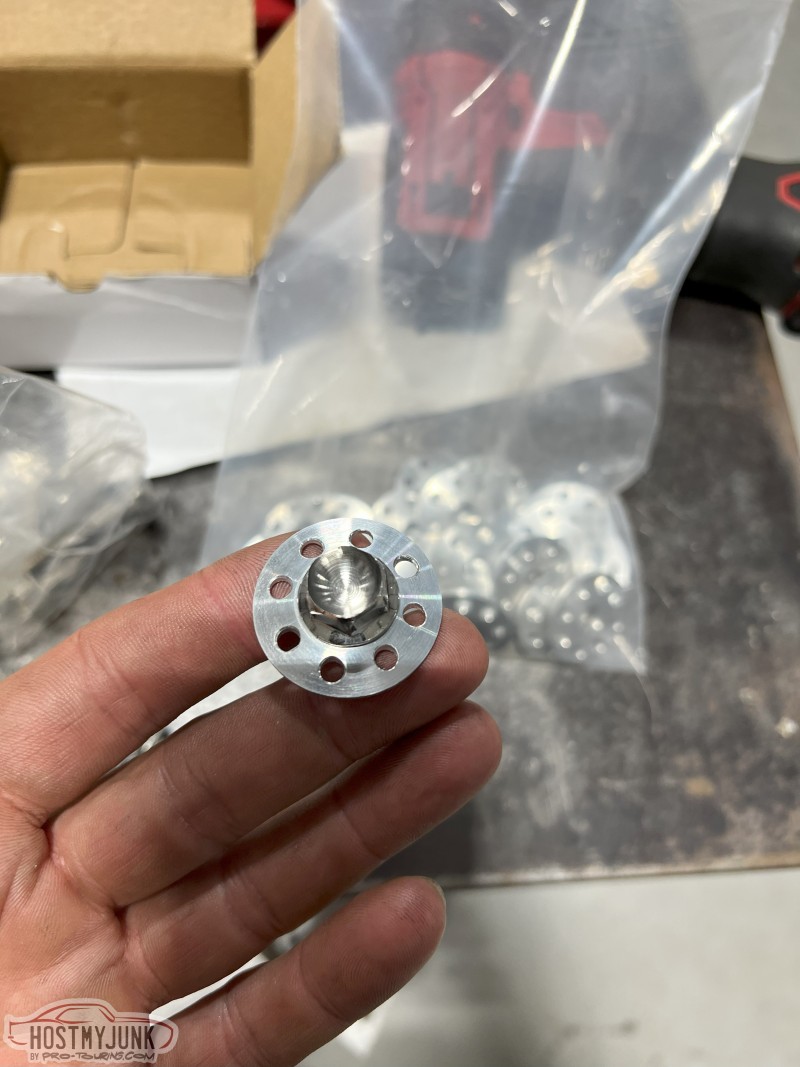
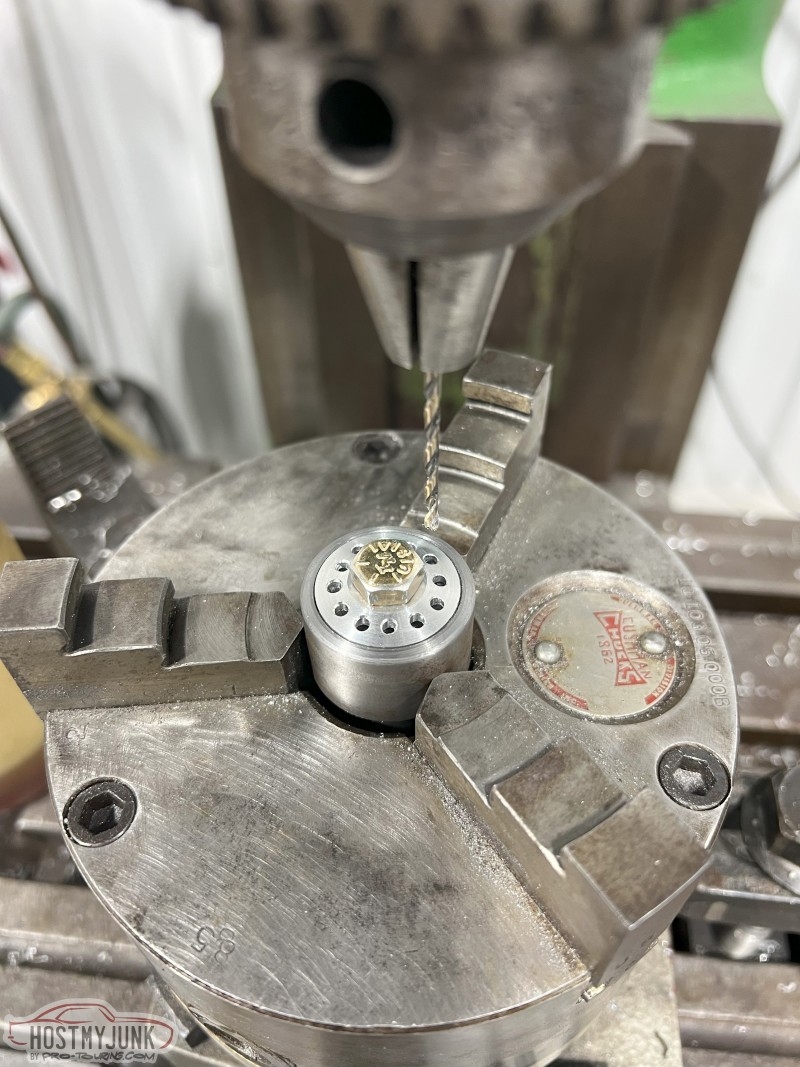
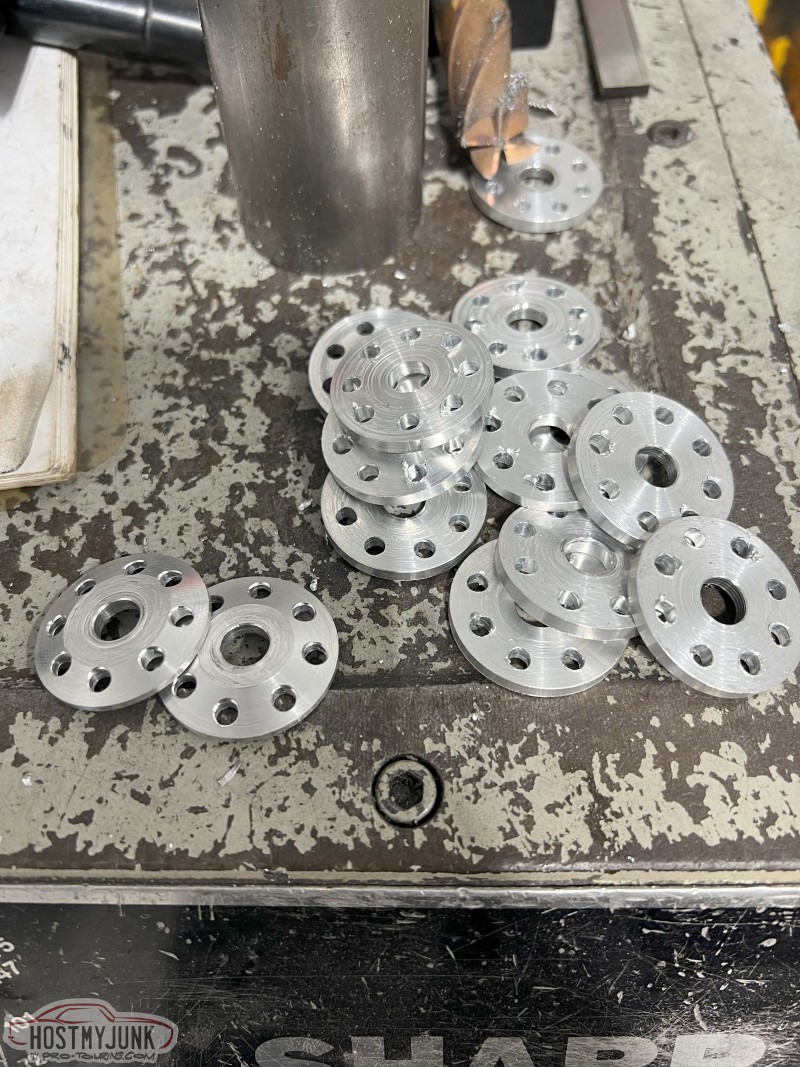
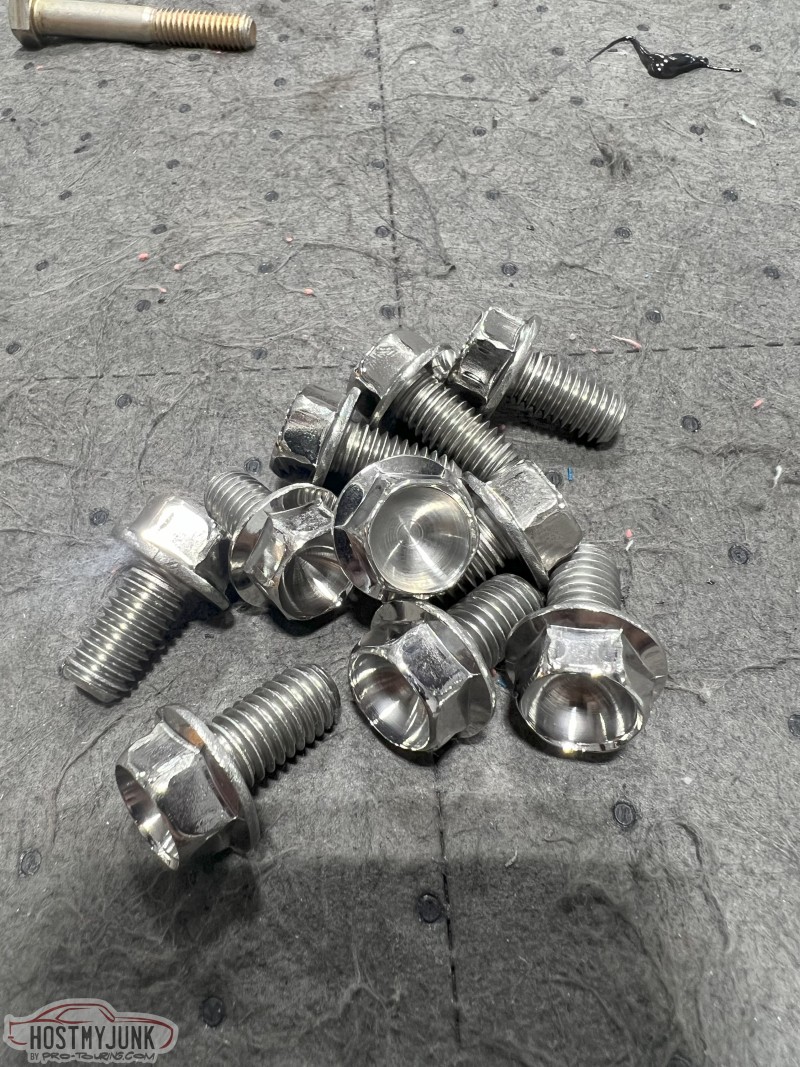
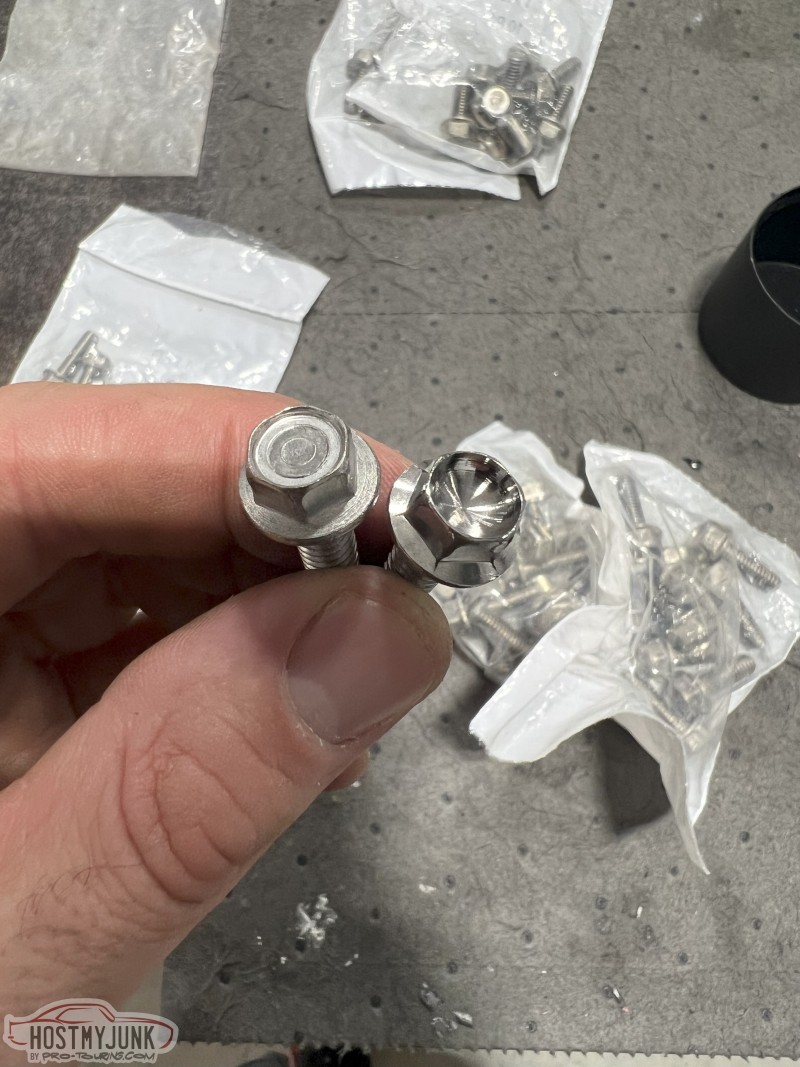
At this point the shop I was working for moved into a new shop. With that we got our mill and lathe running. Knowing I wasn't going to stay working there for too much longer I knocked out as much machine work as I had/needed. I made bushings for the core support, lift pucks, cable adapters for the doors. The throttle pedal to match the rest of the Corvette pedals, but without the crappy wobble that they are known for. Most importantly I machined a ton of stainless bolts and whats a cool looking bolt without an awesome moto inspired aluminum washer? 1/4", 5/16", and 3/8" along with some metric so the engine stuff matches. I also machined threaded bungs for tow hooks for track days that are easily removable.
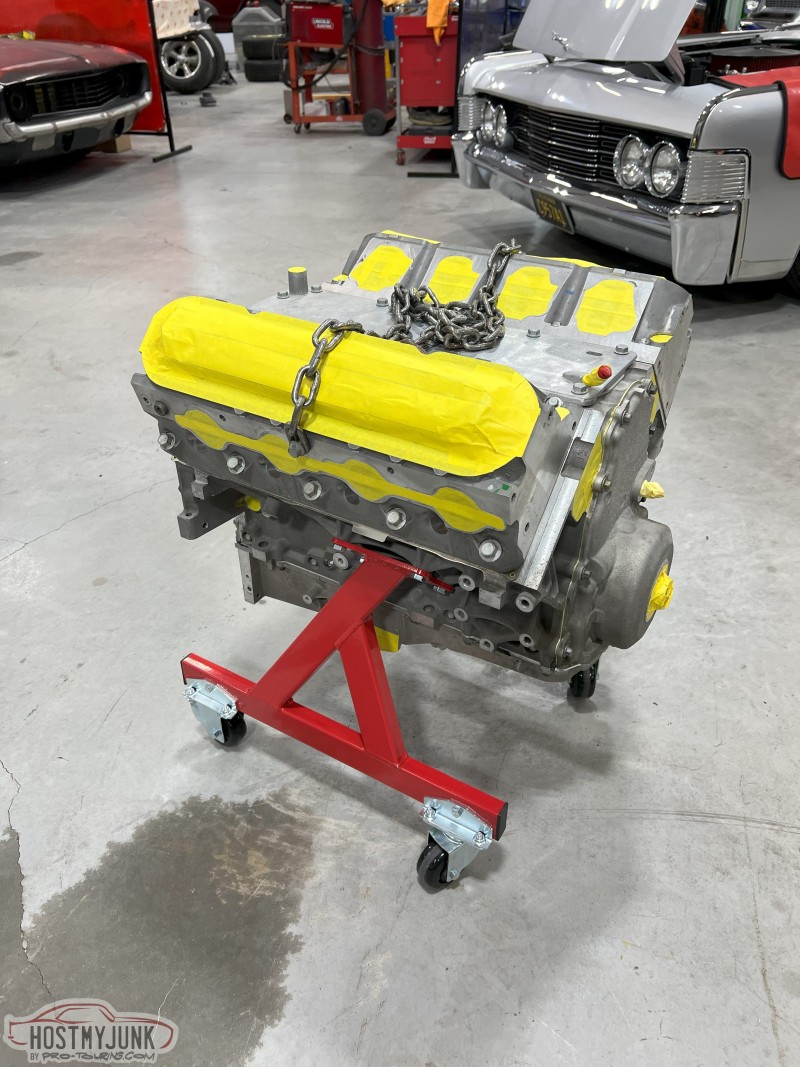
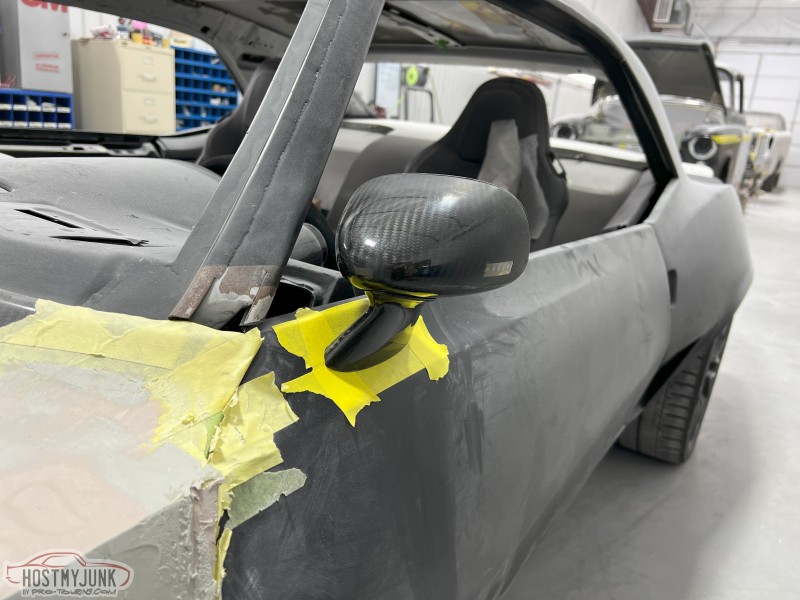
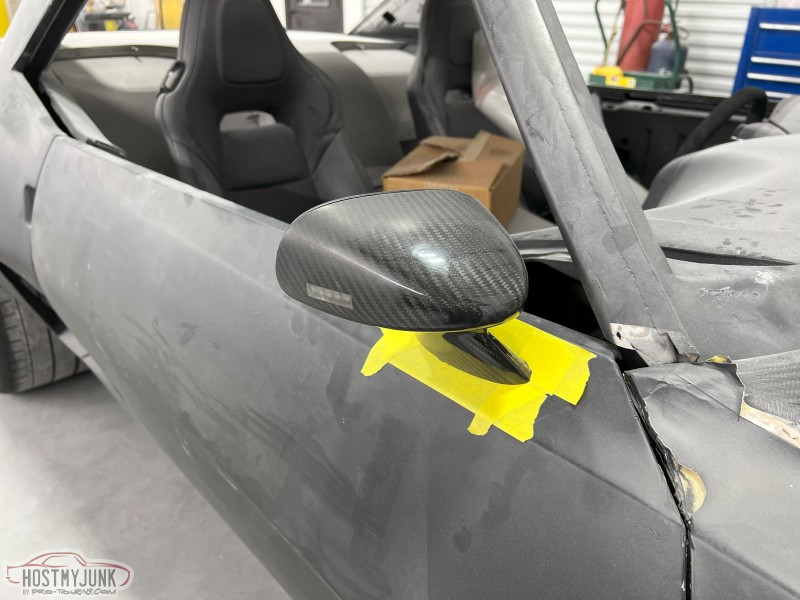
I also finished my engine and mounted the mirrors.
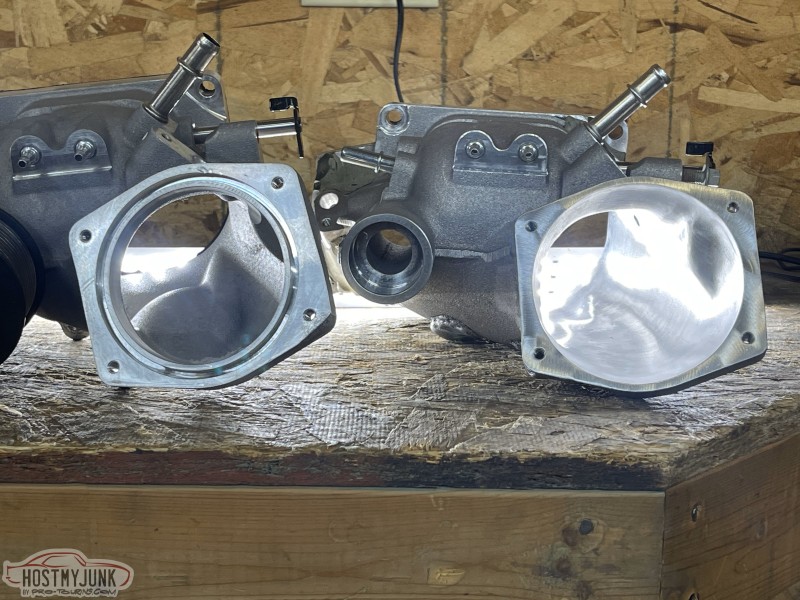
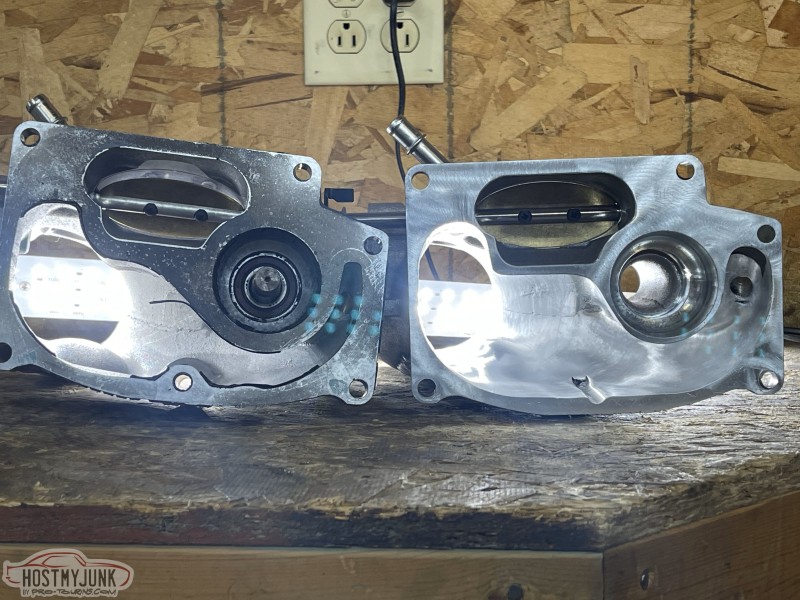
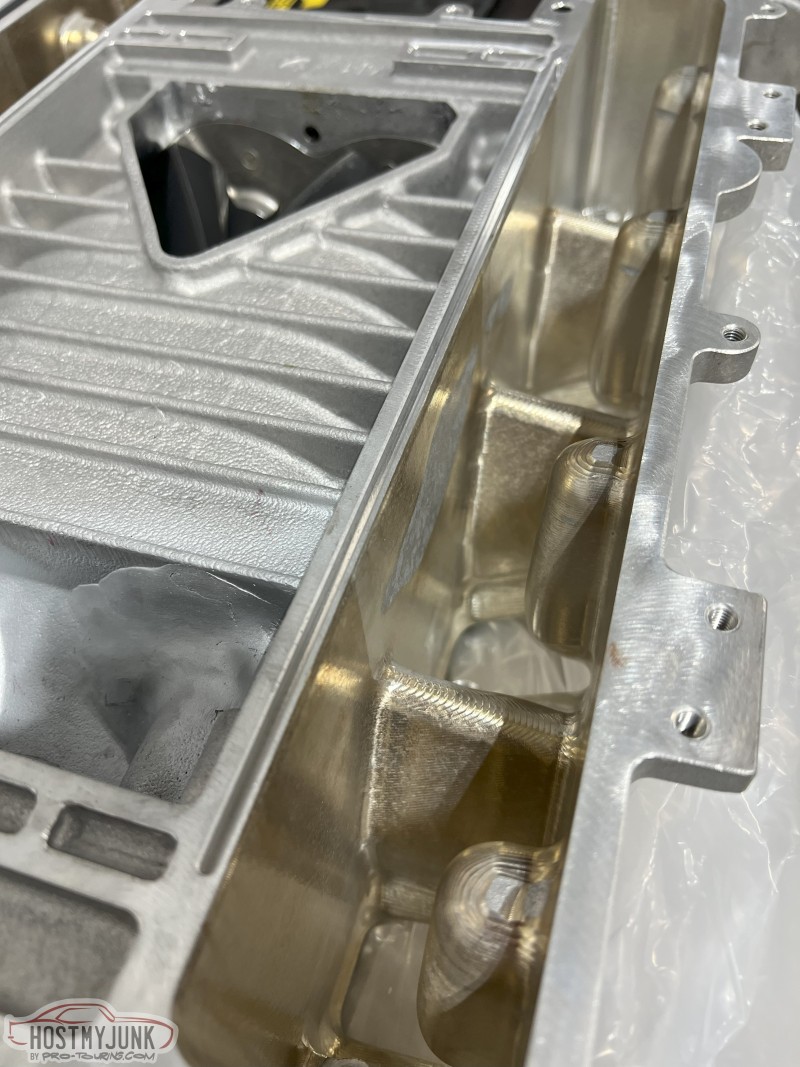
Oh, and the supercharger received some CNC race porting just to keep things spicy.
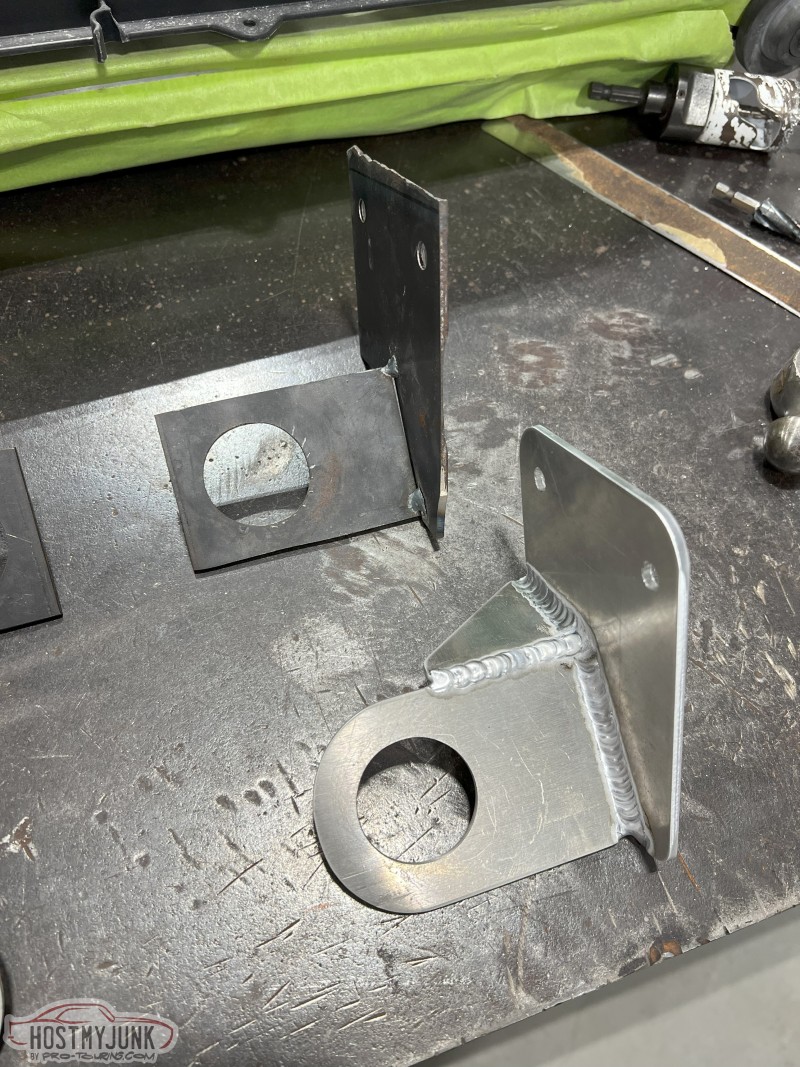
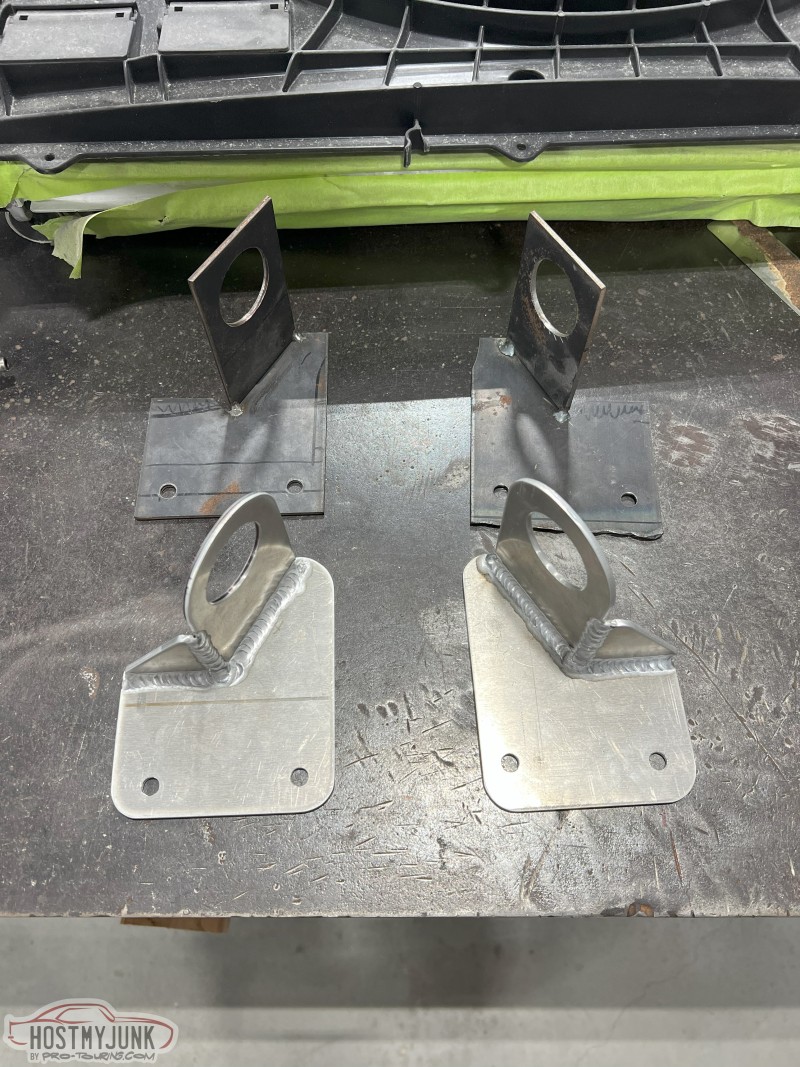
The mock up lower radiator mounts I finally got around to making out of aluminum and getting them finished.
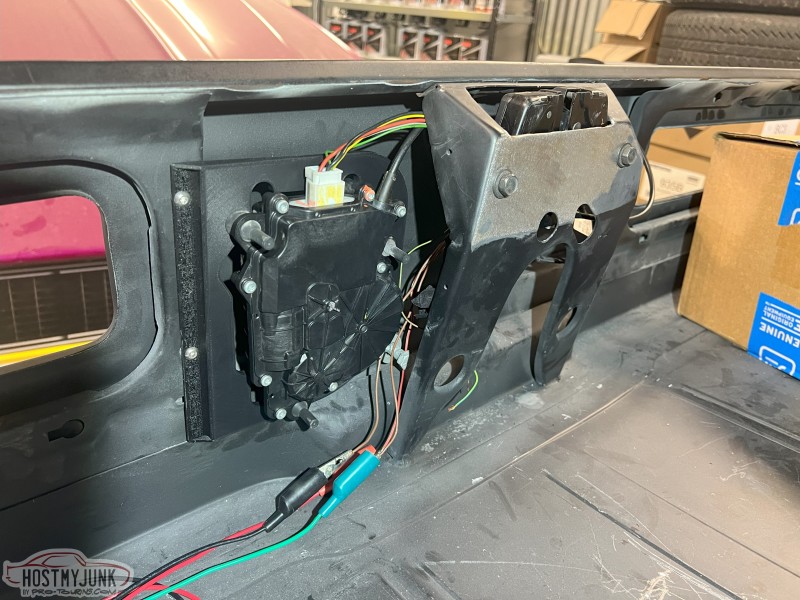
At this point I went to work for another shop that supports my ideas instead of telling me that most places don't do what I have in mind. Thats 3D printing. I spent a bunch of money and bought a new laptop, 3D printer setup, 3D scanner, and CAD software and then took the youtube crash corses on how to do it all. The second car part I made was a mount for my BMW soft close trunk latch, which I retro fitted into my car.
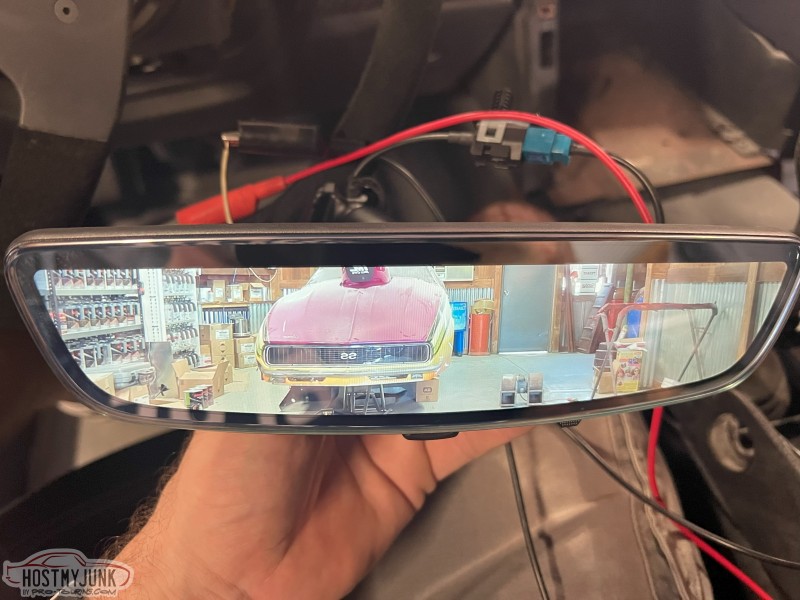
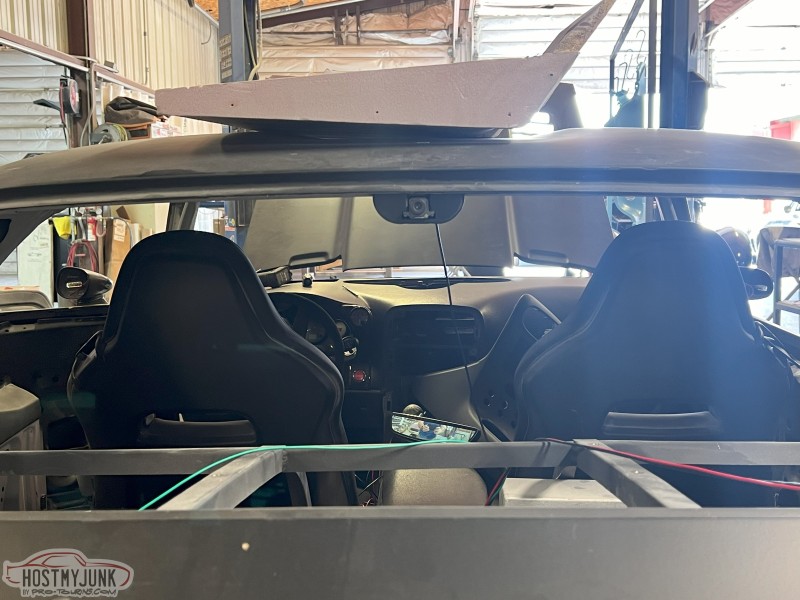
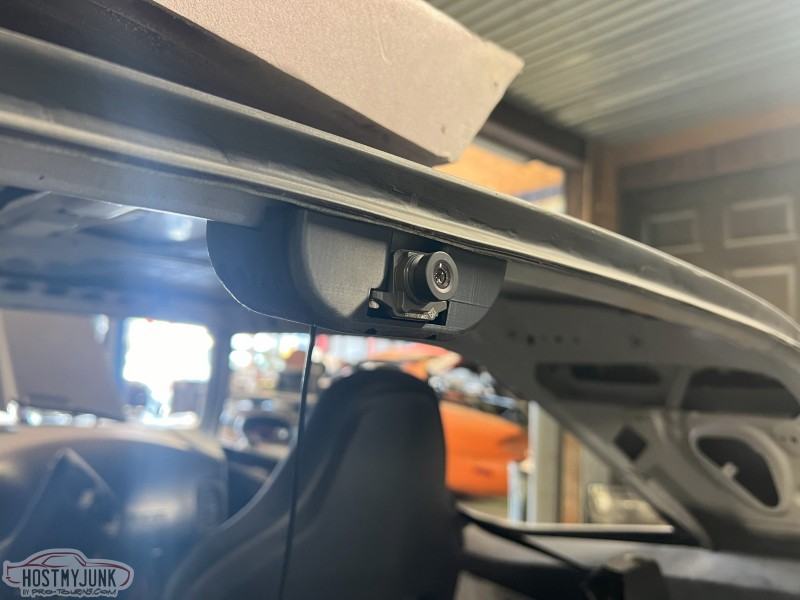
The very first car part I printed and modeled in CAD was a camera mount for my Live View camera. I have this setup in my truck and love it.
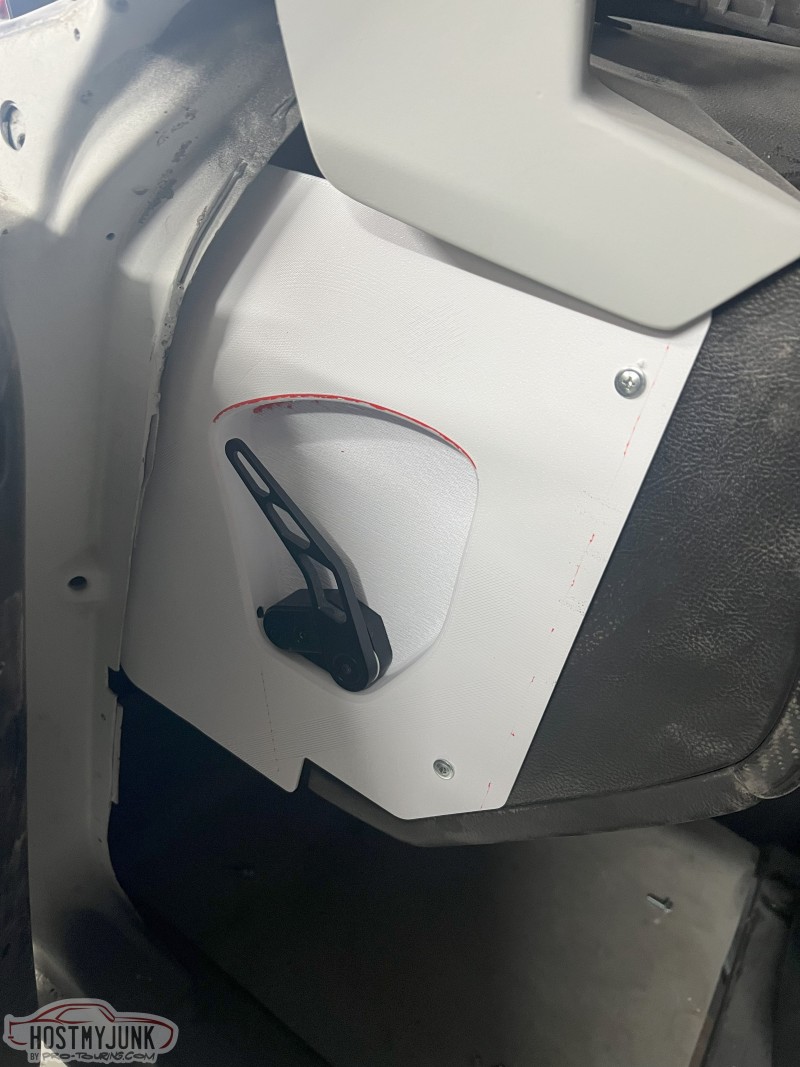
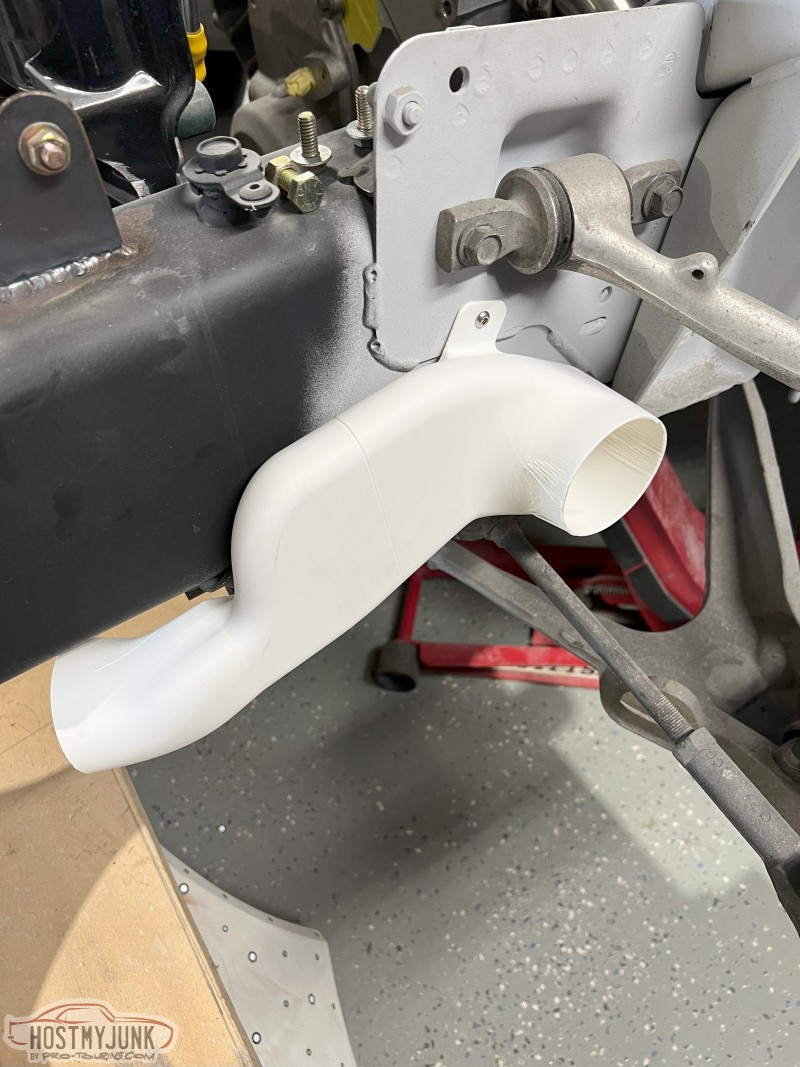
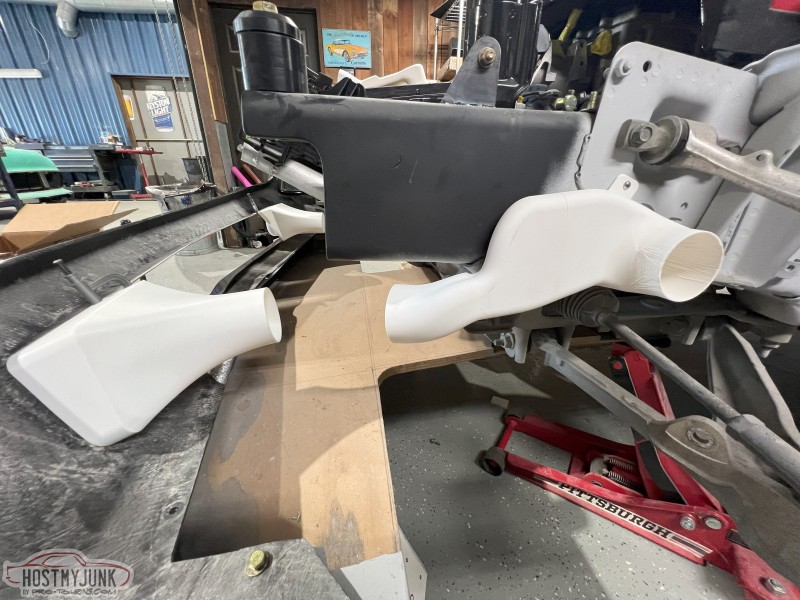
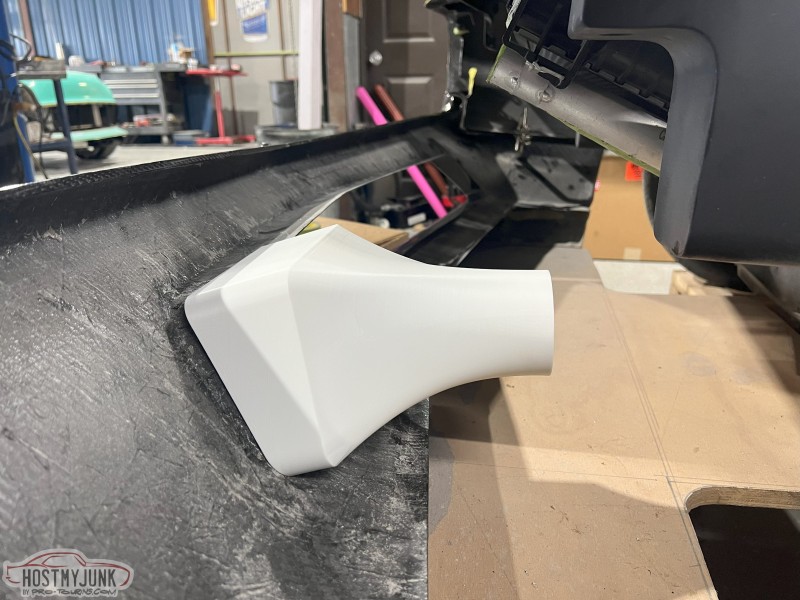
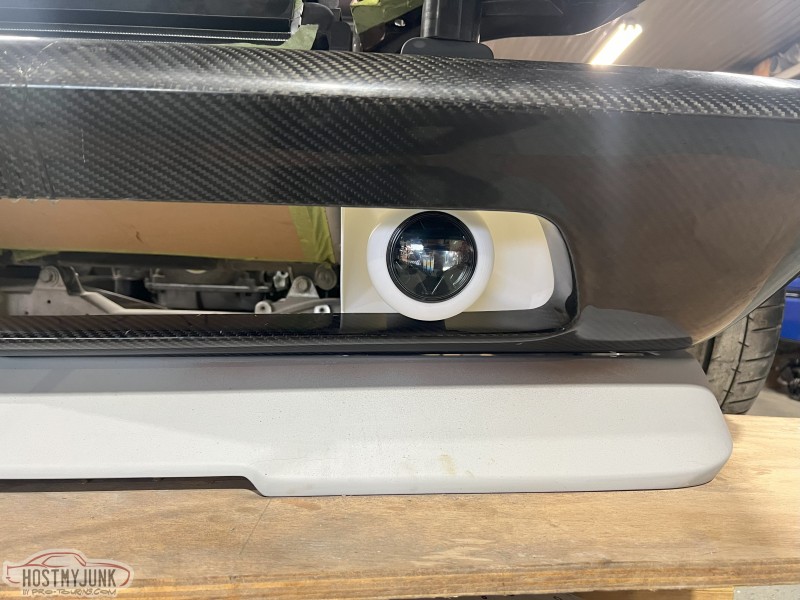
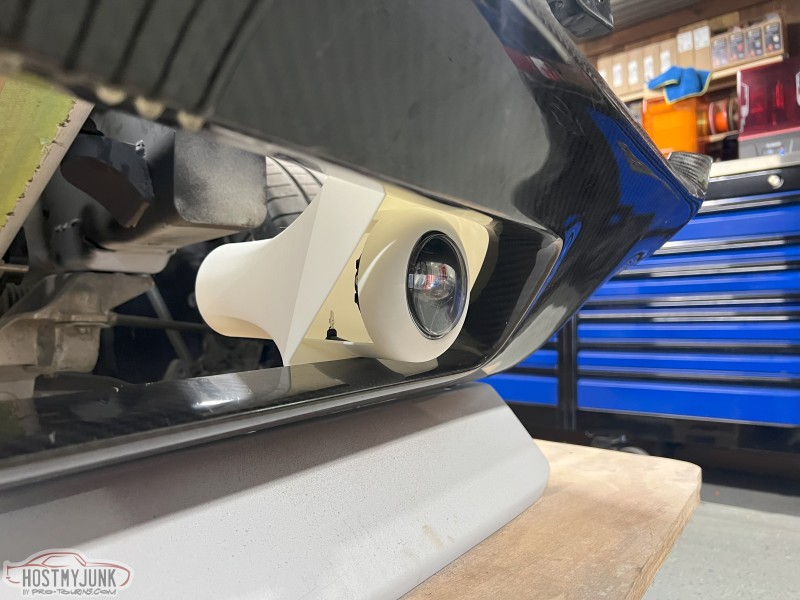
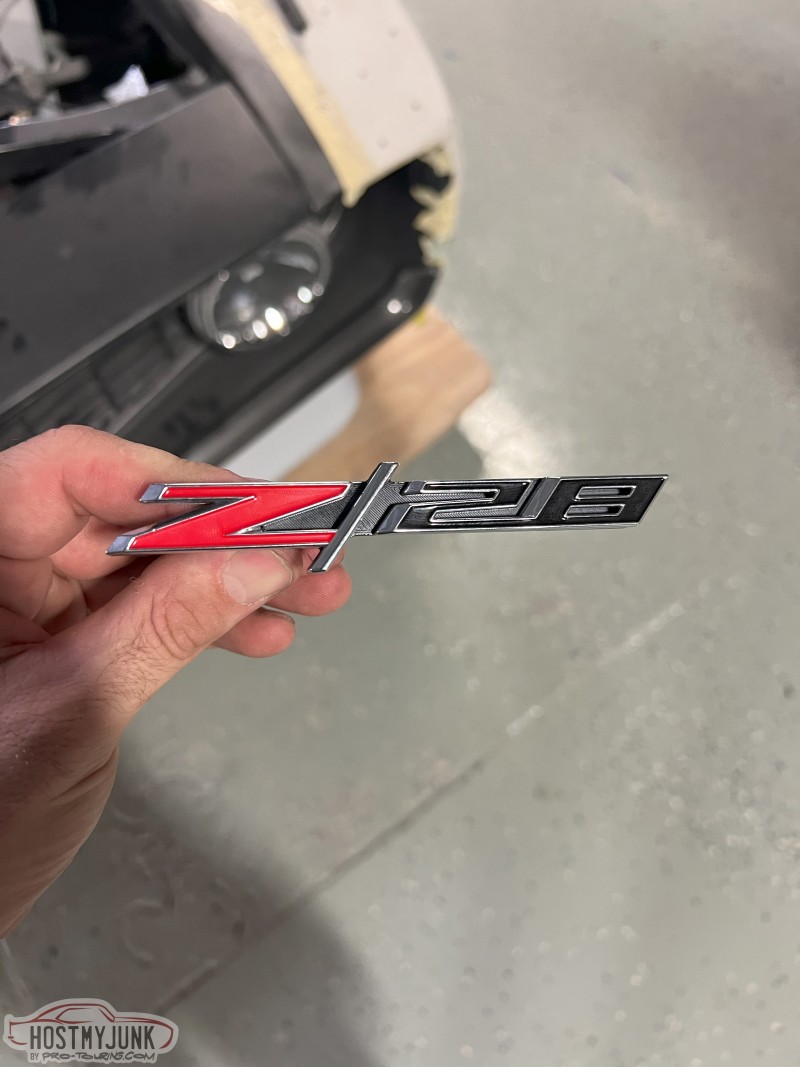
So with the 3D printer now at my disposal I've been working on front brake ducts, the brake duct inlets with integrated fog lamps, hood release handle mount and dash end close out base, cold air intakes, emblem mounts, door panels, ect. All kinds of stuff that would have taken so much more time if I tried to make it out of carbon or metal. Just note these are all printed in cheap PLA for mock up. Once I'm 100% happy they everything will be printed in a higher end material depending on where its used. It could be ASA/ABS or a carbon fiber reinforced nylon.
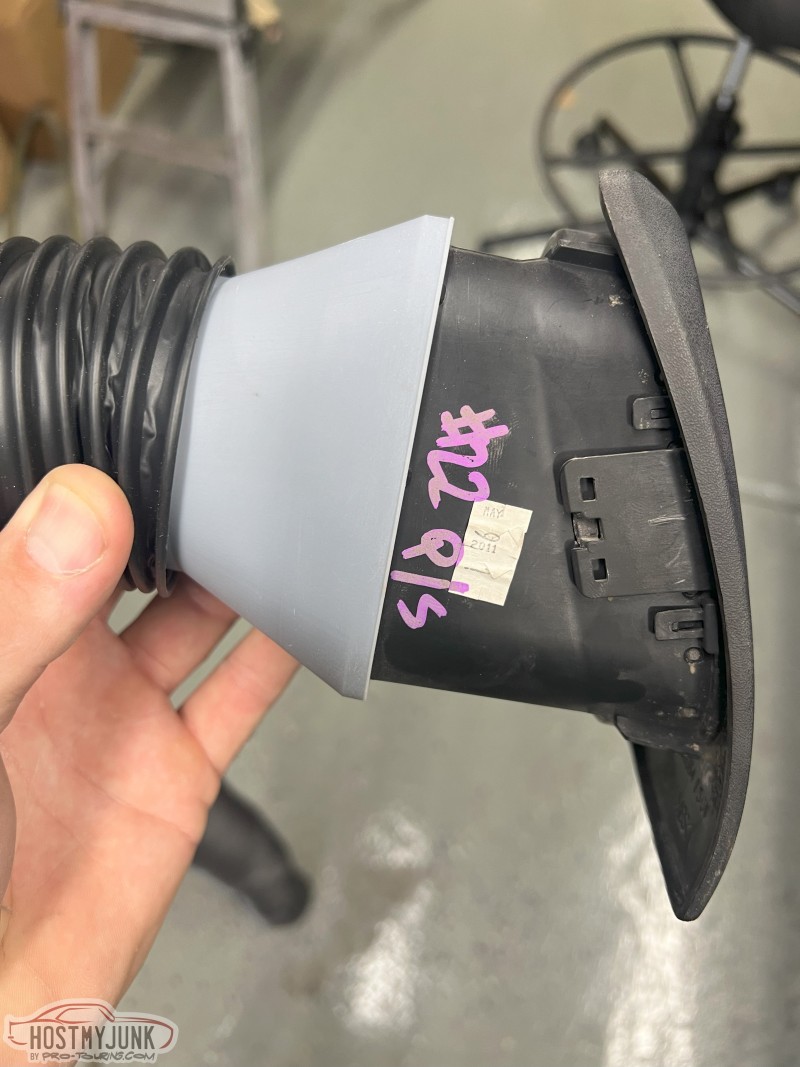
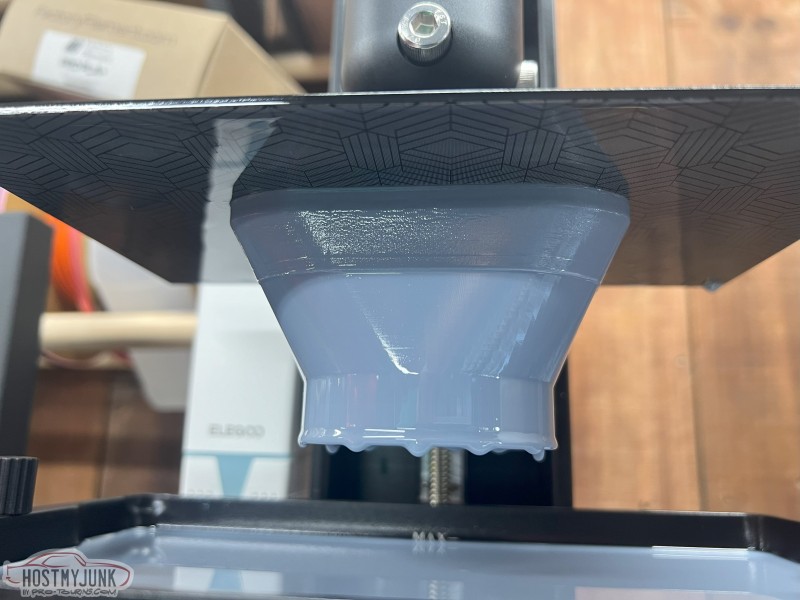
I picked up a resin printer as well, its a warm liquid goo that hardens with UV light. I made one of my HVAC duct adapters from the C6 dash to the Vintage Air duct hose.
That's kinda bad ass man.😎
Great work!
Long time, no update. Not long after the last post I wasn't really feeling myself. I've been lacking motivation on the car and a bunch of other health issues that kind of came at me all at once. Did some testing with the Doc and a few biopsies and it turns out I have Thyroid Cancer. Sucks, but at least I have a reason and I'm supposed to have surgery in the next week or so. I've still been chipping away at the car trying to force myself to get stuff done, but defiantly drag my feet most of the day.
Anyways, let me get you caught up as to where I'm at. Shifter linkage is done.
I needed a way to mount my ECM so I modeled up a mount. Final print will be out of carbon fiber reinforced nylon.
Wiring has been mostly done on the rear speed sensors, transmission, and engine harness.
With how I want to wire my car I needed a few different fuse blocks for the ignition relays and stuff not running through my Infinity Box. The left of the glove box opening on the C6 dash is a good spot and the passenger dash end it another great spot. Modeled up some mounts and printed mock up pieces.
While I had the drive train dropped out it was a good time to add some fish plates to the torque tube tunnel just for a little extra strength. I also finished out the section of floor behind the seat to the fuel tanks. On the top side I have a reinforced box so I could bolt a lift puck so I have a good spot to jack without crushing the floor or side skirts when they're bolted on. I also cut out the bottom frame filler panel to run the dry sump oil lines through.
Interion lighting has been upgraded to LED's as well mounted with more 3D printed parts.
With the wide body needing to be wider then the Anvil finders already are scanned a previously mocked up widened fender and modeled it up in CAD to be able to make a mold and mirror it for the passenger side. Lots of prints later and I have a few molds. Hit them with high build to get rid of the layer lines and blocked them out to see what is gonna need filler work before I can pull a carbon part from them.
I final print both dash ends in glass reinforced ABS and fiber glassed them into a full size panel before final shaping and bonding them to the dash. The driver side from the previous update is for my hood release.
I was originally going to 3D print my door panels, but it is a ton of work for me to figure out how to get the base of the panel to fit the door right so instead of wasting a ton of time I decided to start with a set of Fesler panels and cut them up to fit my dash and body. Needed to shorten the rear panels a lot. The front needed the speaker and center sections moved back to fit the dash. Now I can foam and fiberglass the upper section to fir the dash for better flow. From these I'll scan and model up arm rests, grab handled, and door release buttons.
I've also mounted the Gen5 HVAC case and printed up a few mounts for random modules. These hold the cruise control, duel window switch to control the exhaust, fuel gauge adjuster to adapter two fuel senders into a 0-90 GM gauge, the vacuum pump controller, and the HVAC controller.
Speaking of vacuum pump, its mounted in the driver tulip that I cut out.
The latest thing I've got modeled up is the rear diffuser. I just started printing it out and I'm doing it in such a way that I can use it as the core material for the carbon fiber final part. Pics of the printed parts next update.
Very nice......quite the project!
Pit Row
Beyond impressive sir.
Good luck with your health issues.
Incredible. I can’t believe how talented you are.
pm me of you need some 3K or 12K Carbon….all “2X2” weave like many of the parts I see in your build. We have a lot of it and I can save you some $ and just let you have it at our cost…and that way you can get rolled up correctly and not all distorted. It’s all Toray woven in Murica!
This is an absolutely awesome project.
For some reason, the wider fenders and their Sting Ray like side lines feel very “Firebird” to me. I say this as a fan, since childhood, of the 1st & 2nd Gen Camaros and Firebirds.
One of my favs on my list...1969 Z28, 302 4 Bolt Mains, 4spd, Hugger Orange. Of course I wouldn't say no to a COPO. Superior work my man!
I am really looking forward to seeing this one finished. It's amazing already. And I don't even like restomods or muscle cars!
Thank you.
Looks like you have a hater following you through all the threads down voting you.
Thanks guys. I'm hoping to someday be done building it and actually driving it.
I might take you up on that, I'l not sure how much carbon I have left from the other stuff I've done.
The Firebirdish look is likely because of the angles of the pics I think. The '69 birds the body spear went all the way forward and the Camaro turned down at the front of the wheel opening. The front budge could be why it looks birdish.
Vitards be vitards...LOL
I'm back at it after surgery. I'm going to try and be better at updating more often. I got my diffuser mounted so I can start getting it body worked to the car. Pretty happy with the overall fit and look of it. I also did a little more work on the driver door panel. I needed to skim coat the foam because the fiberglass resin attached it and melted. Skim coat to get the rough shape of the fiberglass and then I'll final body work the whole panel to get it ready for leather. I still have to 3D print a arm rest and door open button mount, but baby steps.
So jealous. Not of the car, but that you have the skill to pull it off. I can’t change a shower head without destroying the bathroom! True story…
🤣😂
Post a reply to: '69 Camaro build thread