
Posts
147
Joined
8/12/2018
Location
Post Falls, ID, USA
Edited Date/Time
12/5/2021 4:00pm
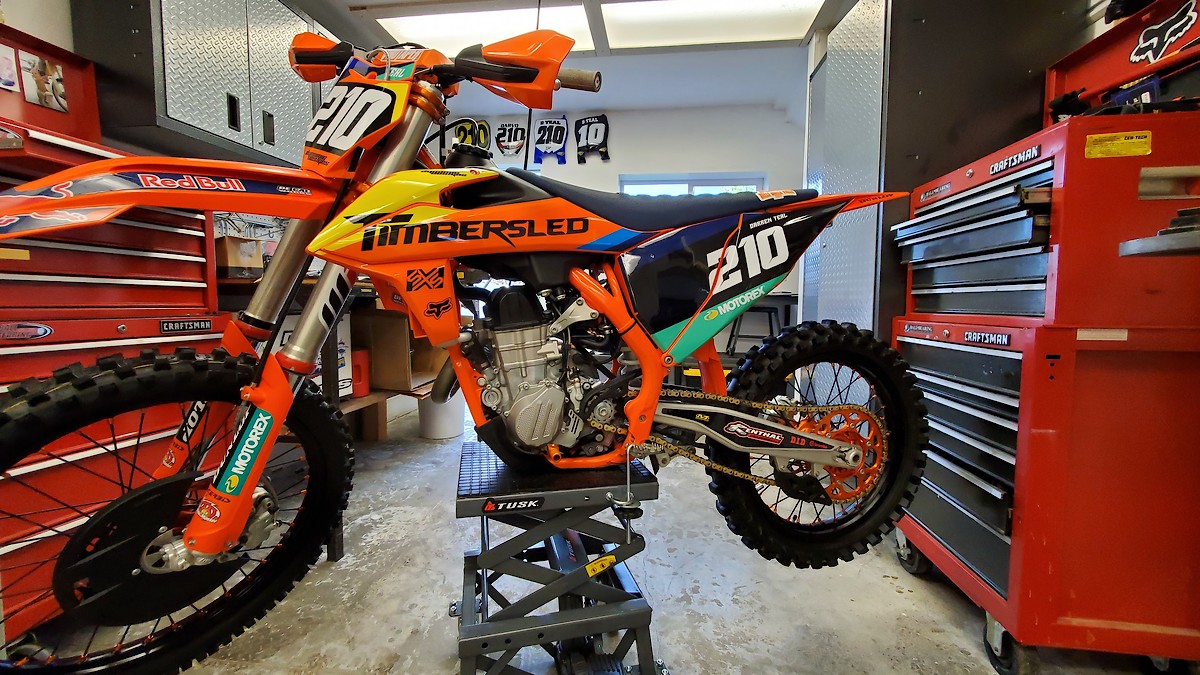
Not really a build - more just an assembly of parts. This one will go slow as I'm waiting on the snowbike kit still.
Starting point is a 450 SXF FE.
Step one is the intake.
Deep powder requires a pretty unique intake set-up to keep fresh air going to the motor. Not going to be running the stock intake boot, but this intake instead. It's called an Airforce Velocity stack. It has shown some pretty good gains on a dyno. No need for foam and oil when in the snow, just a pre-filter. I run two pre-filters to help keep the dry/fine powder out.
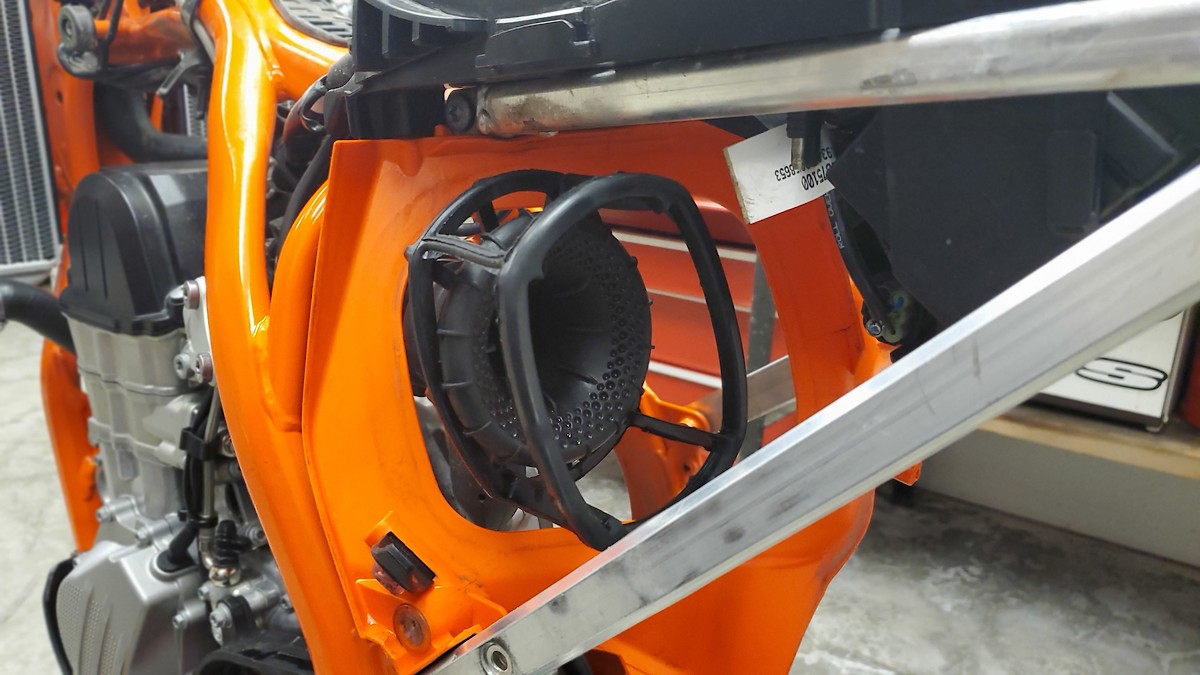
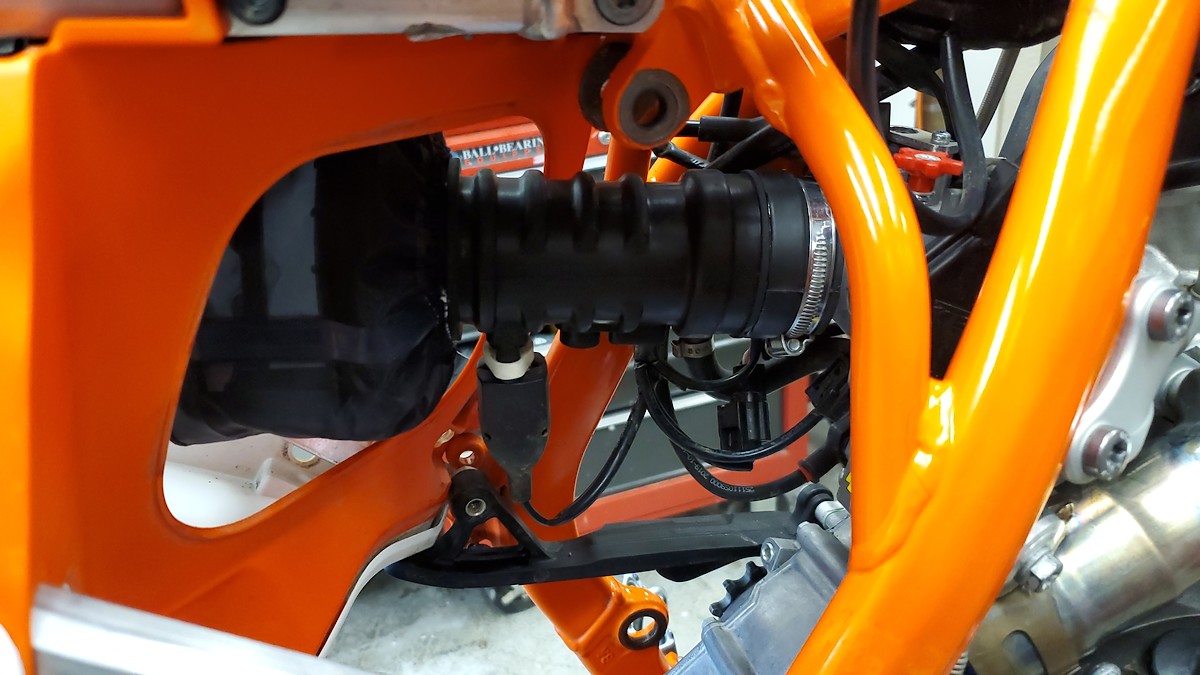
I also swapped out the back half of the airbox with one that I have already cut-up. Cutting the bottom out allows any snow that makes it into the airbox to fall out of the bottom. I kept the portion above the chain so that no chain grime makes it's way to the intake.

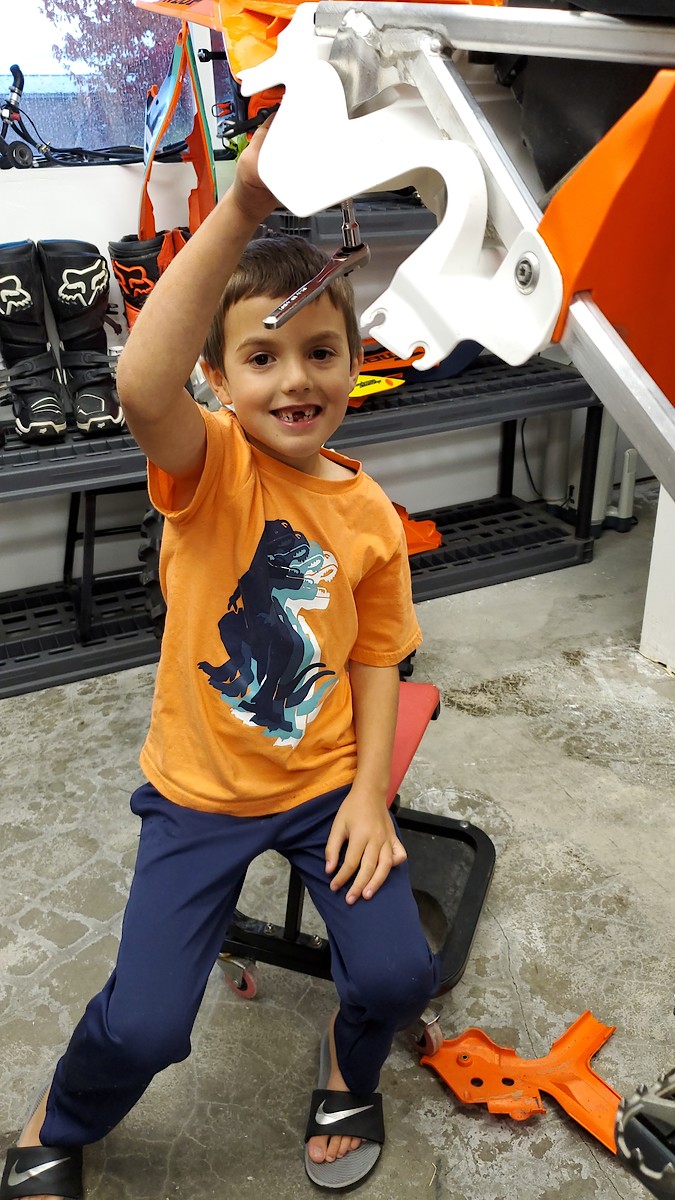
Cheap labor. Poor kids lost his 4 front teeth all at the same time.
Starting point is a 450 SXF FE.
Step one is the intake.
Deep powder requires a pretty unique intake set-up to keep fresh air going to the motor. Not going to be running the stock intake boot, but this intake instead. It's called an Airforce Velocity stack. It has shown some pretty good gains on a dyno. No need for foam and oil when in the snow, just a pre-filter. I run two pre-filters to help keep the dry/fine powder out.
I also swapped out the back half of the airbox with one that I have already cut-up. Cutting the bottom out allows any snow that makes it into the airbox to fall out of the bottom. I kept the portion above the chain so that no chain grime makes it's way to the intake.
Cheap labor. Poor kids lost his 4 front teeth all at the same time.


Raze ninja NOS kit?
What snow bike kit and length?
Kit is a 2022 timbersled riot 3pro.
Forks dropped off at RG3 Northwest. They will get a spring conversion with a .62 spring rate and a snowbike specific valve job. Normally I run a .64 but with the Riot kit putting so much less weight on the ski we decided to reduce the spring rate and soften up the initial part of the stroke. Hopefully this will add some comfort and balance back into my set-up.
Timbersled thermostat with bypass 1 going to the handlebars, bypass 2 straight across and back into the motor. You can control where the flow goes with the little red knob.
Coolant plumbed into the bars.
Picture of the 2nd bypass layout.
Trailtech temp sensor is plumbed right into the thermostat. This is the simplest mounting location for the actual gauge that I've found. It's easy to see and read while riding.
The Shop
DeCal Works Huge Plastic Inventory of UFO and Polisport kits.
Free shipping: VITALMX
Luxon 4-Post Bar Mounts
$189.95 - $239.95
I live in south Louisiana so I have no idea about snow bikes but looks awesome for sure.
Fastway wrap-around handguards are a must for snowbiking. Glancing off of trees happens far too often.
The Timbersled bars come with these neoprene wraps that help keep heat in the bars. Also helps the little guy not burn his hands when we're riding double.
Timbersled gauntlets to help keep wind and snow off the hands. They look ridiculous at first, but you get used to it, and warm/dry hands make the day so much more enjoyable and they don't restrict movement like the handlebar bags do.
And - forks are back. Built up for serious abuse!
I also really enjoy all of the local support / products available for snowbikes. Timbersled kits are built in Idaho about an hour from me, Selkirk products are the same, about an hour away, SXS is 20 minutes away, and fastway is also an Idaho based company.
Now it'll get shoved into the corner as I wait for the 2022 Riot 3 Pro to arrive.
Also do you mind taking some close ups of the mounting point? I've always been super curious on how those things mounted up. I would think they would put a big strain on the stock tower or the lower linkage mount on the frame.
The kit uses the swingarm bolt and the upper shock mount, nothing attaches to the lower linkage mount. I was worried about blowing out the upper shock mount when I started riding these in 2010, but haven't seen or heard of it happening. I have some material in there keep snow off of the back of the motor so it's hard to see how it mounts.
Seems like a sketchy thing to do, so I just leave mine stock and focus more on keeping the temps up so the bike runs properly.
Post a reply to: Snowbike Build