

Posts
424
Joined
2/21/2013
Location
AU

Edited Date/Time
6/28/2018 7:01pm
I get a phone call from my sister saying she has found me an old XR75 to do up. I pick up the old girl not knowing much about it. It turns out its a 1974 K1. The second year of the XR75 and the last of the full gun metal gray models.
These old girls are quite rare in Australia and command a high prices, even ones in poor condition. This one was sadly neglected. Someone had made an attempt by putting new tires on rusty old rims and new bars on an even rustier old frame.
Pics below of what i was up against..


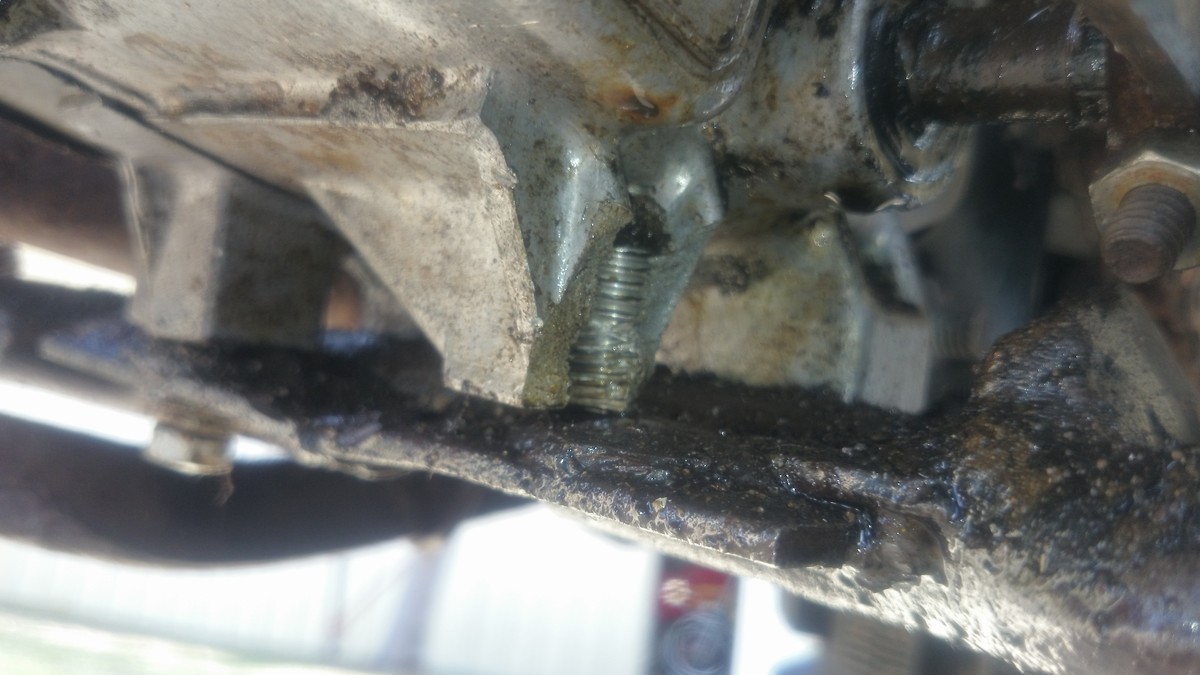
One foot peg mount, which is part of the engine case, was broken off. The worn gear shift was welded to the shift shaft. The bike would not run. The exhaust was cactus. Most parts on the bike were rusted, bent, worn, missing or broken. But, she was all there, and had potential.
The plan was not to do a full rebuild, but rather assess the damage, get her running and then do a general make over so that my young lad could enter a few vintage meets.
A manual was purchased so that we could work out how to go about things. Pictures and info were obtained so that we understood the 74 model better. I consider myself lucky, as i think the 74 layout and color scheme looks fantastic.
Pic below of the 74 as new and the target for what we wanted...

Parts were going to come from a variety of sources.
Unfortunately, being in Oz, post is always expensive, but that just adds to the scarcity and value here.
To get the old girl running, a new carb, points, condenser, filter and coil was purchased from Re-Mx. The tank was cleaned out, tappets adjusted, new carb installed and everything adjusted. The pipe was beyond toast, so a new power pipe was sourced from xrminiracer.com.
The pipe was installed along with new gas and oil and then it was time to fire her up.
Bingo... she runs!! and sounds pretty sweet too!! I took a YouTube vid of the moment...
These old girls are quite rare in Australia and command a high prices, even ones in poor condition. This one was sadly neglected. Someone had made an attempt by putting new tires on rusty old rims and new bars on an even rustier old frame.
Pics below of what i was up against..
One foot peg mount, which is part of the engine case, was broken off. The worn gear shift was welded to the shift shaft. The bike would not run. The exhaust was cactus. Most parts on the bike were rusted, bent, worn, missing or broken. But, she was all there, and had potential.
The plan was not to do a full rebuild, but rather assess the damage, get her running and then do a general make over so that my young lad could enter a few vintage meets.
A manual was purchased so that we could work out how to go about things. Pictures and info were obtained so that we understood the 74 model better. I consider myself lucky, as i think the 74 layout and color scheme looks fantastic.
Pic below of the 74 as new and the target for what we wanted...
Parts were going to come from a variety of sources.
Unfortunately, being in Oz, post is always expensive, but that just adds to the scarcity and value here.
To get the old girl running, a new carb, points, condenser, filter and coil was purchased from Re-Mx. The tank was cleaned out, tappets adjusted, new carb installed and everything adjusted. The pipe was beyond toast, so a new power pipe was sourced from xrminiracer.com.
The pipe was installed along with new gas and oil and then it was time to fire her up.
Bingo... she runs!! and sounds pretty sweet too!! I took a YouTube vid of the moment...
The bike is torn down and i end up with a bunch of parts to throw out, a bunch of parts to clean, a bunch of parts to fix, and a bunch of parts to send off for blasting, zinc coating and then powder coating gloss black.
Pics below of some of the stuff getting treated. The parts getting powder coated also include bits for another project..
Ebay was used to source things like a new gear shift shaft, shifter and various other hard to find parts.
The seat cover was the wrong style, the seat foam was toast, most fasteners were missing or wrong or rusted.
Re-mx was used to source a new chain and sprockets, new rear shocks, new molded seat foam, new period correct seat cover, new front number plate and a few other parts. Re-Mx takes care to make sure all parts are replicas of the originals. All my original parts have been kept. The carb, front plate, seat foam, shocks etc are all worn out, but they are still the originals and will remain in a parts box with the bike.
Things starting to come back from powdercoaters and going back together..
The engine was dropped into a workshop that deals with case repairs. They were able to rebuild the mount and machine it. The rest of the peg mounts were helicoiled. The perch was straightened, then powder coated and new footpeg pins and springs were fitted to the freshly powdercoated pegs..
The wheels needed sorting. The hubs and backing plates were buffed, bearings regreased and new chrome rims and spokes sourced. The wheel sets were rebuilt on the dining room table and then trued up in the shed..
A list of hardware is created from Partzilla Honda diagrams and an order goes out for a huge list of OEM parts.
Fastguystuff, Re-Mx and Partzilla are used to source the various tank, side cover, swingarm, frame and rear fender decals.
All the body work is stripped, sanded, defects fixed, filled, undercoated and then top coated. The color was matched using the rear fender. Part of the rear fender under the seat was like new (the rest was toast), and the gun metal metallic silver was computer matched. There is a hint of green in the silver.
The front suspension is rebuilt using genuine Honda seals and new oil. Everything is cleaned and buffed. New repro shocks are added to the rear. Steering stem bearings are cleaned and regreased. Everything is cleaned, greased, adjusted and fitted up nicely...
The engine is back from the workshop, and is put back together with a new shift shaft, seals, gaskets and other bits and pieces. The XR is starting to look like a bike again..
The tires are fitted with new tubes and are mounted on the bike along with various other bits and pieces..
Inspiration had come from various sources on the net. we especially like the BBR XR75..
Everything is slowly coming together. Cables, petcocks, grips and other items are all sourced, fitted and adjusted.
The pipe goes back on with a new gasket and cylinder studs..
The bike has all new genuine Honda hardware. New filter in the freshly painted box, reconditioned rods, arms and other components. Everything is inspected, cleaned, greased and refitted. I'm left scratching my head sometimes figuring out where parts go.. but eventually the puzzle is solved..
Decals are applied to all the plastics. There are various warning decals. The 74 had the tire pressure decal on the rear fender. There is an exhaust warning decal on the swingarm. Two warning decals are on the tank. My tank had the markings from the originals.. so they were replaced in the identical spots. The tank also had the original wings, so measurements were taken and the wings reapplied in the original spot.
All panels were undercoated, then base coated in gun metal, then 2k clear coated. You have to allow a week for everything to dry, then a rub with 1000 wet and dry, then application of decals in correct locations.
I use a spray bottle of water to apply all decals. Allow to dry a few days, then re-shoot 2k clear over decals. you have to do a few mist coats, then semi wet coats then full wet coats.
Once the panel were done, they were ready for installation..
Today the project was officially completed and here are the final pics.
I guess it took about 100 hours in total to complete the project. You have to take into consideration research and searching time, travel etc.. Its definitely not the type of project you want to undertake to make money. Usually you will loose money on a project like this.. but if you have a passion for the bike and it going to be a keeper.. then its worth it..
The completed bike..
The Shop
Cheers everyone,
Although this bike refresh was not a total rebuild, the outcome was great. The bike runs well, looks good, and had given this little XR another 45 years....
That little Honda is as good as your lovely Yams, which I read about! Credit to you sir. Hubs look amazing, polishing etc- a joy to see and remember these little pieces of moto history.!
Ignore that Philips head screw, its a trap for young players...
They are easy enough to strip. Pull the dust cap to reveal a circlip. Pull the circlip and then pull the top tube from the bottom. Then just remove the spring and seal etc.
I gave everything another degrease and clean up.
Next was a nice polish and buff of the bottom legs. Cleaned the chrome on the sliders and began reassembly.
I had new Honda OEM seals to go back in, and a few new drain bolts and washers.
I reassembled everything using 110cc of 15W fork oil in each leg.
Pit Row
Post a reply to: 1974 XR75 K1 Refresh