
Posts
9
Joined
7/30/2019
Location
Costa Mesa, CA
US
Edited Date/Time
8/1/2019 6:50pm
So I documented the whole process pretty well on my Youtube channel as my best friend Mikey Ojeda from Bleach Design Works and I took apart and reassembled my 450L.. if you haven't seen it here it is.. https://www.youtube.com/playlist?list=PLu22yYXKD0q_3w1uvHxa7kOT8tjw0CoWA
But I thought it'd be cool to post up a build thread and show some photos I took along the way on my phone and my camera. I'm also currently building a CR250 to race at Red Bull Straight Rhythm so I'll get together some photos as I go with that build and make another thread. Enjoy.
I'll try to post these in the right order.
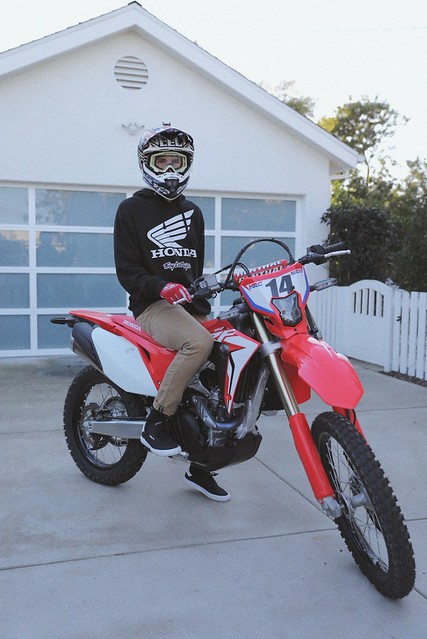
The first day I got the bike home. Also the only time I rode it in its stock form..
Day one of taking the bike completely apart.. most of the plastics off as well as wheels and suspension.

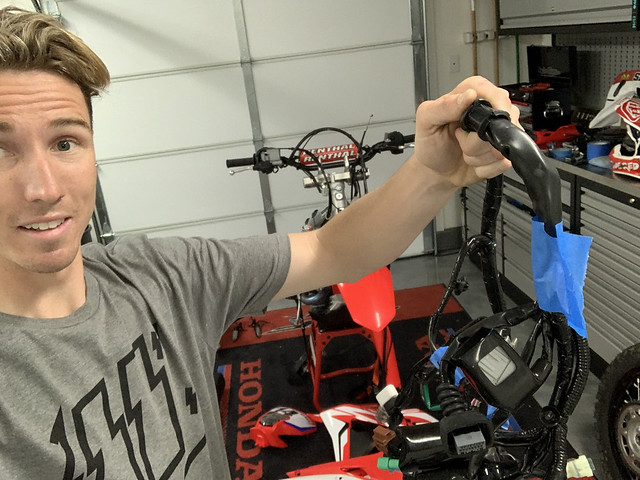
The next day we worked on it we got the subframe off, which was tough with all the wiring from the shock back but after a half hour or so of sorting some of the wiring harness it came off. We also removed the tank and a few other items. I remember at this point thinking how deep I was and over my head with the whole build but I had a vision on how I wanted the bike to look so that kept me motivated.

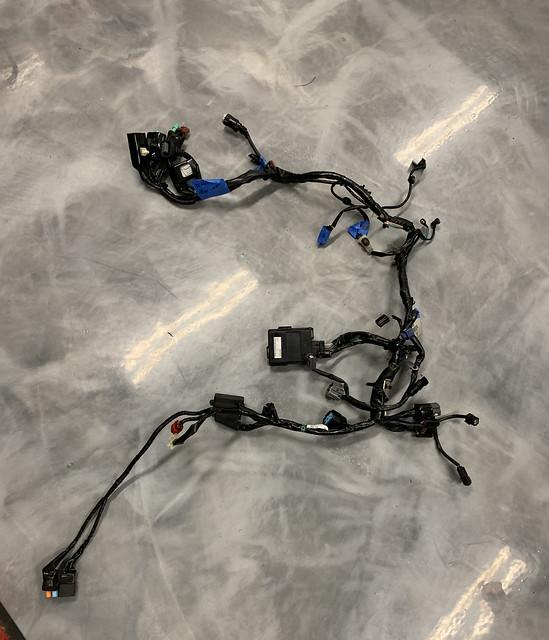
Here's the wiring harness after I took it out. This was kind of a scary moment holding this seeing all the plugs and thinking about the reassembly process. We tried to label most of the plugs
The whole harness..
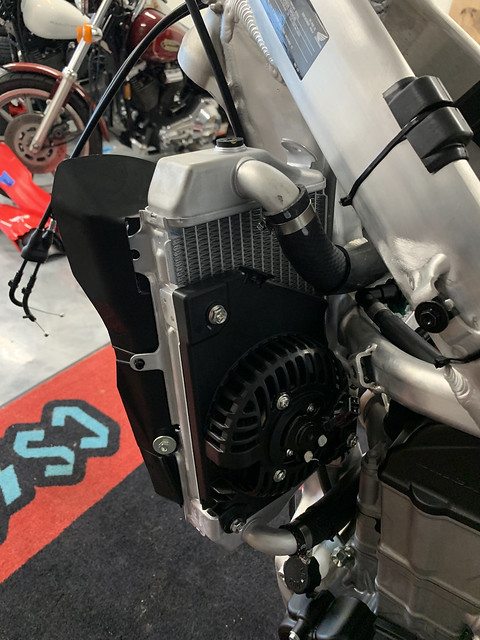
Some random reference photos I took to look back on in the future

Skipping to when it was a bare frame and before I took it and the swing arm to get anodized. Side note I picked up a 18 CRF450R swing arm to use as it didn't have the welded tabs for guards and was a little lighter.

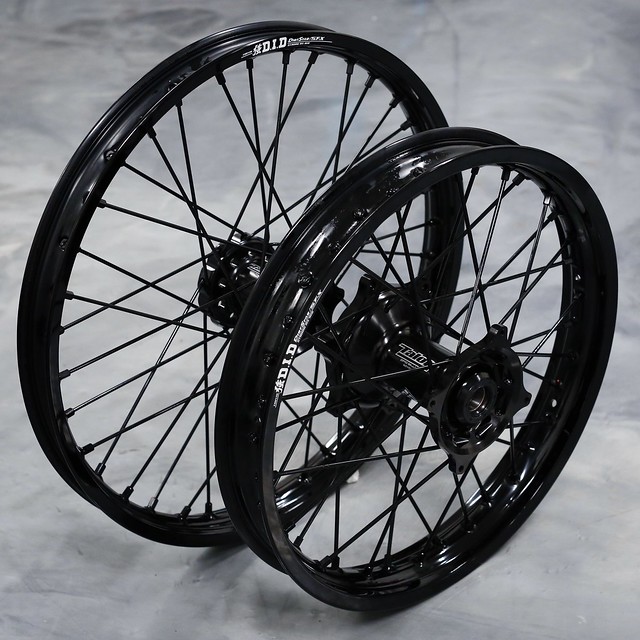
Some parts arrive while the frame and swing arm were away including these awesome all black wheels from Dubya. I kept the 18" rear wheel for the enduro vibes haha
Also these beautiful suspension parts.. after finding out that showa A kit lowers and shock shaft will work directly with the stock tubes and body we searched for this stuff.


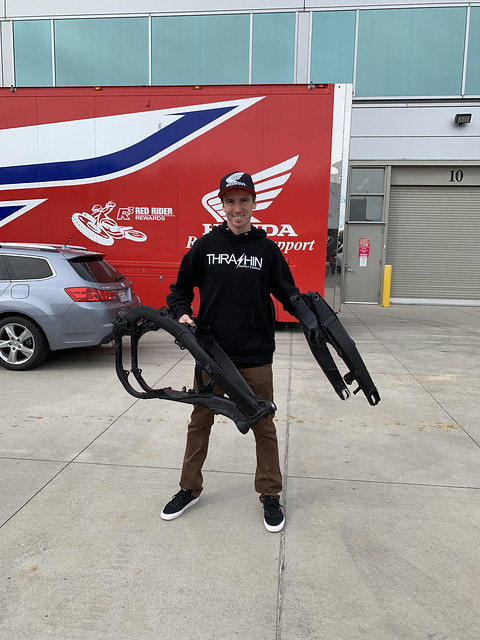
Picked up the frame and swung by to see my dudes at the Honda race shop
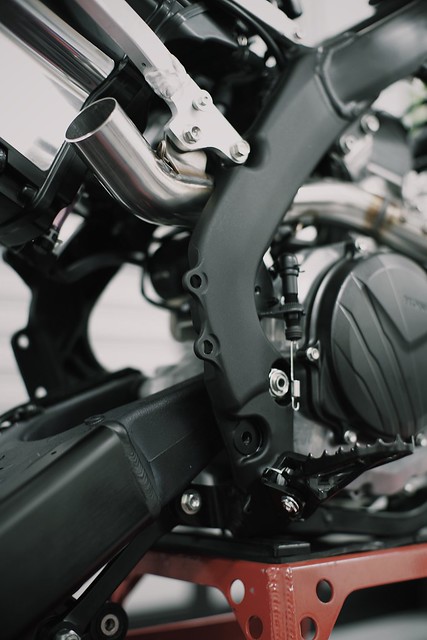
Mocking up and thinking of what it'll look like soon..

I told the guys at Throttle Jockey the theme of my bike and they were happy to help with the graphics! I told them I wanted them to replace the blues in our factory graphics with shades of grey and this was the result..

Mikey and I thought the white popped too much so we told them to change it to a grey they had used. This was the final draft before print

After our first day of putting the bike back together

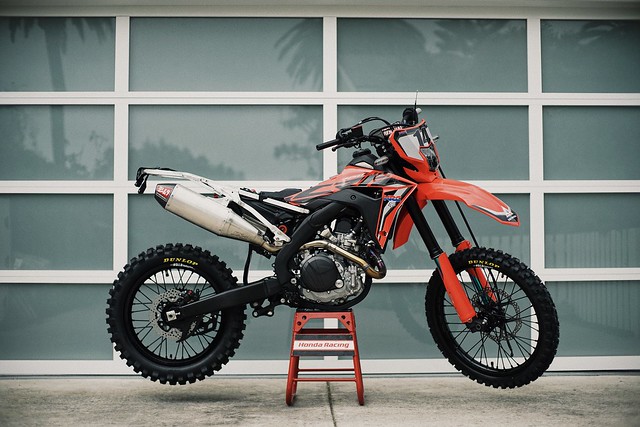
Some glory shots i took

Another day of putting it back together and we were too excited to get the graphics on

Me looking like i know what I'm doing..

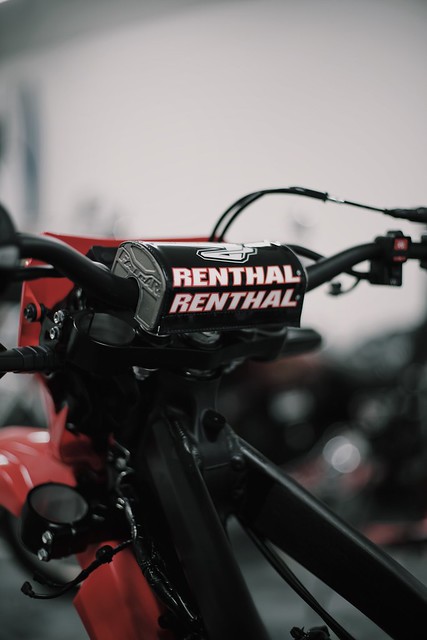
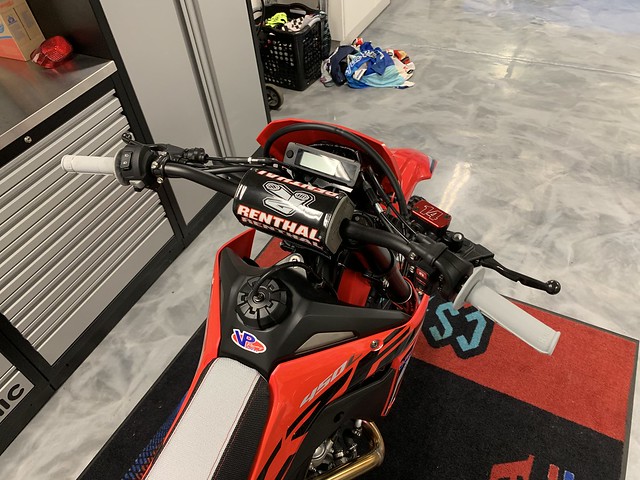
Riders perspective
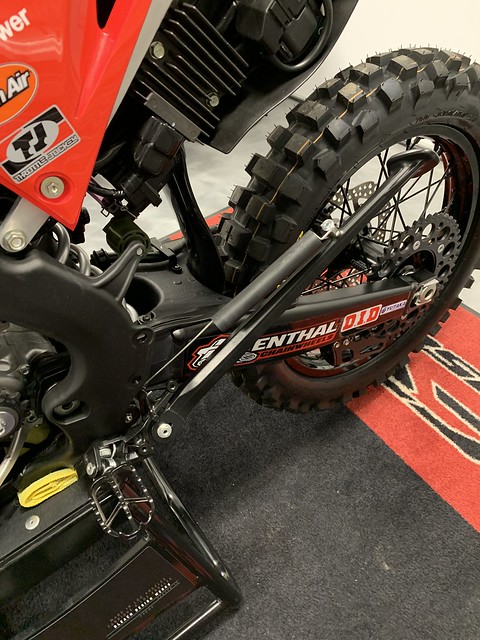
More black parts and the wheels are on. I think I took this picture because being a racer I never thought a kick stand looked cool haha but this one did. Even though it was kind of annoying going though a set of supercross whoops with.
Almost there!!
Moments after we finished putting it back together! Still needed to torque check everything but pretty proud moment for me

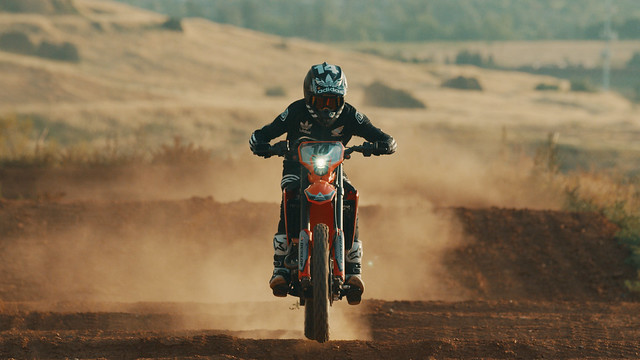
Sliding it around a fire road near our test track.
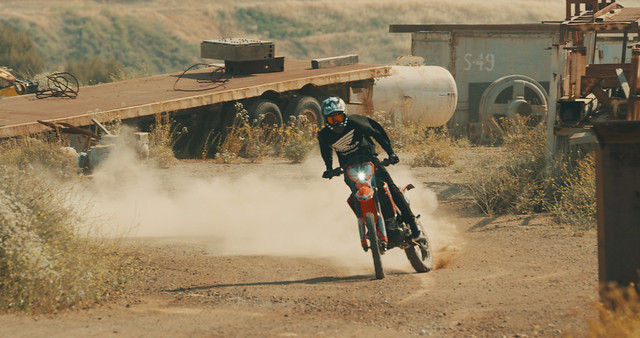
We had the suspension built for supercross.. I think it was actually sprung for a 210lb rider, I'm 160 lbs, to make up for the extra weight of the bike. I honestly couldnt believe how well it went though the whoops. The engine is completely stock.. even the oil that came in it, I know, not the smartest move. The tires I ran are the same Dunlop 606's you can buy at your local shop which actually gripped pretty well on a dusty supercross track.
Here's a short film we did after the build. Shot in one day. If you don't like the music then mute it
I called it Grey Area because this bike can pretty much do anything. It's not so black and white if it should be ridden on the street or on the trails or in my case on a supercross track, it can really do it all if set up properly.
https://youtu.be/HqjSglVqTNs
But I thought it'd be cool to post up a build thread and show some photos I took along the way on my phone and my camera. I'm also currently building a CR250 to race at Red Bull Straight Rhythm so I'll get together some photos as I go with that build and make another thread. Enjoy.
I'll try to post these in the right order.
The first day I got the bike home. Also the only time I rode it in its stock form..
Day one of taking the bike completely apart.. most of the plastics off as well as wheels and suspension.
The next day we worked on it we got the subframe off, which was tough with all the wiring from the shock back but after a half hour or so of sorting some of the wiring harness it came off. We also removed the tank and a few other items. I remember at this point thinking how deep I was and over my head with the whole build but I had a vision on how I wanted the bike to look so that kept me motivated.
Here's the wiring harness after I took it out. This was kind of a scary moment holding this seeing all the plugs and thinking about the reassembly process. We tried to label most of the plugs
The whole harness..
Some random reference photos I took to look back on in the future
Skipping to when it was a bare frame and before I took it and the swing arm to get anodized. Side note I picked up a 18 CRF450R swing arm to use as it didn't have the welded tabs for guards and was a little lighter.
Some parts arrive while the frame and swing arm were away including these awesome all black wheels from Dubya. I kept the 18" rear wheel for the enduro vibes haha
Also these beautiful suspension parts.. after finding out that showa A kit lowers and shock shaft will work directly with the stock tubes and body we searched for this stuff.
Picked up the frame and swung by to see my dudes at the Honda race shop
Mocking up and thinking of what it'll look like soon..
I told the guys at Throttle Jockey the theme of my bike and they were happy to help with the graphics! I told them I wanted them to replace the blues in our factory graphics with shades of grey and this was the result..
Mikey and I thought the white popped too much so we told them to change it to a grey they had used. This was the final draft before print
After our first day of putting the bike back together
Some glory shots i took
Another day of putting it back together and we were too excited to get the graphics on
Me looking like i know what I'm doing..
Riders perspective
More black parts and the wheels are on. I think I took this picture because being a racer I never thought a kick stand looked cool haha but this one did. Even though it was kind of annoying going though a set of supercross whoops with.
Almost there!!
Moments after we finished putting it back together! Still needed to torque check everything but pretty proud moment for me
Sliding it around a fire road near our test track.
We had the suspension built for supercross.. I think it was actually sprung for a 210lb rider, I'm 160 lbs, to make up for the extra weight of the bike. I honestly couldnt believe how well it went though the whoops. The engine is completely stock.. even the oil that came in it, I know, not the smartest move. The tires I ran are the same Dunlop 606's you can buy at your local shop which actually gripped pretty well on a dusty supercross track.
Here's a short film we did after the build. Shot in one day. If you don't like the music then mute it
I called it Grey Area because this bike can pretty much do anything. It's not so black and white if it should be ridden on the street or on the trails or in my case on a supercross track, it can really do it all if set up properly.
https://youtu.be/HqjSglVqTNs


The Shop
Bike came up great, seems fun to ride it on the streets
I wonder whats the durability on the engine? It wears similar as an R model? I mean, it’s supposed to have a similar mainteance interval on the piston for example?
Post a reply to: My Honda 450L Build