

Posts
7
Joined
9/17/2019
Location
Hackettstown, NJ
US

Edited Date/Time
10/1/2019 6:54pm
Hi Guys,
First time posting.
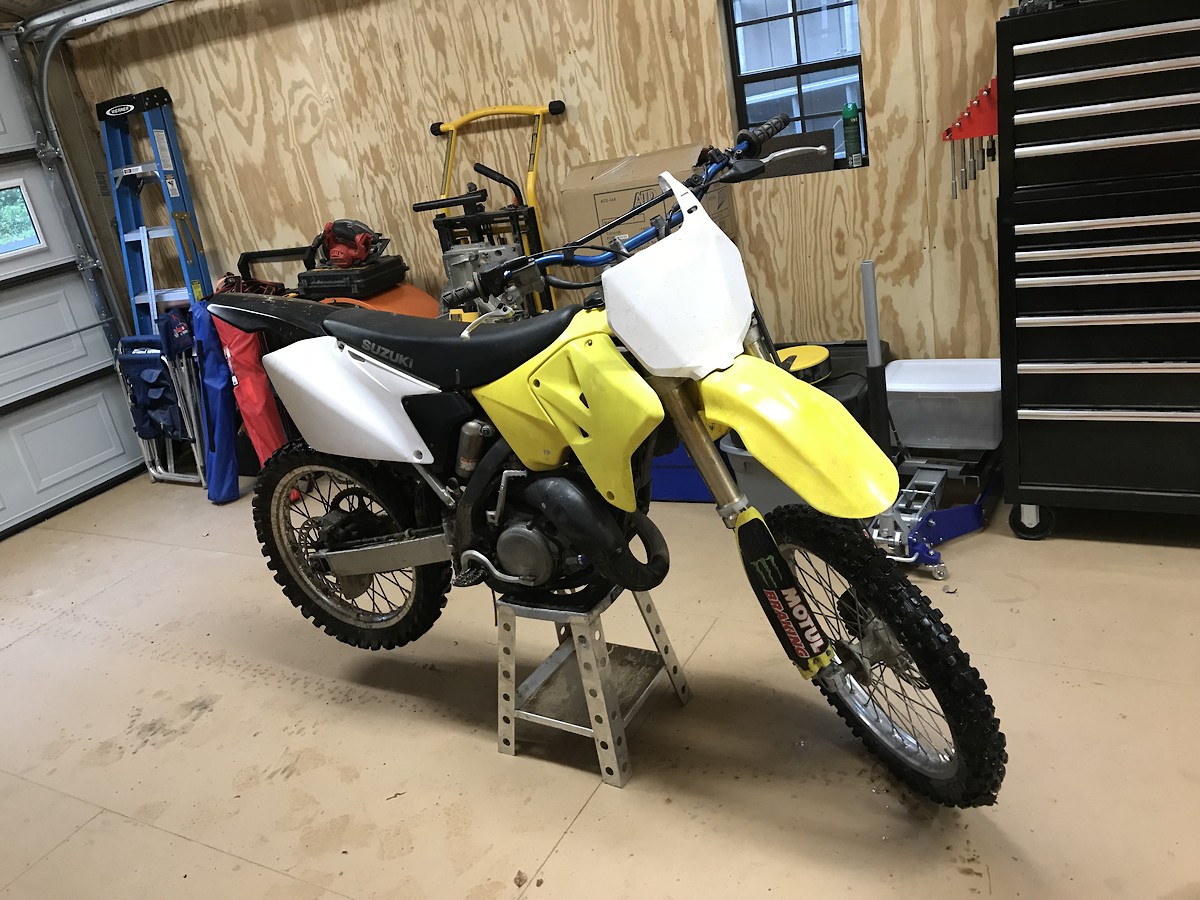
I just completed a frame-up restoration of a 2001 Rm125 I Picked up for $250.
It was a complete basket case (you'll see in the pictures)
I decided to go with an OEM build I just like a clean bike.
The Bike is done, but I'm am going to try and post the pictures in order so you can see the transformation.
Let me know what you guys think and if you want to follow my current bike builds stop by Instagram @Mitchell_Motor_Works
Buckle up...
Here's how the Bike Started:


First things first strip it down to the frame so I can get it sent out to the powder coater:

Then Break the motor apart:

Yes this is the oil that came out...

Cases split:

JB weld on the main bearing journal. Mint

Carb before blasting:

After Blasting:

The Radiators can be blasted too, one of the main benefits of wet blasting is how gentle it really is.


The cylinder coming back from getting replated (nikasil) and bored to stock size :

The frame came back from the powder coated and honestly my experience with him was terrible. I dropped the frame off and the two engine covers and i ask him to match the color of the frame and just do the covers black. Well, two months go by and he still hasn't called me and won't respond either. So I go down there and apparently he dropped his phone and hadn't gotten it replaced, far enough. So I ask about the frame and he said it was sandblasted waiting to be painted, then asks me what color I wanted it again... I told him I wanted it matched, then he asked for a picture to match it too... that's what you should've done before you blasted it! anyways Two weeks later I come to pick it up and this is what I get also he painted the covers the same color as the frame. Welp not going back to him again.

The Engine is all blasted (you can see one of the side covers)

Before and after of the power valve. What a transformation.

Cases are back together new crank and all new bearings ($$$)

Here the motor done basically done. This made me proud, I mean look at it...

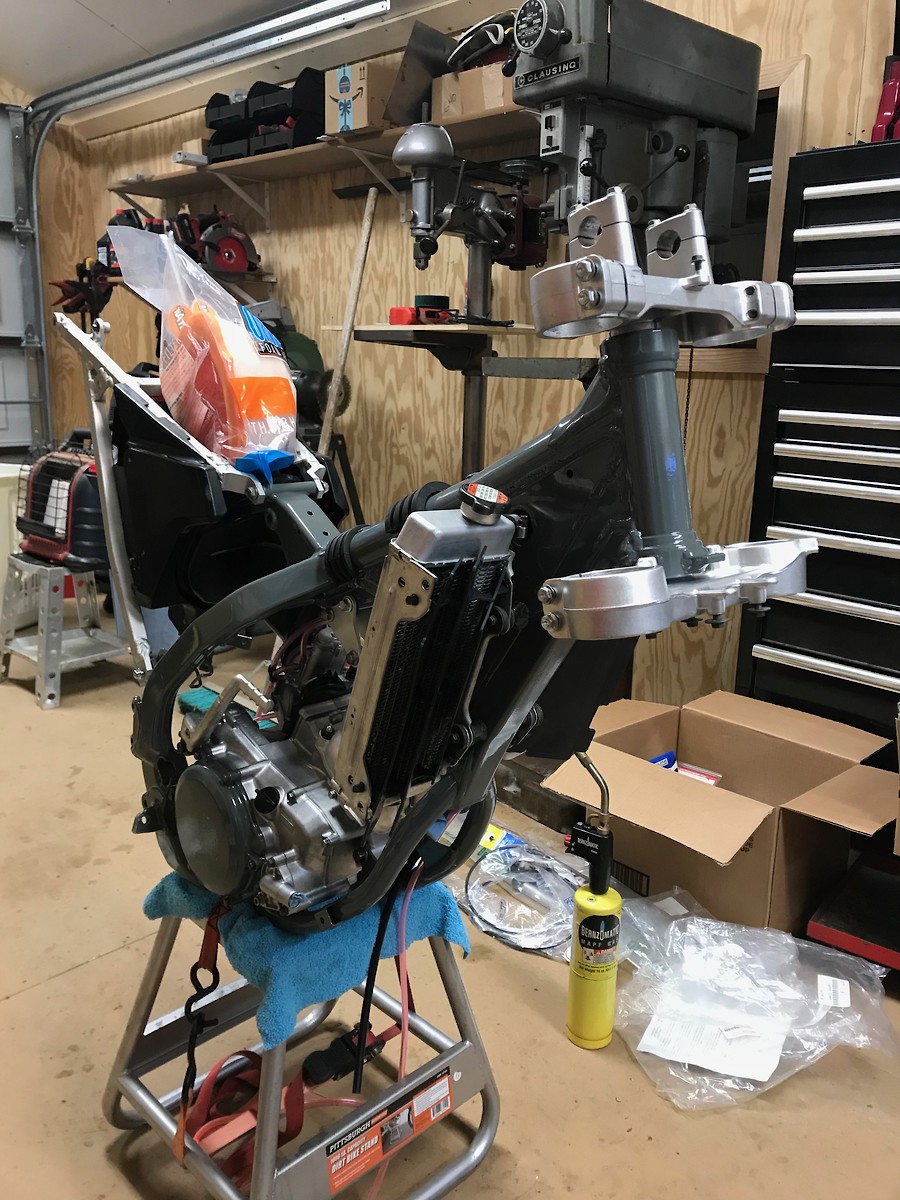
Engine in the frame, now we are getting some where

Carbs back together and mounted with some nice new OEM style hoses:

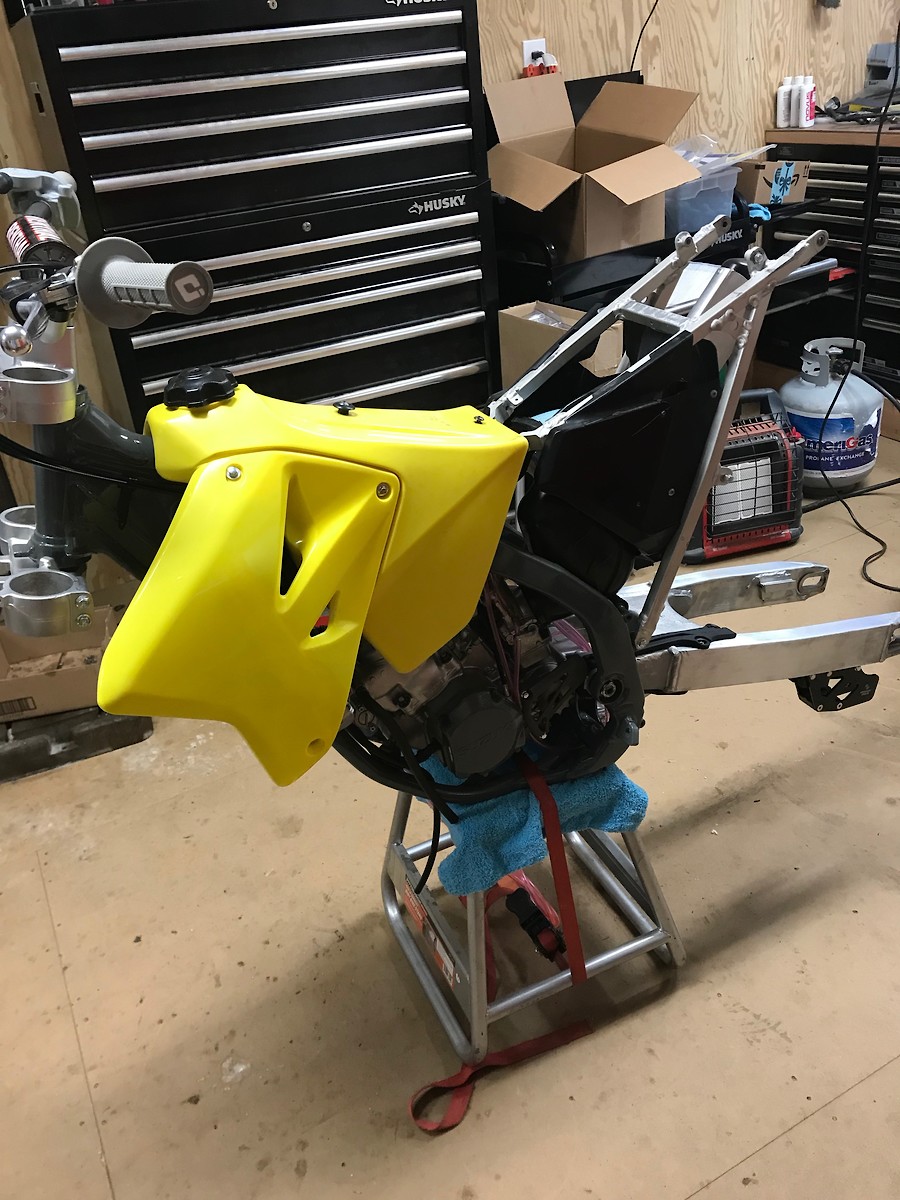
SubFrame and air box are clean and back on:

Triple clamps + radiator and new hoses
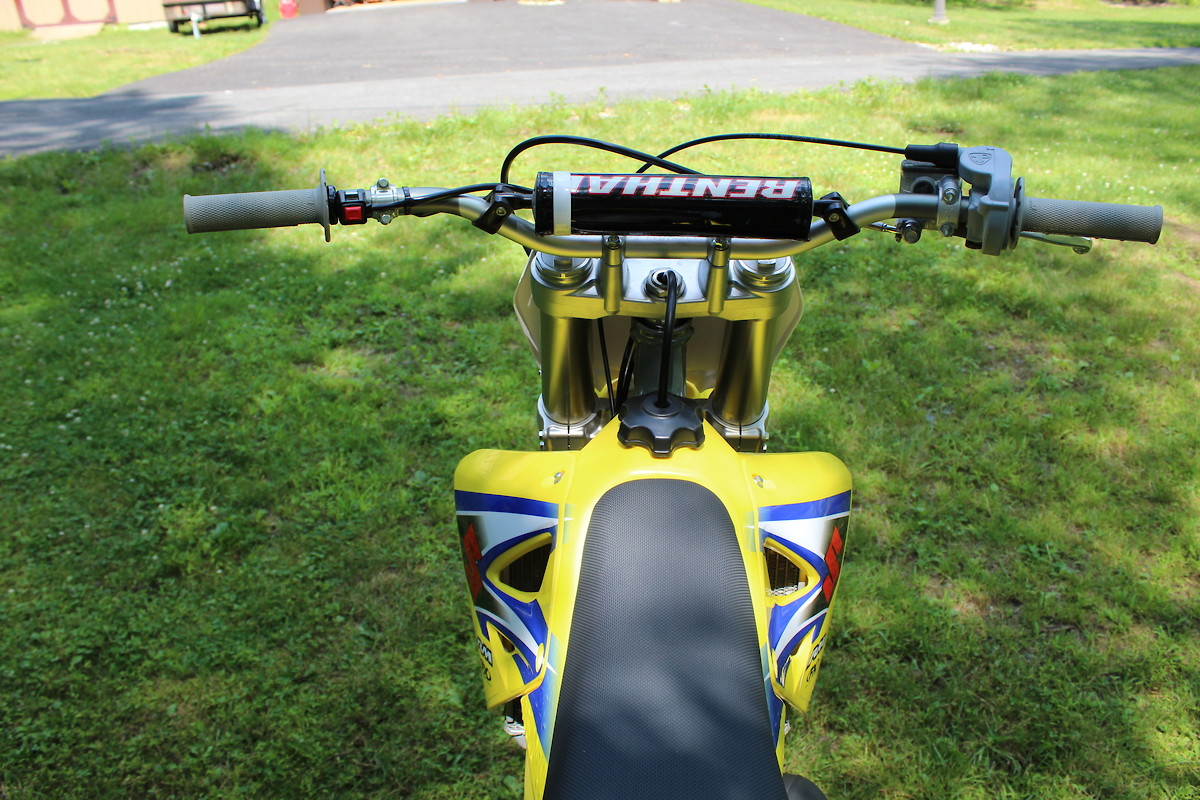
Some new handlebars with the controls mounted

The Swingarm had a bolt break off in it so off to the drill press

Notice the left handed drill bit, they are great in these cases

The Swingarm is all clean and polished


On the bike


Linkage all rebuilt

Here are some before and afters of some components


Rear Breaks laid out plus assembled


Gas Tank was sanded and polish (this took some time)


The gas tank on the bike
Rear wheel Blasted With a new rim and spokes:


Front forks that came with the bike had really bad rash on them so i had to buy ones off of ebay that hurt the pocket but I was a must.


Plastic fit
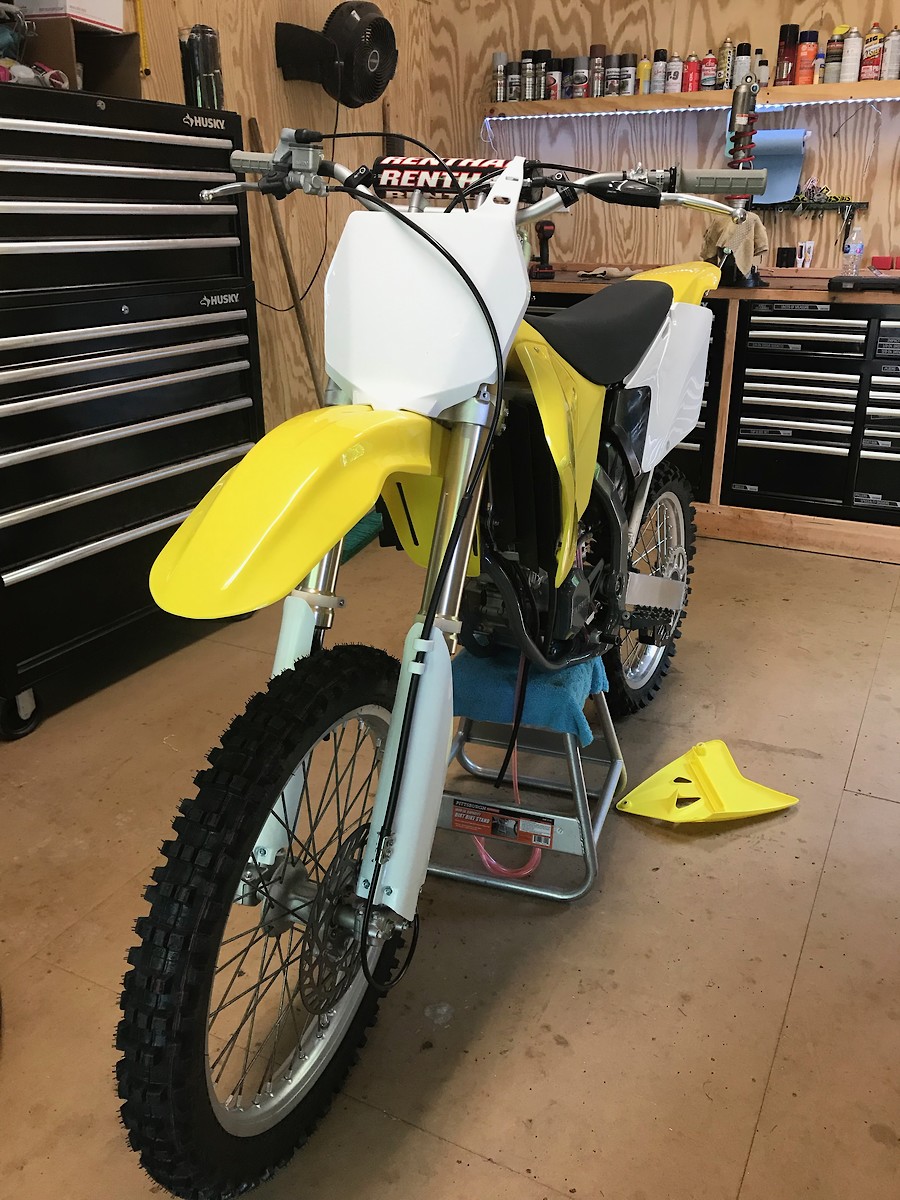
Graphics


The exhaust came back from getting welded and the dents removed

The last thing to do is to clean and repack the silencer:


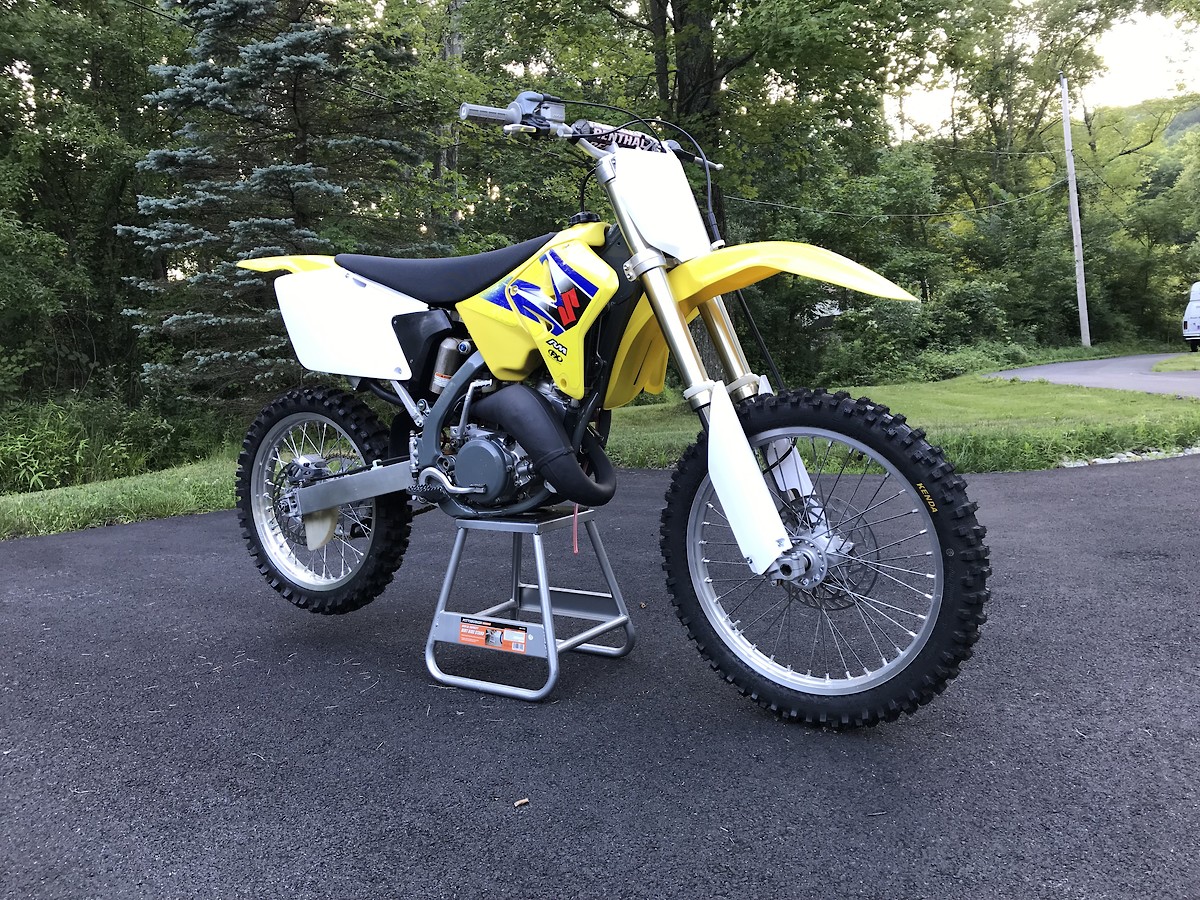
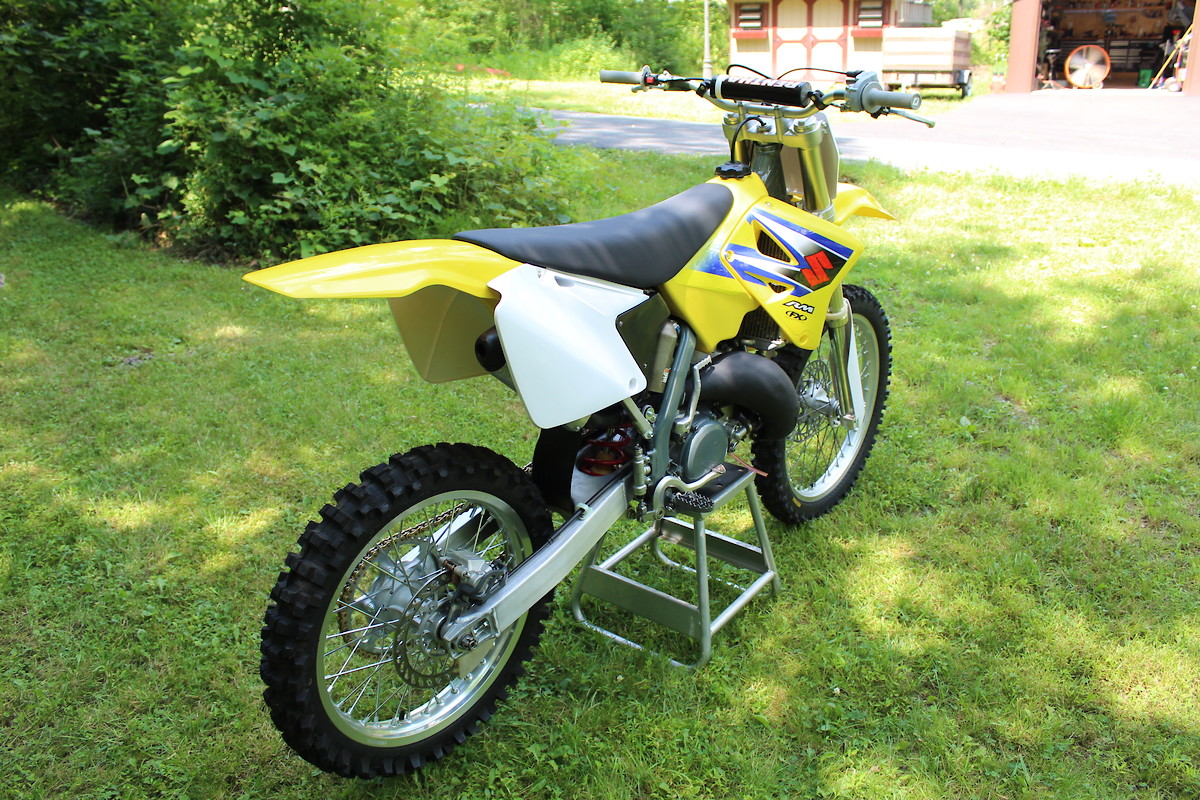
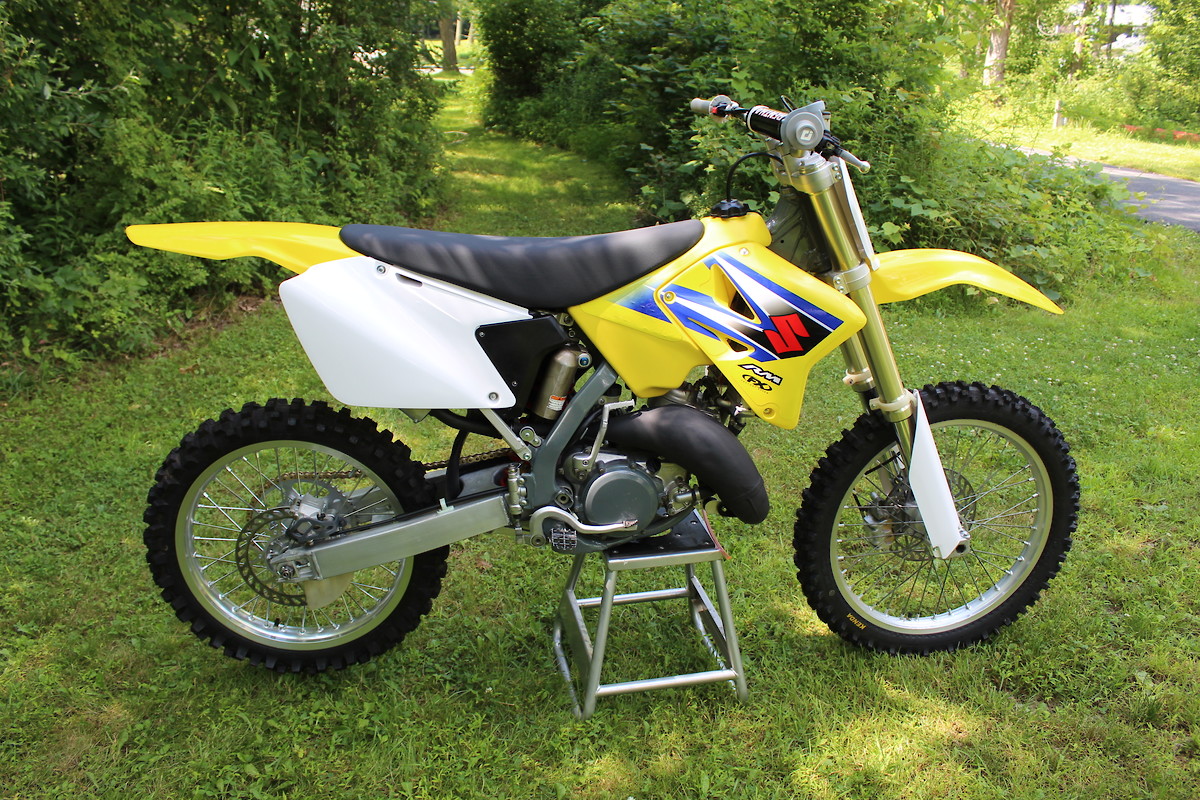
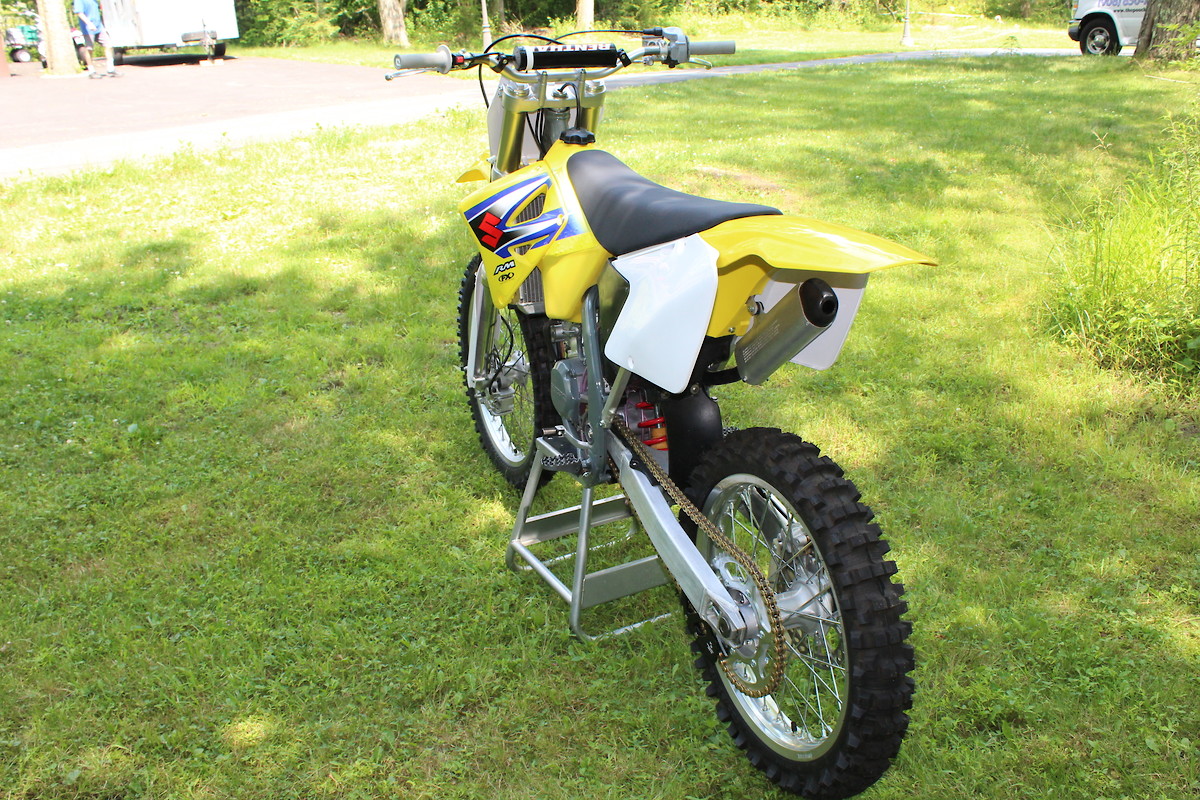
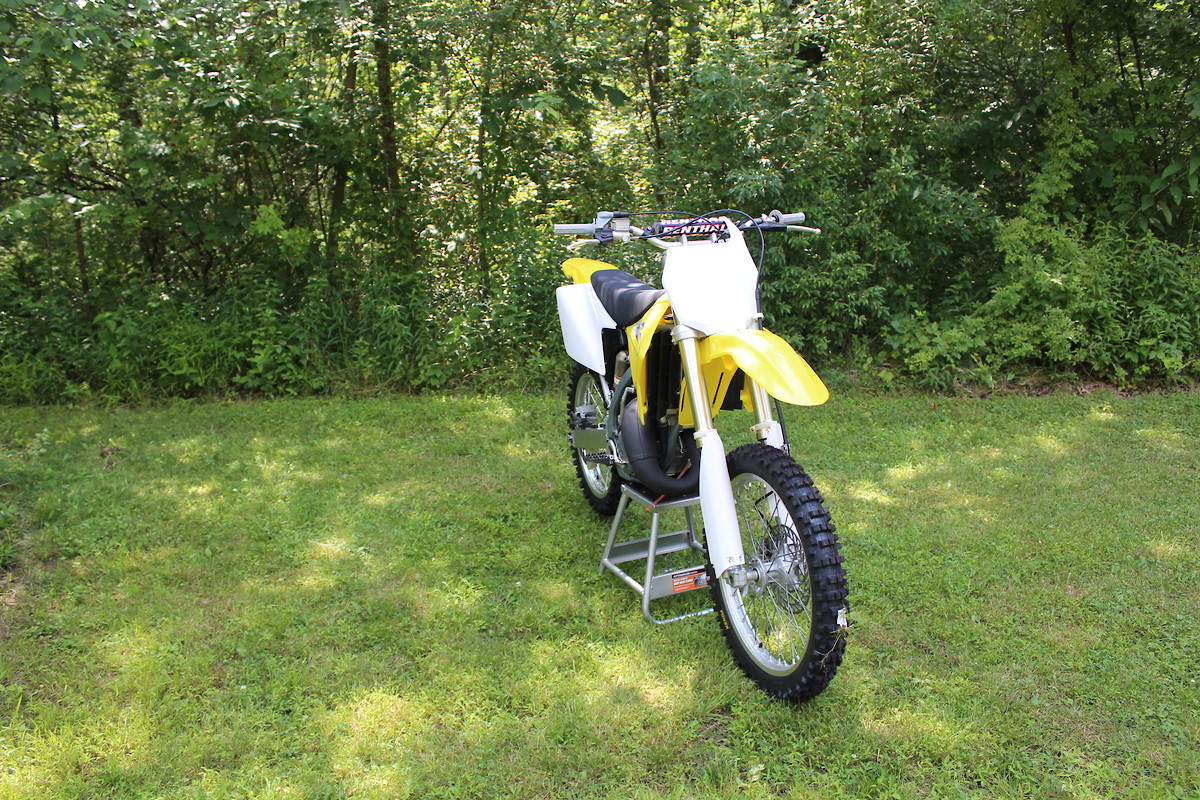
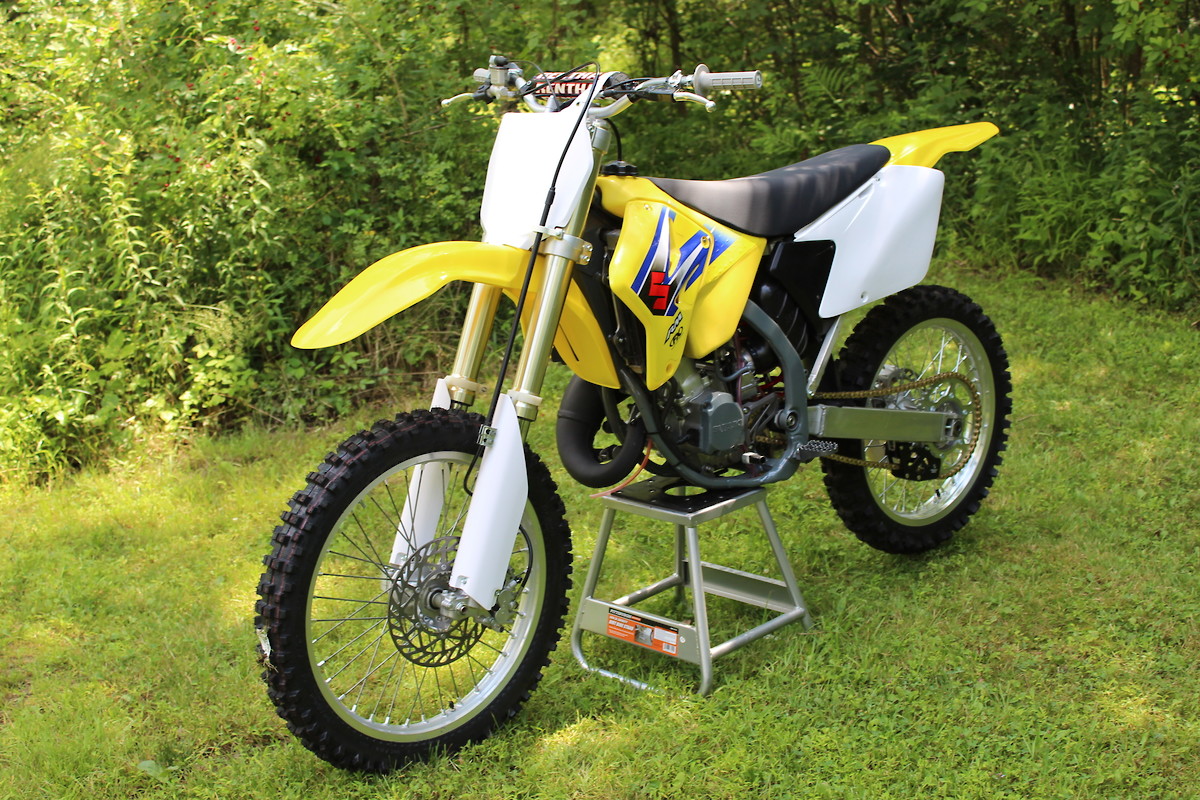
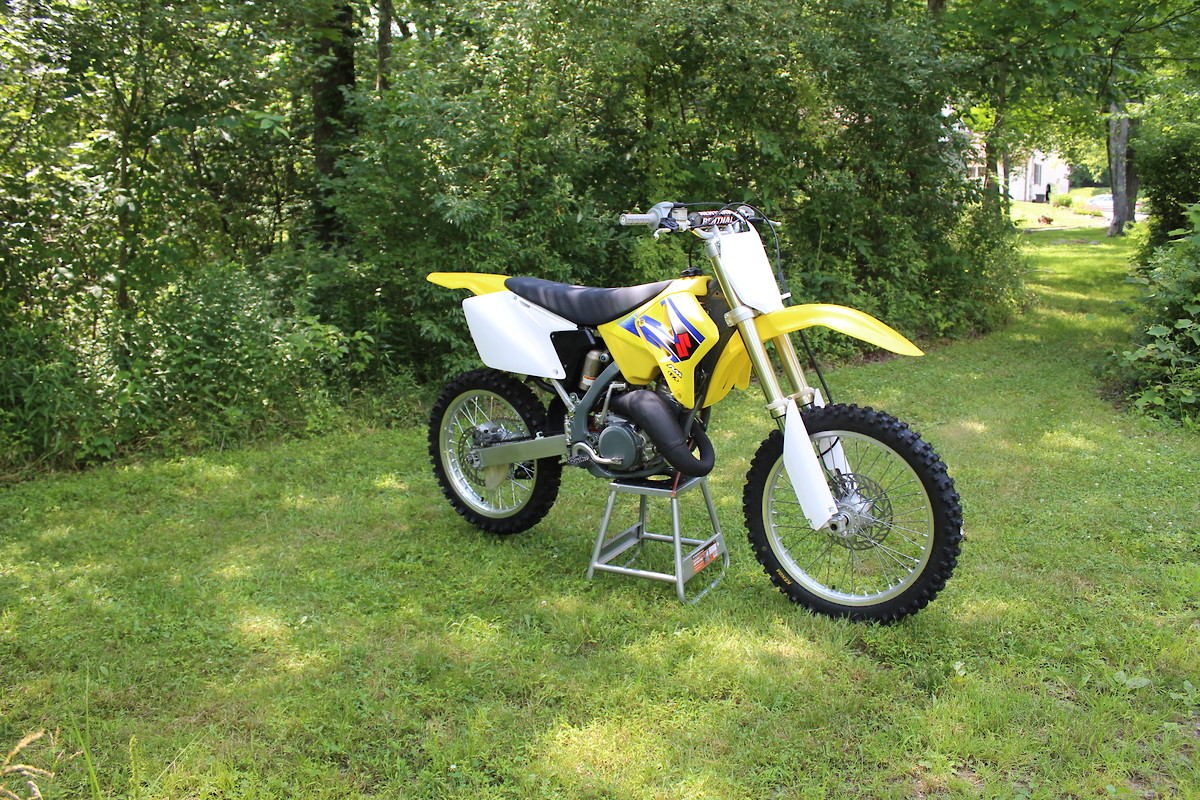
The final:


First time posting.
I just completed a frame-up restoration of a 2001 Rm125 I Picked up for $250.
It was a complete basket case (you'll see in the pictures)
I decided to go with an OEM build I just like a clean bike.
The Bike is done, but I'm am going to try and post the pictures in order so you can see the transformation.
Let me know what you guys think and if you want to follow my current bike builds stop by Instagram @Mitchell_Motor_Works
Buckle up...
Here's how the Bike Started:
First things first strip it down to the frame so I can get it sent out to the powder coater:
Then Break the motor apart:
Yes this is the oil that came out...
Cases split:
JB weld on the main bearing journal. Mint
Carb before blasting:
After Blasting:
The Radiators can be blasted too, one of the main benefits of wet blasting is how gentle it really is.
The cylinder coming back from getting replated (nikasil) and bored to stock size :
The frame came back from the powder coated and honestly my experience with him was terrible. I dropped the frame off and the two engine covers and i ask him to match the color of the frame and just do the covers black. Well, two months go by and he still hasn't called me and won't respond either. So I go down there and apparently he dropped his phone and hadn't gotten it replaced, far enough. So I ask about the frame and he said it was sandblasted waiting to be painted, then asks me what color I wanted it again... I told him I wanted it matched, then he asked for a picture to match it too... that's what you should've done before you blasted it! anyways Two weeks later I come to pick it up and this is what I get also he painted the covers the same color as the frame. Welp not going back to him again.
The Engine is all blasted (you can see one of the side covers)
Before and after of the power valve. What a transformation.
Cases are back together new crank and all new bearings ($$$)
Here the motor done basically done. This made me proud, I mean look at it...
Engine in the frame, now we are getting some where
Carbs back together and mounted with some nice new OEM style hoses:
SubFrame and air box are clean and back on:
Triple clamps + radiator and new hoses
Some new handlebars with the controls mounted
The Swingarm had a bolt break off in it so off to the drill press
Notice the left handed drill bit, they are great in these cases
The Swingarm is all clean and polished
On the bike
Linkage all rebuilt
Here are some before and afters of some components
Rear Breaks laid out plus assembled
Gas Tank was sanded and polish (this took some time)
The gas tank on the bike
Rear wheel Blasted With a new rim and spokes:
Front forks that came with the bike had really bad rash on them so i had to buy ones off of ebay that hurt the pocket but I was a must.
Plastic fit
Graphics
The exhaust came back from getting welded and the dents removed
The last thing to do is to clean and repack the silencer:
The final:
The Shop
What was your process for refurbishing the gas tank?
I talked to a shop about getting it welded but he said the aluminum gets too soft and considering it's in a critical area I didn't want to risk it. Also, the chain busted through the case in another spot, it was just to far gone.
I think I paid around 150-200 for a used one off of ebay.
First, I degreased the whole thing, scrubbed it down as you normally would.
Then you basically sand out all the scratches starting from 400 grit and moving up incrementally to 2000 ( in my case 3000 which I think this was unnecessary)
Then you polish it with typical automotive polish.
But it won't shine after this it will look good but to get the mirror finish you need to use a wool buffing pad with no compound on it and use really light pressure. Do this as the last step and you will be amazed. It takes some time and technique so try it on a test piece first then do the tank.
I did it by hand but you could use a power sander for the first few grits to do the major of the cratch removals. Youll need a buffer and some wool pads, sandpaper 400-2000 grit, automotive polish, and it was usefully to fix something up to hold the tank upright (you could make this with some scrap wood laying around). All that and about 4-6 hours and you'll have a shiny tank.
Youtube has some good how-to videos too
I used a Vapor blasting or some call it Vapor honing cabinet.
It uses glass beads 325 mesh I believe its the finest you can buy. Mix all that at the perfect ratio of water add some air at 14+ CFM's @ 60 PSI and you have the right concoction.
My setup is from Vapor Honing Technologies. All in it cost me around 6k to setup.
But the results as you said can not be beaten. For any complete rebuild, I recommend it.
Pit Row
Post a reply to: 2001 Rm125 OEM Build